Norwegian Risgrøt, Rice Porridge, Pressure Cooker Recipe

Norwegian rice porridge, or risengrynsgrøt, is a thick, creamy, hot rice cereal commonly made in Norway throughout the year, especially as a Saturday lunch. Also called risgrøt, the standard way of cooking the white rice is in a heavy pot on the stove top as shown in my post Traditional Norwegian Risgrøt, Rice Porridge Recipe. The rice cooks in milk for an hour until it thickens and softens, and needs to be stirred every five minutes or so to prevent burning. It is a little bit of a process, so it is nice to have some additional preparation options. After having experimented with a lot of batches, I have figured out several good alternatives. In this post I will show you how to make it in an electric pressure cooker, and in a previous post you can see how to prepare it using one of the following methods: Oven, quilt, cooler, or slow cooker method.
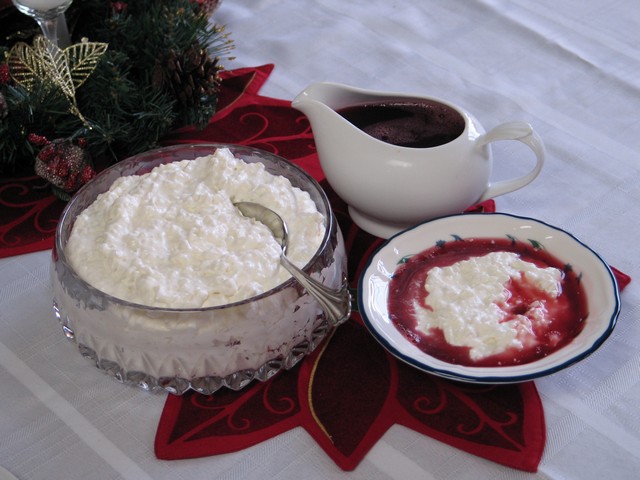
Although common year-round, risgrøt is often served for lunch on Christmas Eve day, with the leftovers used in the evening for the much loved Norwegian Christmas dessert, Riskrem (rice pudding). For many families, mine included, there is no Christmas without riskrem!!
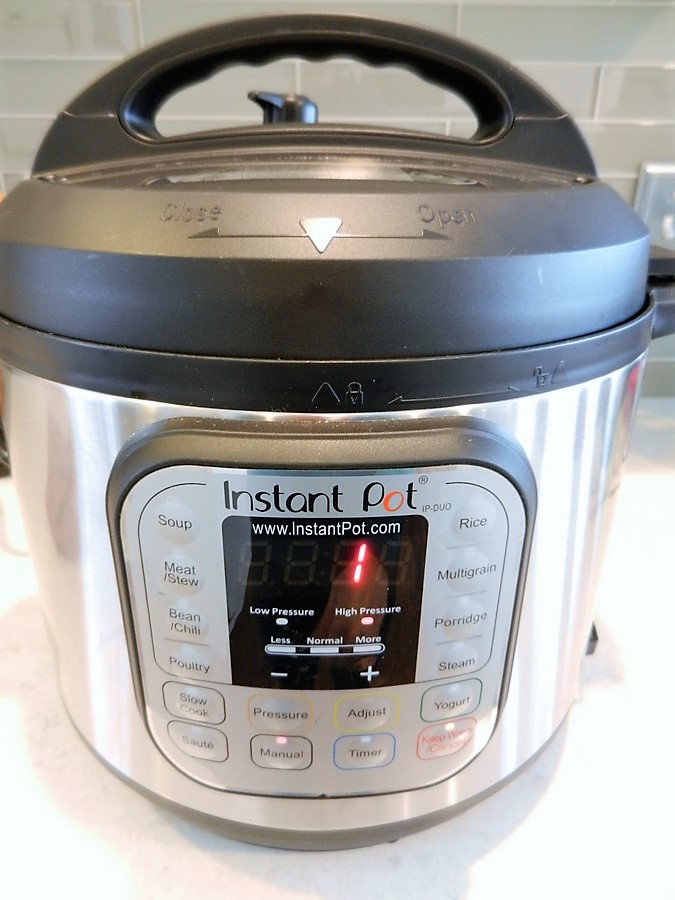
We have an Instant Pot electric pressure cooker, but I’m sure other electric pressure cookers will be similar. The important part is that it needs to have a “warm” feature if you want to cook the porridge directly inside the pot. When preparing risengrynsgrøt in a pressure cooker, you have to be careful not to burn it since the heat is harder to control. One benefit to using a pressure cooker is that you can do all of the cooking directly in the pressure cooker, and there is also a way that you can add all of the ingredients at once to simplify further.
The best rice to use for rice porridge is white medium grain rice, not the standard long grain. (See picture and more info in this link.) Medium grain has a rounder shape and works well in creamy dishes such as risengrynsgrøt and risotto, as it tends to be stickier and cling together better. You can also use the more expensive short grain rice, such as sushi rice or risotto rice, which is even rounder and larger than medium grain and produces an almost luxurious result!
While learning how to cook rice porridge in a pressure cooker, my husband and I experimented quite a bit. Some ways worked better than others, but we thought that two of the ways were successful.
3-Step Pressure Cooker Method:
Step 1:
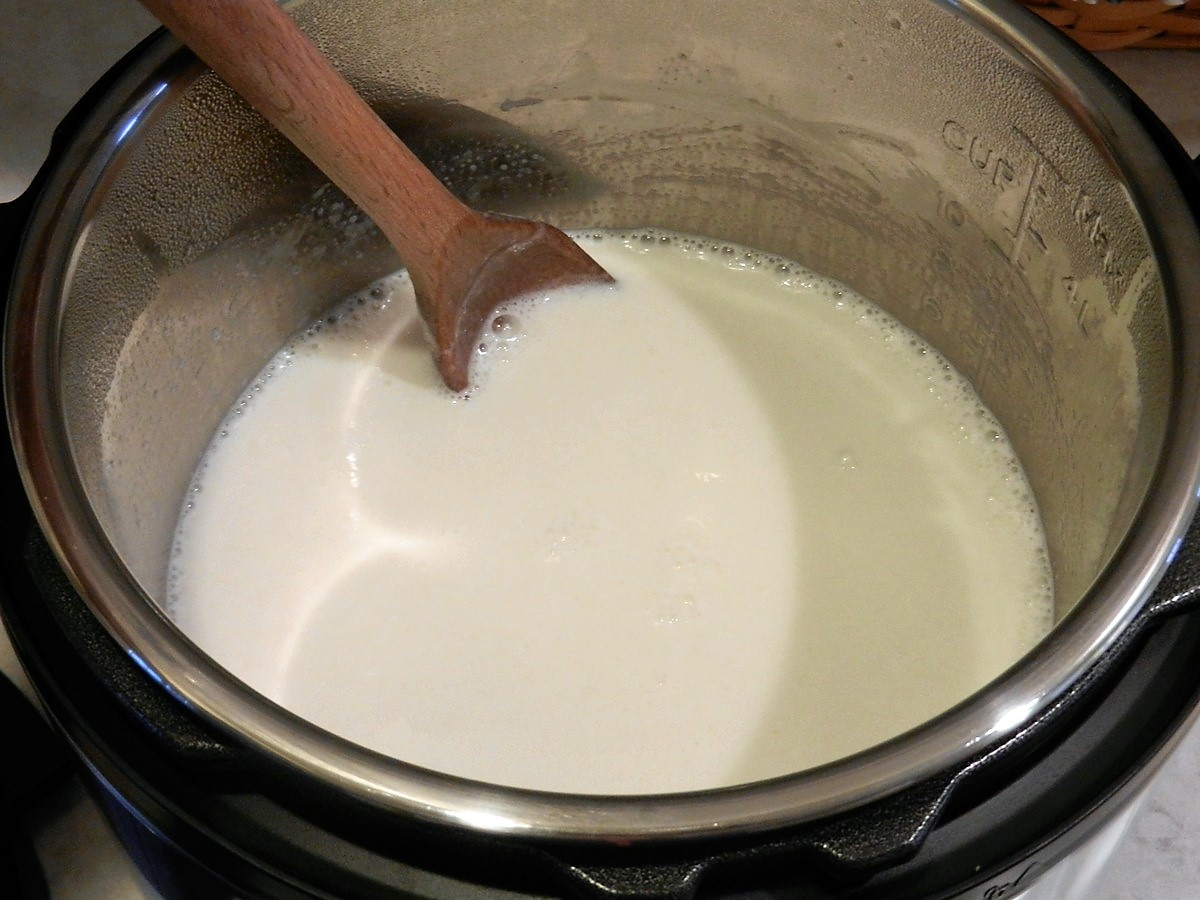
Measure up the milk and set it nearby, ready to be used in step 2.
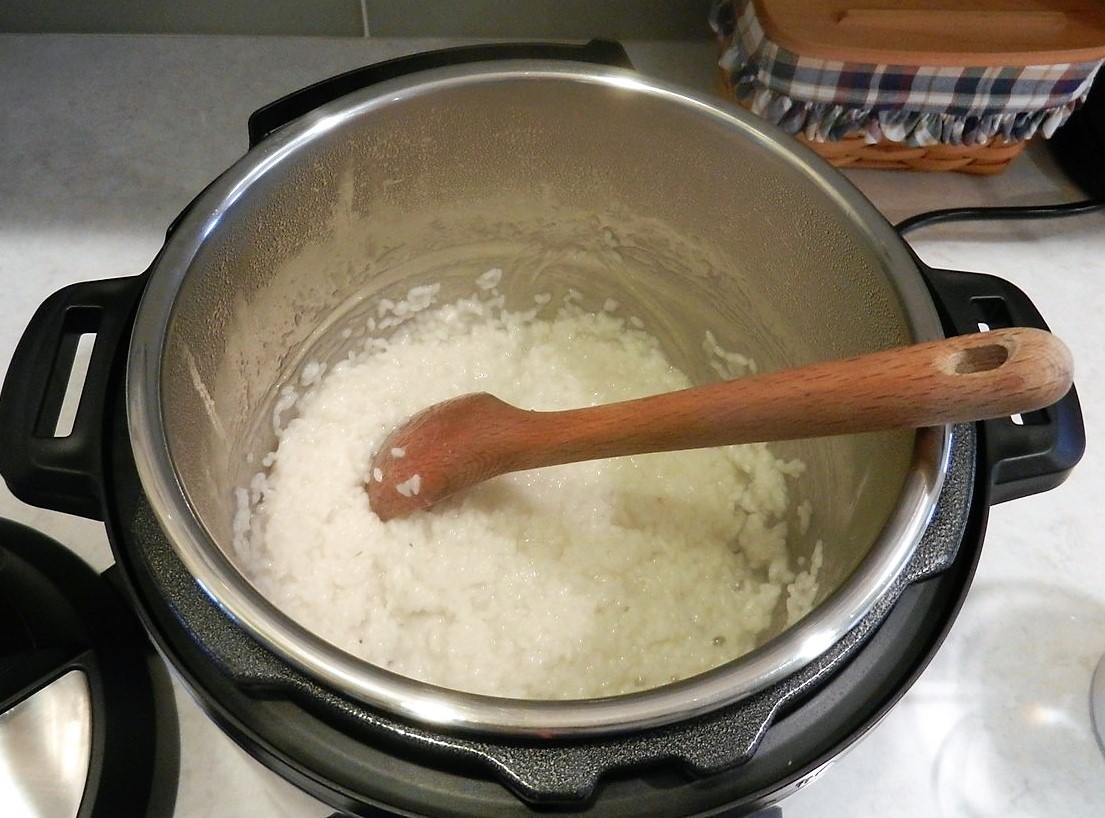
Put rice and water in the pressure cooker and turn on the saute feature, cooking the rice until most of the water has absorbed. Stir occasionally, and when the water starts to absorb and the rice gets thicker you should stir all the time and quite hard on the bottom, to prevent sticking and burning. This takes around 10 minutes. (Be ready to add the milk before the high heat burns the rice!) Cooking the rice in water first, before adding milk, speeds up the cooking process and helps with the overall consistency.
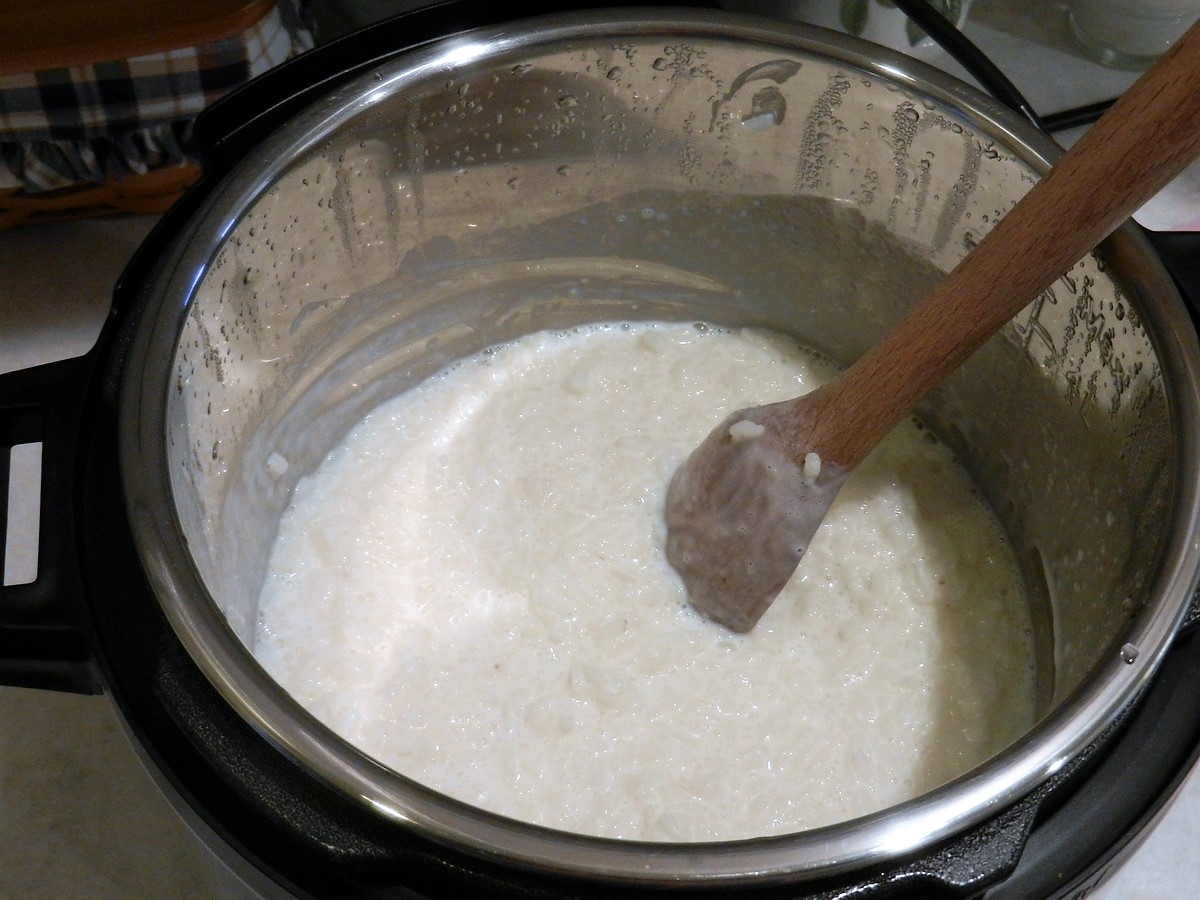
The wooden spoons I use are from an OXO set and they work great, allowing me to get rid of more plastic from my kitchen (plastic + hot food = not good!)
Step 2:
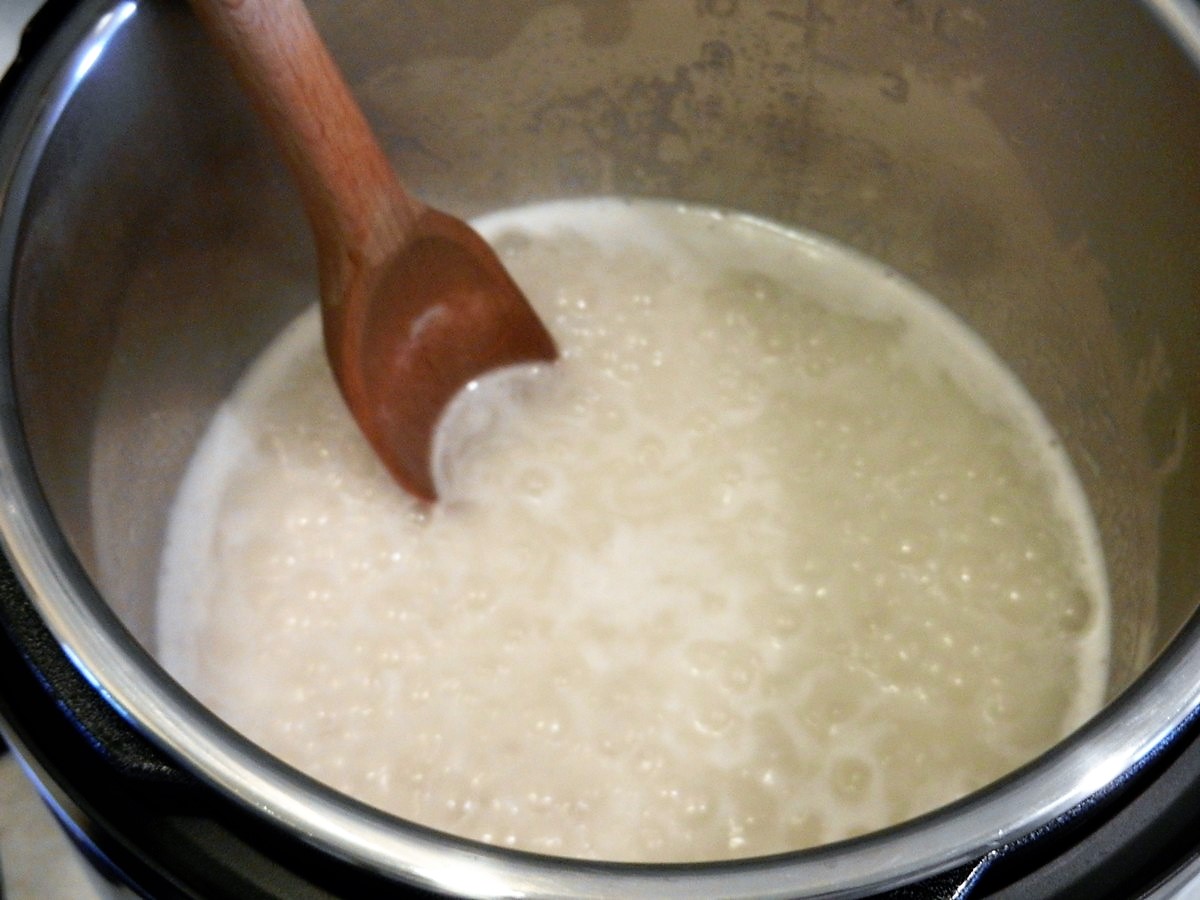
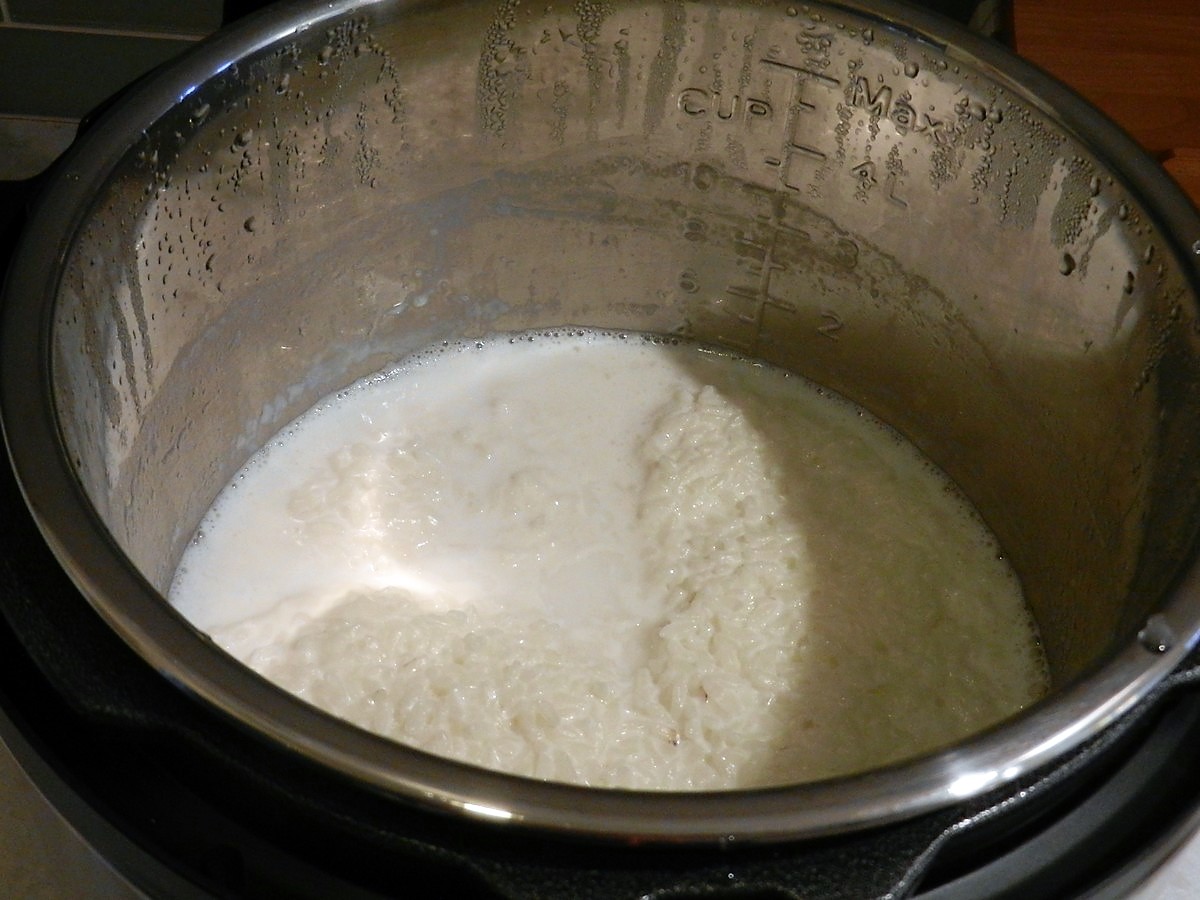
As soon as most of the water has absorbed and it’s difficult to keep the rice from sticking, quickly add the milk. Stir the bottom very well, making sure there’s nothing sticking, then bring the milk to a boil again, still on saute mode. Stir frequently. It is recommended to use whole milk rather than low fat since whole milk doesn’t burn as easily, and it also creates a wonderfully creamy, tasty porridge!
The hotter the milk gets, the more you’ll need to stir and scrape the bottom.
Once the milk has reached a boil, turn off the saute mode, keep stirring, and wait for it to completely stop boiling since this indicates that the heat has been turned down quite a bit. You won’t be able to stir after the lid goes on, so low heat prevents burning.
Step 3:
Put the lid on and turn on the warm feature. Let it sit for 1 hour and 10 minutes while the rice expands, thickens, and softens on its own.

Take off the lid and stir well. Any “excess” milk still in the pot will quickly be absorbed.
If the risengrynsgrøt seems runny, just leave the lid off and let it sit on warm for a couple more minutes and it should thicken. In the meantime, add the salt, sugar, and vanilla sugar and stir well. Vanilla sugar can be found in international sections at some supermarkets, otherwise Amazon carries vanilla sugar as well. If the porridge seems too thick, add some more milk.
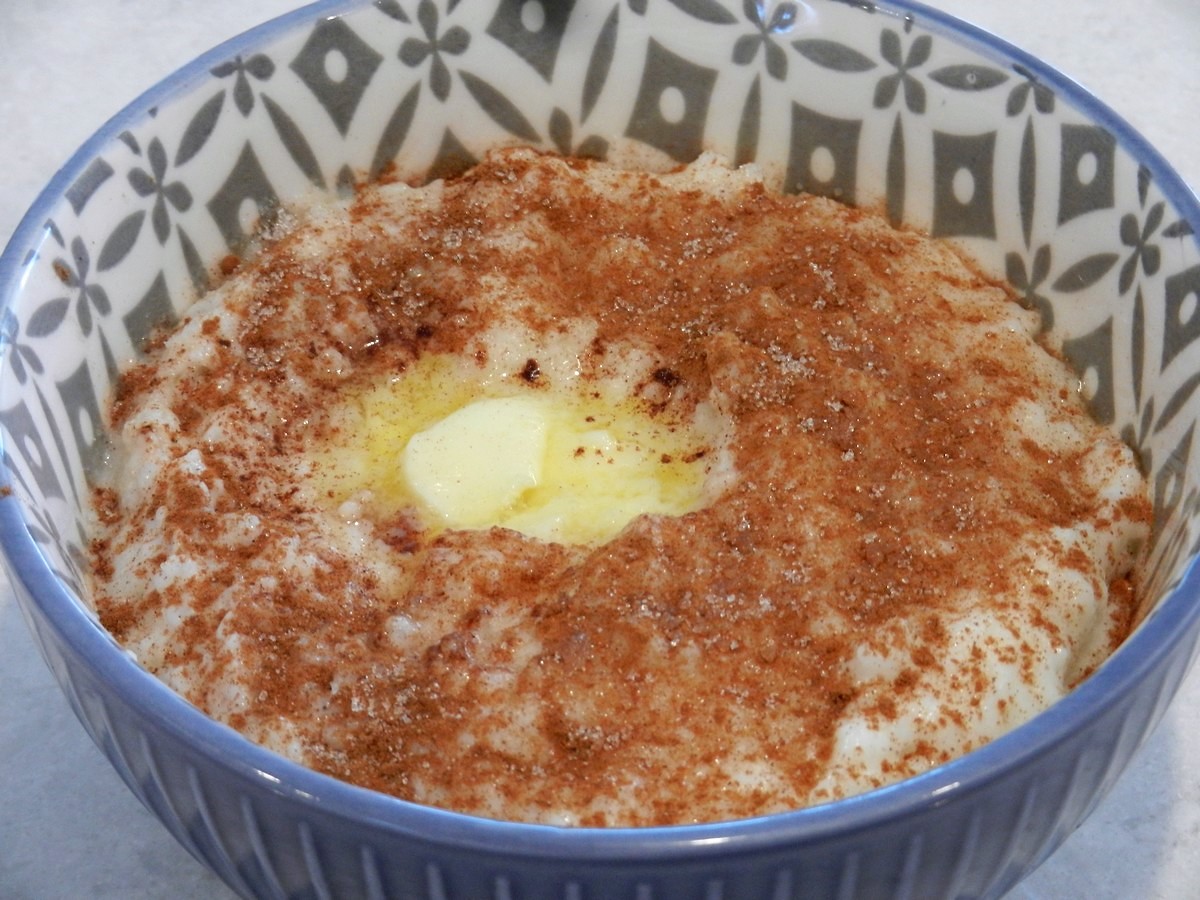
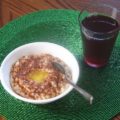
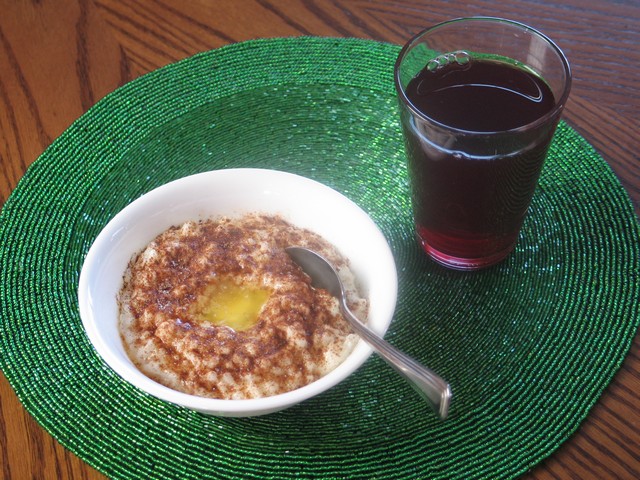
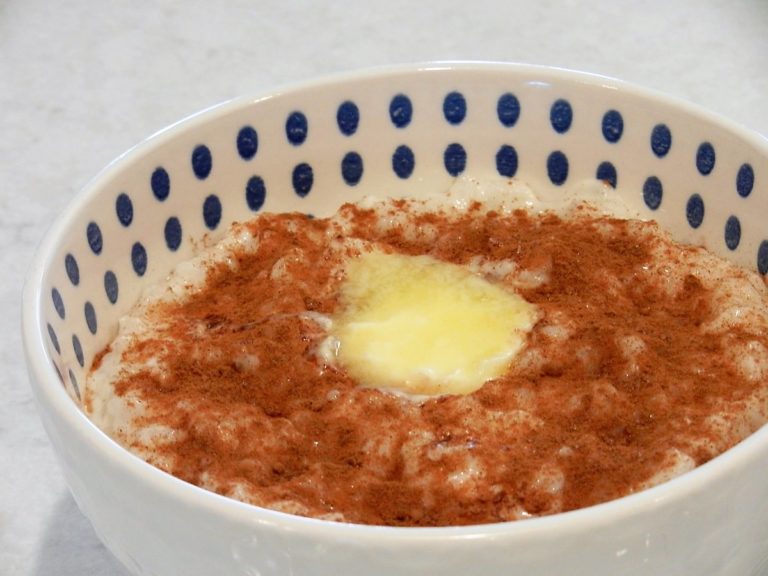
Serve while hot. Sticking to Norwegian tradition, set out sugar, cinnamon, and butter for toppings.
Set ‘n Forget Pressure Cooker Method:
To figure out just how much this recipe could be simplified, my husband tried to pour all ingredients into the pressure cooker at once, turn it on and let it do its thing. After trying it a couple of times we concluded that it works pretty well. It is by far the easiest way to cook risgrøt, although it does take over an hour to complete.
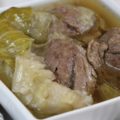
You should also know that it likely will burn a bit on the bottom since you can’t stir once the heat is turned on. But, knowing this in advance, just take care not to scrape the bottom of the pot when it’s finished, to avoid the burned areas. See picture below:
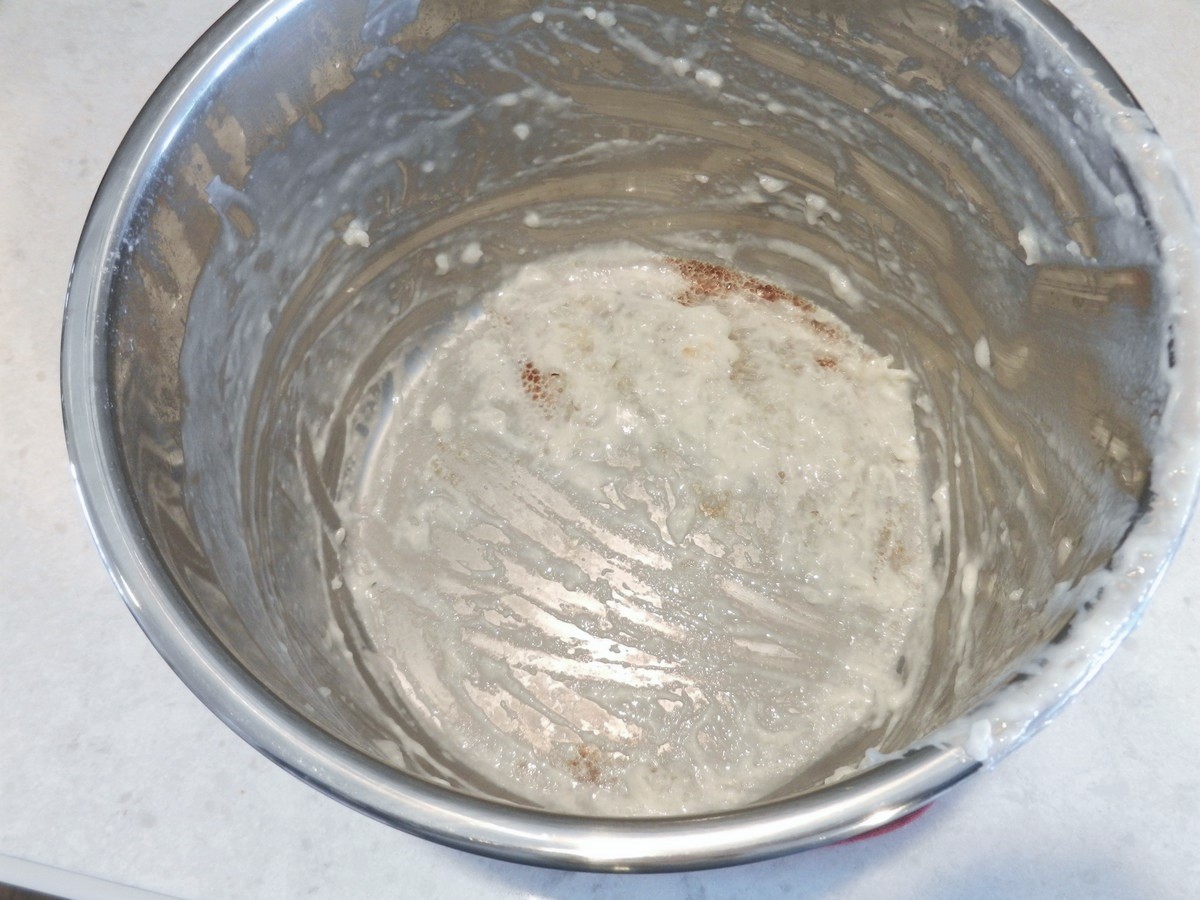
It really isn’t difficult to deal with, but some folks may not be happy about that. The choice is yours and it is definitely the easiest way to prepare this dish. To clean the pot: Empty out leftovers, scrape out what you can of the burned areas, then let the rest soak for a half hour before scrubbing clean.
Here’s what you do to prepare risgrøt the easy Set ‘n Forget way:
Pour all ingredients (water, milk, rice, sugar, salt, and vanilla sugar) into the pressure cooker at once.
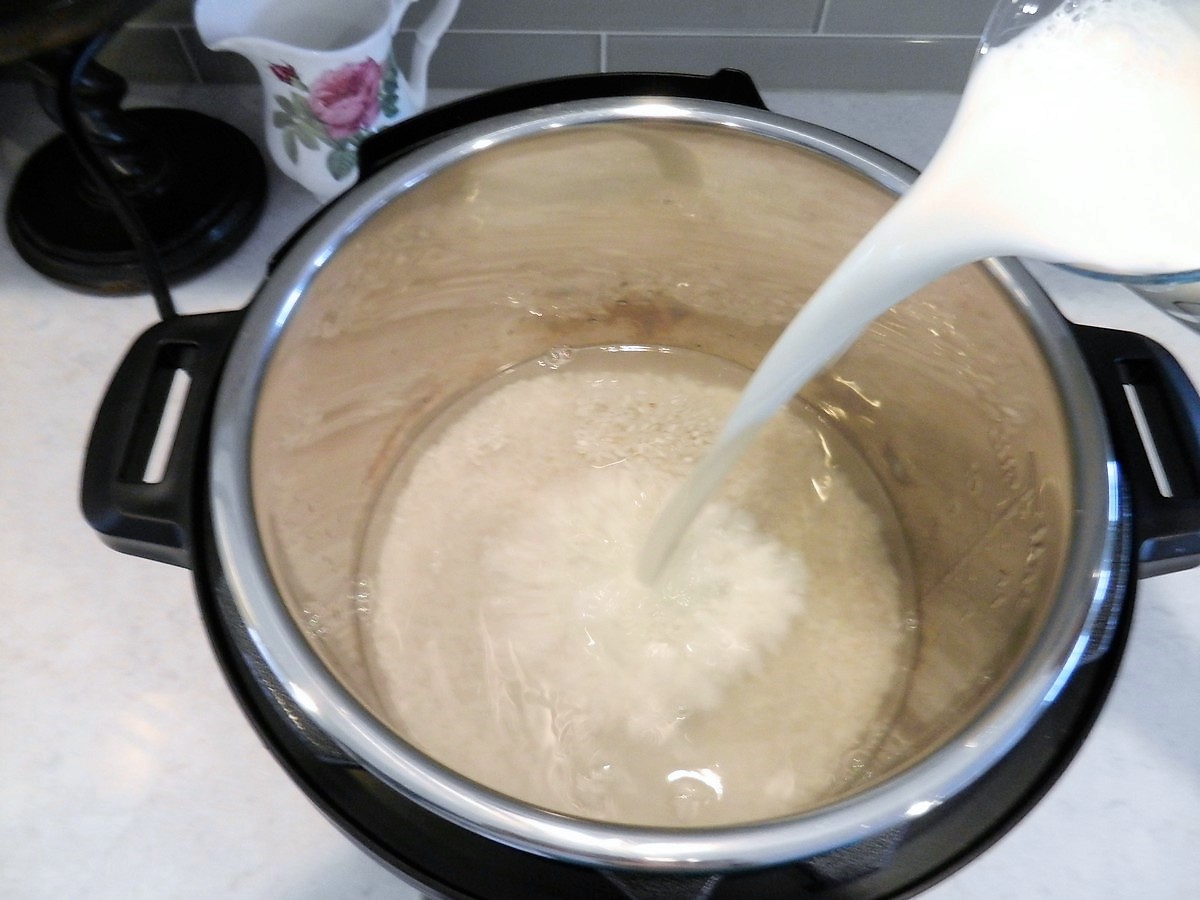
Stir, close the lid and vent, and click the manual mode to cook on high pressure for 1 min. Then let the pressure cooker switch over to the warm setting and natural pressure release and let sit for 50 min.
After the 50 minutes, take off the lid and stir well. Adjustments: If the porridge seems runny, let it sit without a lid on warm setting for a couple of minutes. If it’s too thick, add more milk.
I initially thought that the porridge would not be quite as creamy with the water and milk mixed together, but the difference was hardly noticeable. Still, if it bothers you, you can make up for it by adding a small amount of heavy cream toward the end, otherwise just serve it as-is.
A couple of experiments that failed (“don’t do this at home!”):
Milk-only recipe:
Following the same method as Set ‘n Forget above, we tried skipping the water and replacing it to use only milk. This resulted in some problems: It was much harder for the cooker to build up enough steam to pressurize, and the porridge also burnt on the bottom pretty badly. We believe that mixing water into the milk probably helped build enough steam so that the cooker could come to pressure, instead of the machine staying on high heat in an attempt to pressurize and then burning the risgrøt in the process.
Double boiler concept:
I also tried to do what I have seen in a Norwegian pressure cooker recipe online, using a double boiler concept. A rack and some water is placed inside the pressure cooker pot, with an oven safe bowl sitting on top of the rack. You pour all of the ingredients into the dish and cook at full pressure for at least a half hour and probably even longer, then use natural pressure release. The advantage to this method is that there is no direct contact between the porridge and the pot, allowing you to cook the rice at full pressure without burning it.
The reasons I do not like this method: You can only make a very small portion and it’s messy with milk spilling into the bigger pot and down the sides of the inserted bowl. It is also tricky to safely remove the hot bowl after cooking. Although food often cooks faster in a pressure cooker, this method still takes at least an hour to finish, taking into account the time it takes for the pot to reach full pressure in the first place and time for natural pressure release. I shall never know the exact time as I gave up after having increased the cooking time to as much as 25 minutes on high pressure, and it was still not done. To me, it is simply too much of an ordeal for what it’s worth in the end and it doesn’t save any time.
I hope this post has helped you see how you can use a pressure cooker to make this delicious, traditional Norwegian rice porridge for yourself! After personally having experimented with a variety of cooking methods and found several ways that work well, I hope you will feel inspired to give it a try! If you do, I would love to hear from you in the comments below along with a star rating as it is very helpful to me as a blogger. Thanks in advance, and Happy Cooking and Reminiscing! May your delicious risengrynsgrøt bring back wonderful memories!

- 1½ cups white, medium grain rice
- 3 cups water
- 5 cups whole milk
- 2 tablespoons white granular sugar
- 1¼ teaspoon salt
- 2 teaspoons vanilla sugar / powder (preferred), or ¾ teaspoon vanilla extract
- Let rice and water boil uncovered on saute mode until most of the water is absorbed. Stir often, especially when the water starts to absorb, to prevent sticking and burning.This will take approximately 10 minutes.
- Add the milk and let it come to a boil again, still on saute mode, stirring often and scraping the bottom very well.
- When the milk has come to a boil, turn off the heat and continue to stir until it has completely stopped boiling.
- Put on the lid and turn on the warm setting.
- Let sit for 1 hour and 10 minutes.
- Remove the lid and stir well. If the porridge seems a bit runny, let it sit on warm without a lid for a couple of minutes. If it seems too thick, add some more milk. The porridge should be thick, creamy, and the rice tender.
- Add sugar, salt, and vanilla sugar; stir well and serve while hot. If vanilla sugar is not available, you may use vanilla extract; however, this brown liquid will change the color of the porridge and it will not be as white as it should be.
- Serve in bowls, sprinkle with cinnamon and white sugar, and add a dab of butter in the center. Serve red juice to drink with the meal.
- Leave leftovers in the refrigerator and thin with milk when reheating.


Can you do a dairy free version of this with almond milk?
I have never tried it, so I have no personal experience with it. But I did a google search on Norwegian pages and someone there had tried it successfully with coconut milk. She had previously tried it with almond milk, rice milk, oat milk, and soy milk and was always disappointed. It usually ended up gray, lumpy, and hard. However, with coconut milk, the result was white, soft, and creamy, and she loved it! So that was interesting to know! You may need to adjust the volume of the milk you choose to use; you may not need as much as when you use cows milk. Cook until it’s creamy and the rice is completely tender. I hope this helps!
http://ieteggeskall.blogspot.com/2013/06/nydelig-risengrynsgrt-med-kokosmelk.html
Be CAREFUL !!!
I wrote a comment somewhere else and it doesn’t show up here.
The salt ruined my batch of pudding. It has to be thrown out.
A pinch of salt, or 1/4 tsp at the most, would suffice.
In attempting to be efficient, I had the sugar and salt measured out but I didn’t think it through.
I have made this for years, and so did my mom.
The Instant Pot makes it a dream, and if it weren’t for the salt, it turned out beautifully.
It’s good I did a trial run before Christmas Eve.
I’m sorry to hear that, I have made it with less salt before and I find it to be too bland. Is it possible that you used a tablespoon instead of teaspoon by mistake? But just to double check if I’m completely off here, I googled Norwegian recipes and checked the first 10 recipes that popped up. ALL of them but one, called for the same amount of salt as my recipe uses, comparative to other ingredients in the recipe. And the one recipe that didn’t only said “a little bit of salt” without a specification. So I feel pretty confident that this is the perfect amount to add for most people.
If you look at my original post for the original cooking method, which uses the same ingredients, there are several people under that post commenting that they enjoyed it. http://thecountrybasket.com/risengrot-riskrem-recipe/ But it might be a good idea to try adding a little at a time until you’re happy with the flavor.
As far as your other comment, do you recall which post you commented under? I’ll try to look for it but I can’t see it so far.
I need to make a larger quantity…do you see a problem with doubling the recipe? I just bought an 8 quart Instant Pot
Well, normally it would be fine to double this recipe, but not sure when you’re using an Instant Pot since the heating element on the bottom will need to be on for a longer period of time with the larger amount. I’m thinking it would be more likely to burn, but hopefully it won’t be too bad. You could try it and just be careful not to stir the bottom much afterwards.
I halved the recipe for the dump and leave version. Now I wish I hadn’t it is sooo good. No sticking or burnt bits, cooked by 45 minutes when I was starving. Used aborro rice and 2% because that is what I had in. Quite a forgiving recipe. It really doesn’t get any easier than this to make something that tastes like you had slaved over a stove for hours. Thanks for the great recipe.
Thank you so much, what a fun comment to read! I’m so glad to know it went so well and that you loved it!
Tried this today after having Risgrøt for the first time a month ago and wishing I could have it again. I used the all in one method with 3 cups water, 3 cups 2% milk, and 2 cups heavy cream(since i didn’t have whole milk). It was OUTSTANDING, nothing burned at all and the flavor and texture are amazing!
Oh good!!! I’m so glad to hear it worked out so well! And using heavy cream I’m sure made it absolutely delicious!
Set and forget method has worked great. I use 2% lactose free milk, I think it tastes great and has little to no burning.
That’s great to hear, I’m so happy it worked well for you! Thank you very much for your comment and 5 star rating!!
Successfully sped up the process by sauteeing water and rice, adding milk and pressure cooking on high for 2 min.
Let stand for 20.
Everybody in the family are enjoying g dinner!