Norwegian Risengrynsgrøt 6 Ways; Rice Porridge Recipe
Norwegian rice porridge, or risengrynsgrøt, is a thick, creamy, hot rice cereal commonly made in Norway throughout the year, especially as a Saturday lunch. Also called risgrøt, the standard way of cooking the white rice is in a heavy pot on the stove top, as described in my post Traditional Norwegian Risgrøt, Rice Porridge Recipe. The rice cooks in milk for an hour until it thickens and softens, and needs to be stirred every five minutes or so to prevent burning. It is a little bit of a process, so it is nice to have some additional preparation options. After having experimented with a lot of batches, I am now ready to show you several alternatives. Most of them require that you start by simmering the rice in water, then add milk and heat up again. Then you can finish it using one of the following methods: Oven, quilt, cooler, slow cooker, or electric pressure cooker method.
The recipe itself is found at the bottom of this post, in which I chose to follow the oven method. But you can use the same measurements for any of the other methods described in this post. To keep this post from getting too long, I decided to post a separate post on the electric pressure cooker method (click this link.)
If you decide to try my recipe, I would be thrilled if you left me a comment and star rating at the bottom of this post, and let me know which method you decided to try and how it went! It would be very helpful to me as a blogger! Thanks in advance!
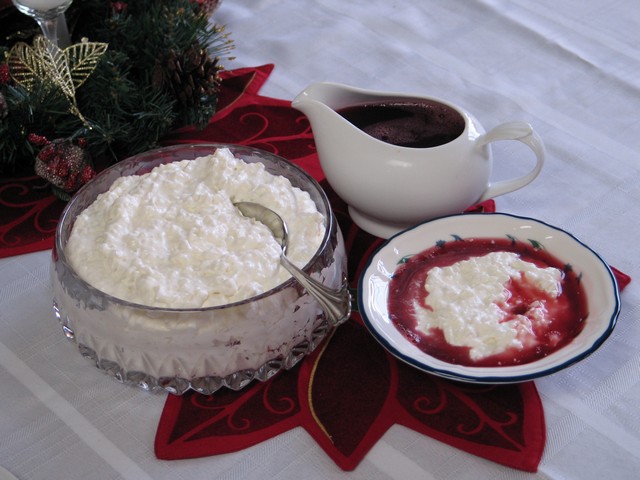
Although common year round, risgrøt is also often served for lunch on Christmas Eve day, with the leftovers used in the evening for the much loved traditional Norwegian Christmas dessert, Riskrem (rice pudding). For many families, mine included, there is no Christmas without riskrem!!
The best rice to use for rice porridge is white medium grain rice, not the standard long grain. (See picture and more info in this link.) Medium grain has a rounder shape and works well in creamy dishes such as risengrynsgrøt and risotto, as it tends to be stickier and cling together better. You can also use the more expensive short grain rice, such as sushi rice or risotto rice, which is even rounder and larger than medium grain and produces an almost luxurious result!
Ways to Cook Risengrynsgrøt
1. Stove Top Method, the traditional way to make risengrynsgrøt, as shown and described in my first post on rice porridge.
2. Oven Method
3. Cooler Method
4. Quilt Method (called “dynegrøt” in Norway)
5. Slow Cooker Method
6. Electric Pressure Cooker Method (see separate post on this method)
Methods 2-5 can be found below.
For most of the cooking methods, first go through the quick steps 1-3 just below. Then use one of the 6 methods to finish the cooking process, which is the more time consuming part of making this dish.
During the first three steps you will boil the rice in water initially, then add milk and heat up. For pressure cookers, this can be done directly in the cooker. Cooking the rice in water first, before adding milk, speeds up the cooking process and helps with the consistency. If you skip this step you will add a lot of hours to the cooking time along with other problems, unless you use a pressure cooker.
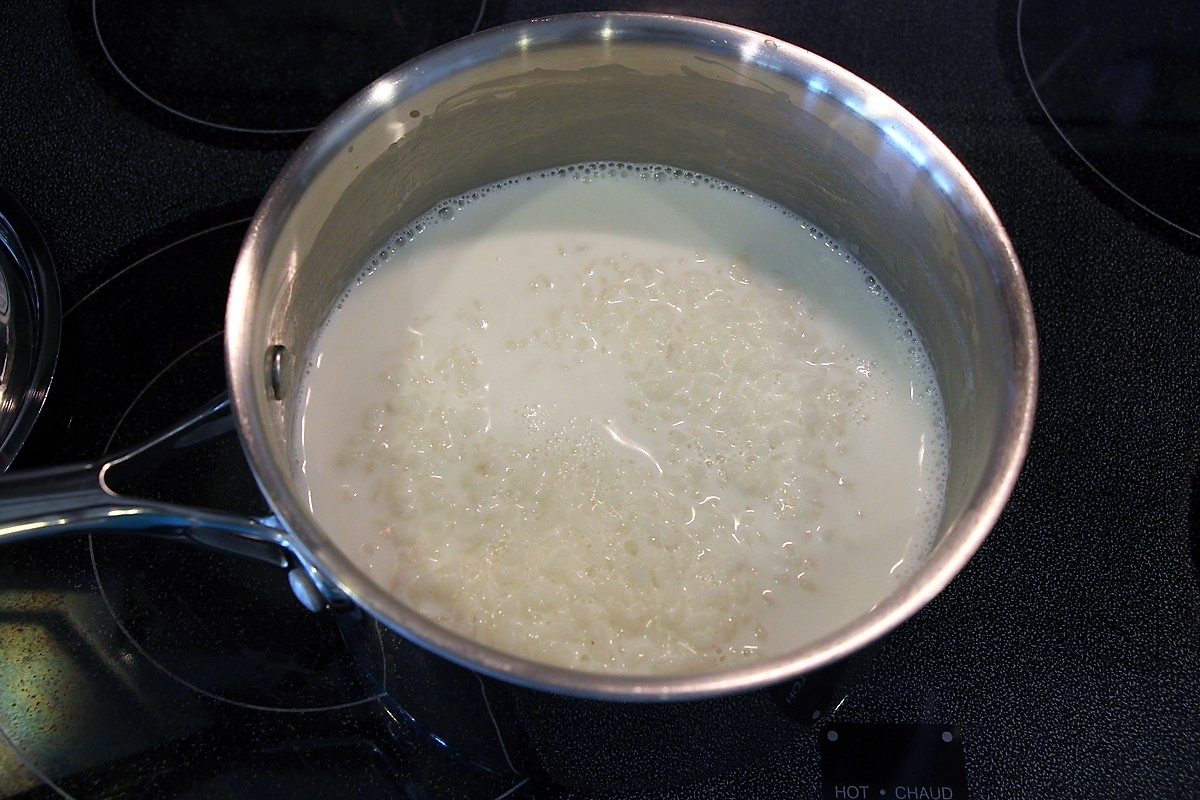
Step 1:
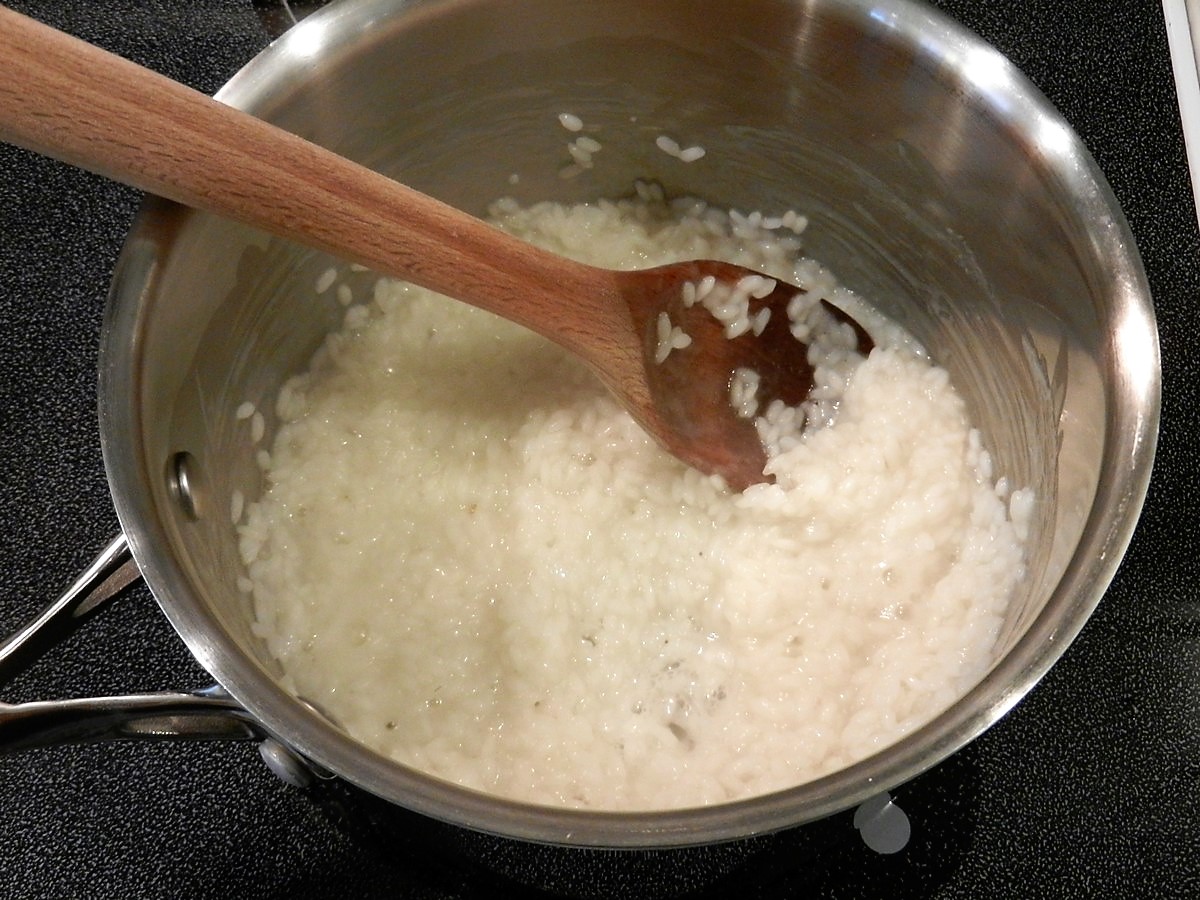
In a heavy pot (no plastic parts if oven will be used later), boil rice and water on medium-low heat, uncovered, until most of the water has absorbed. Stir now and again. This will take approximately 10 minutes. Using a pot with a heavy bottom is helpful since you’ll be adding milk, which burns easily. My Cook’s Standard pot works wonderfully for this use and is just as good of a pot as my All-Clad, in my opinion, but not nearly as expensive. It is also oven safe.
Most of the water has absorbed, so that’s good enough. You do not need to wait until the rice is dry. The wooden spoons I use are from an OXO set and they work great, allowing me to get rid of more plastic from my kitchen (plastic + hot food = not good!)
Step 2.
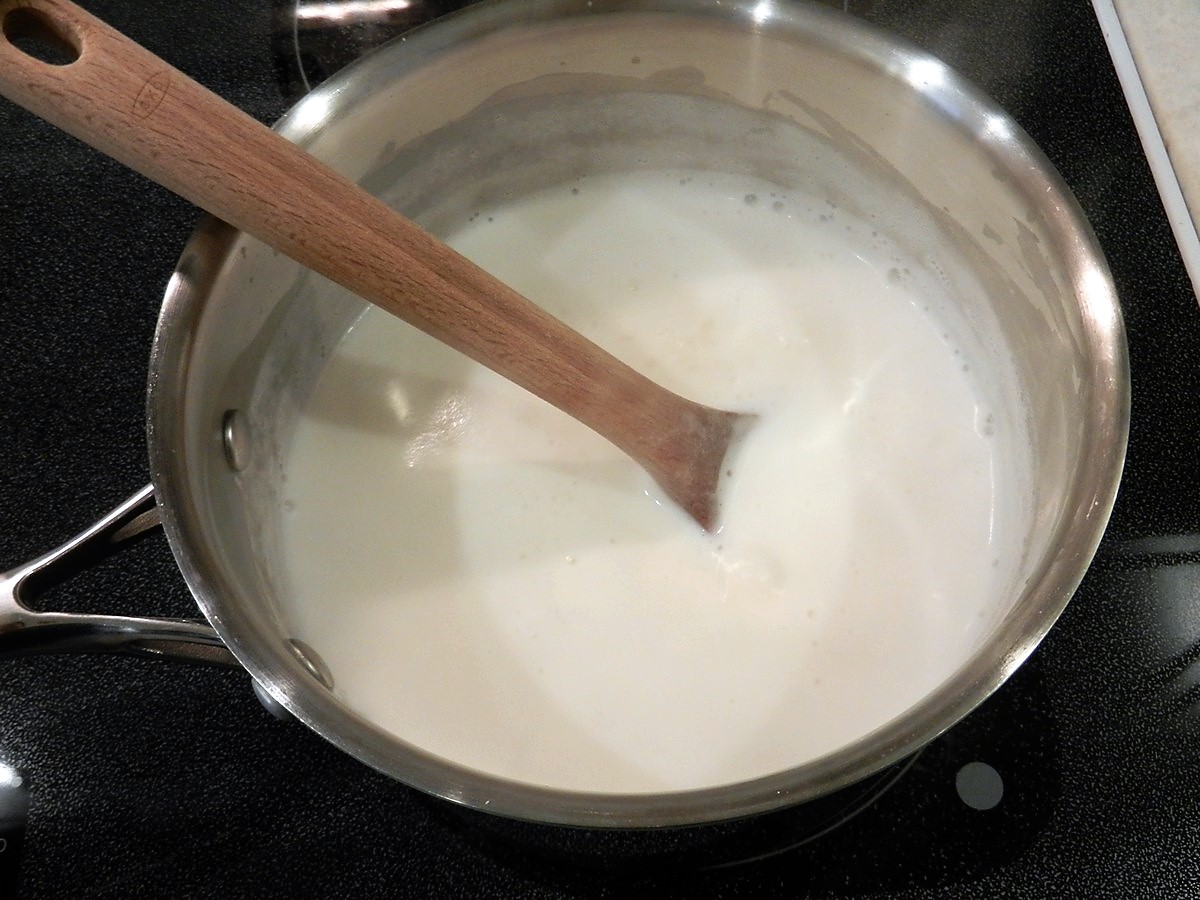
Add all of the milk, turn the temperature up to medium-high to bring to a boil again, stirring very often, almost constantly. Milk burns easily, so pay attention while the heat is higher.
Step 3.
When the milk has just come to a gentle boil, or almost so, choose a method below to use to finish the porridge. Put a lid on the pot if finishing in the oven, in a cooler, or inside heavy blankets.

2. Oven method:
This is my favorite way of cooking risgrøt! The oven method is very easy, require no stirring while in the oven, and takes no more time than the traditional way of cooking on the stove top. Initially you turn the oven on to low heat, but since you turn it off when the pot is placed in the oven, it saves electricity. Low heat and oven-off also adds the bonus of no burn risk while in the oven. So to me, using the oven seems to be one of the easiest and most secure ways to make this rice porridge.
Preheat the oven to 250° F, then go through steps 1-3 above. Make sure to use an oven safe pot that tolerates 250° F with no plastic parts.
Now put the covered pot into the preheated oven, quickly close the door and make sure the oven returns to 250° F since it loses some heat when you open the oven door. Then turn the oven off and leave the pot alone. 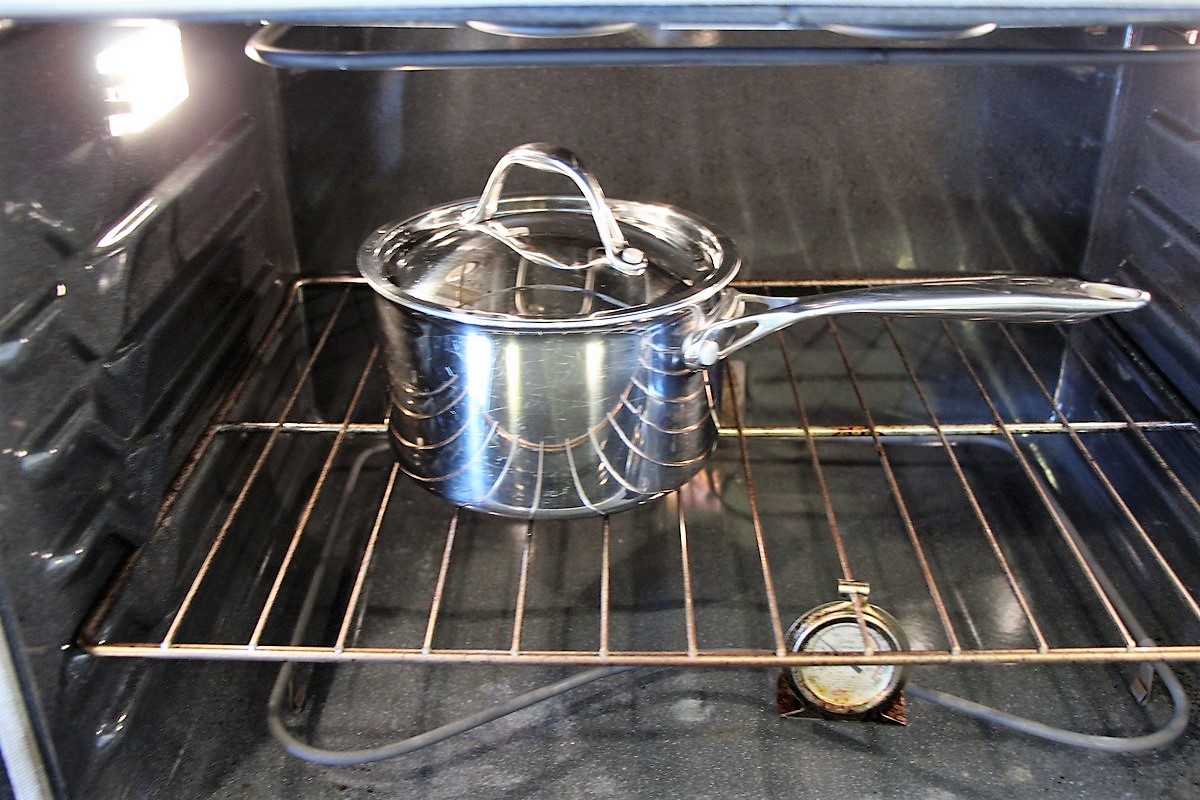
Set a timer to 45 minutes. Do not open the oven door to check on it, just leave it alone! The milk will stay hot and the rice will expand on its own and thicken up. No stirring needed.
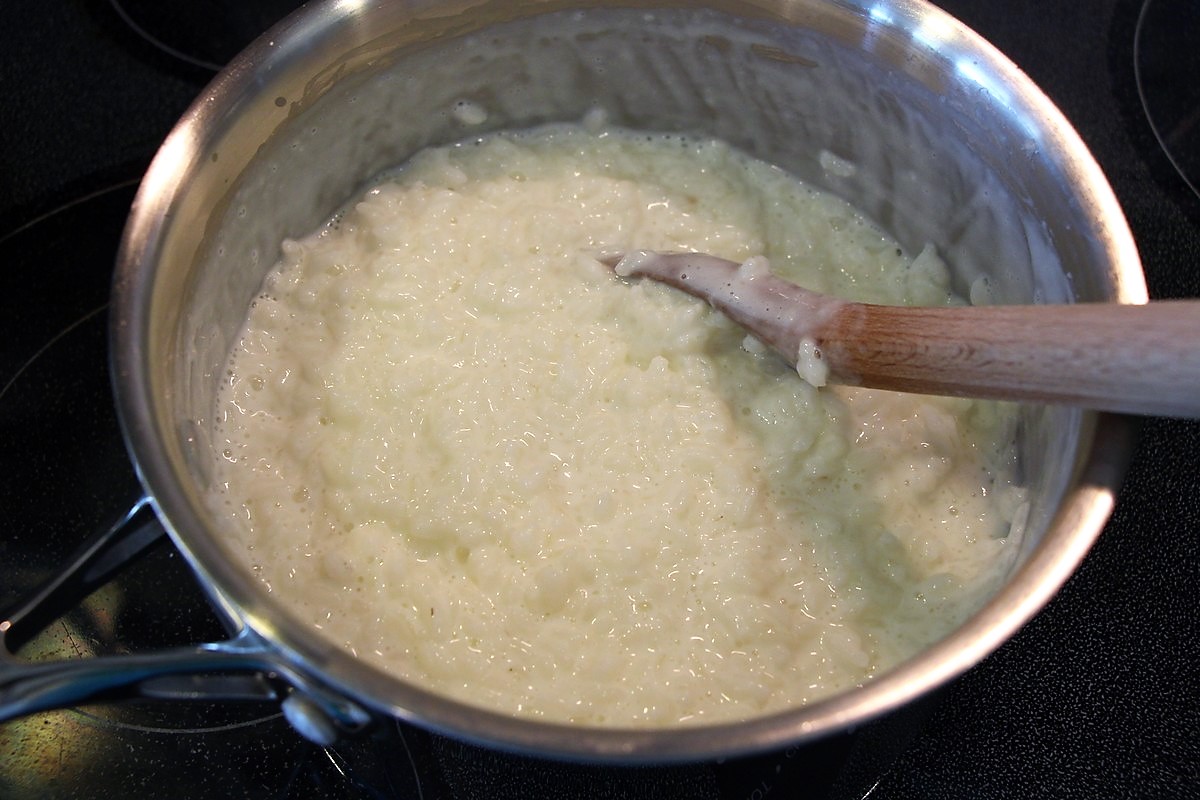
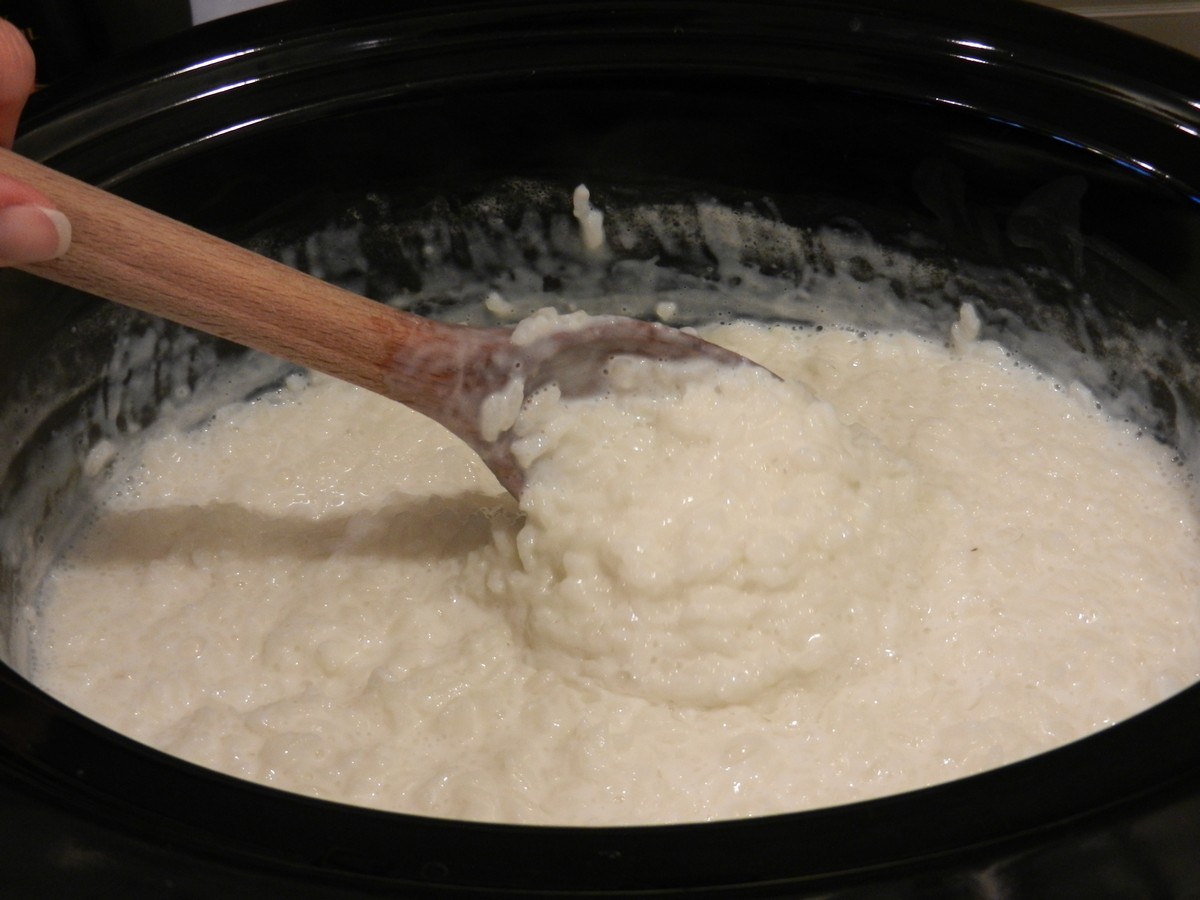
When the time is up, remove the pot from the oven using oven mitts, take off the lid, and stir well. As seen in the picture below, you may see some milk on top or in between, but it will quickly absorb as you stir.
If the risengrynsgrøt seems a little runny, just let it sit with the lid of for a couple of minutes and it will thicken on its own. In the meantime, add the salt, sugar, and vanilla sugar and stir well.
Vanilla sugar can be found in international sections at some supermarkets, otherwise Amazon carries vanilla sugar as well. Vanilla extract can be used as well, but it will leave an ivory tint to the risgrøt, which is not as attractive. It is also much stronger, so cut back on the amount if you do. If the porridge seems too thick, add some more milk.
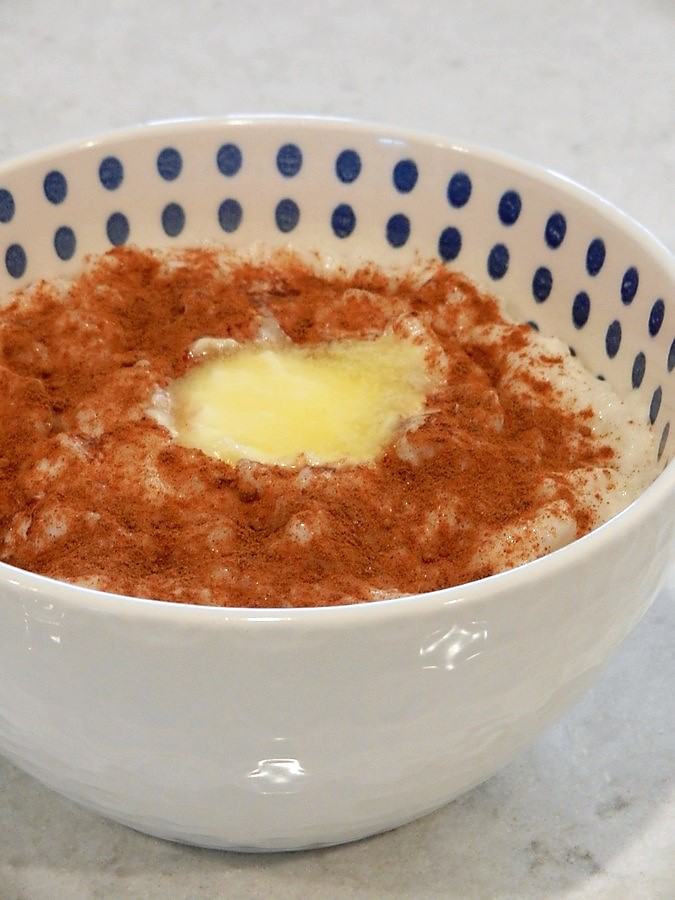
Serve while hot. Sticking to Norwegian tradition, set out sugar, cinnamon, and butter for toppings.
While experimenting, I was wondering if it really is necessary to cook the rice in water before adding the milk. So I tried to use only milk (adjusting the amount), heated to a boil, then put it into the oven on 250° F for 55 min. Surprisingly, it was not even half way done! There was lots of milk left and the rice was firm and in hard clumps that I had to break up gently w/ a potato masher! I stirred and mashed but had to put it back into a warm oven again for another 1 1/2 hours. At that point it was good. So obviously cooking with water first speeds up the cooking time and prevents other problems.
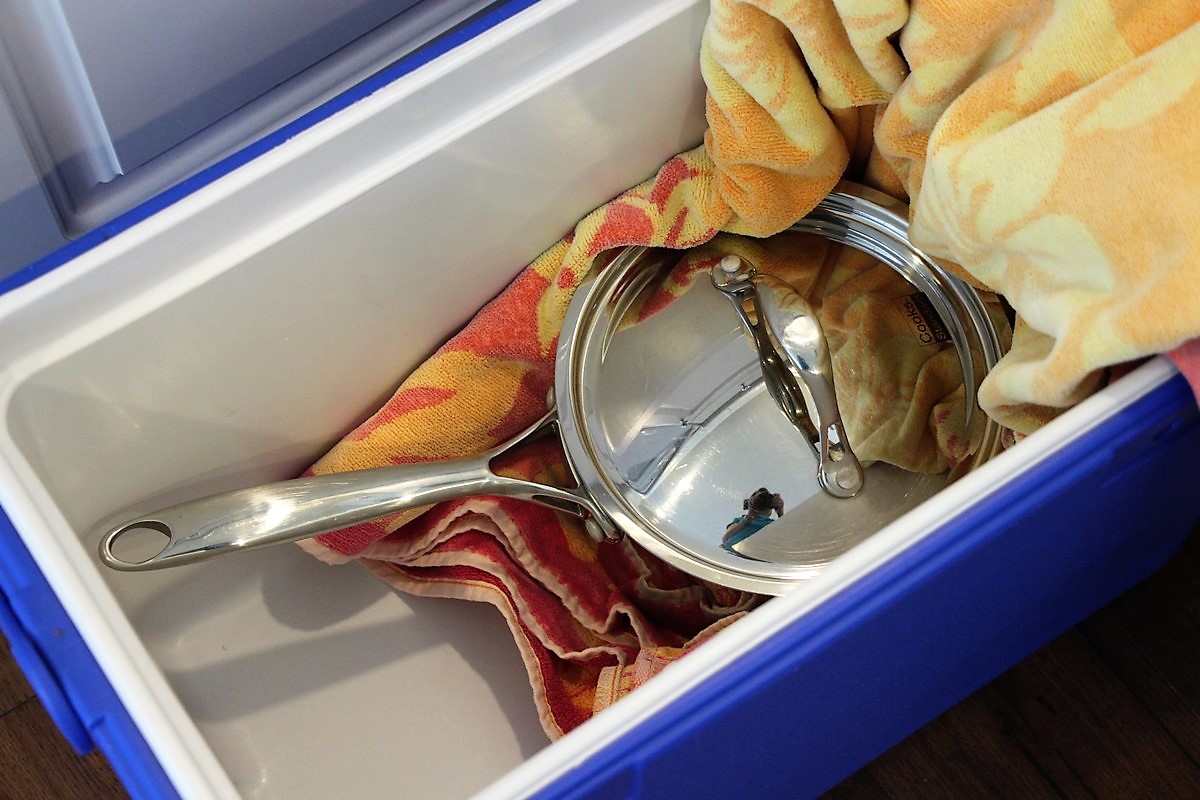
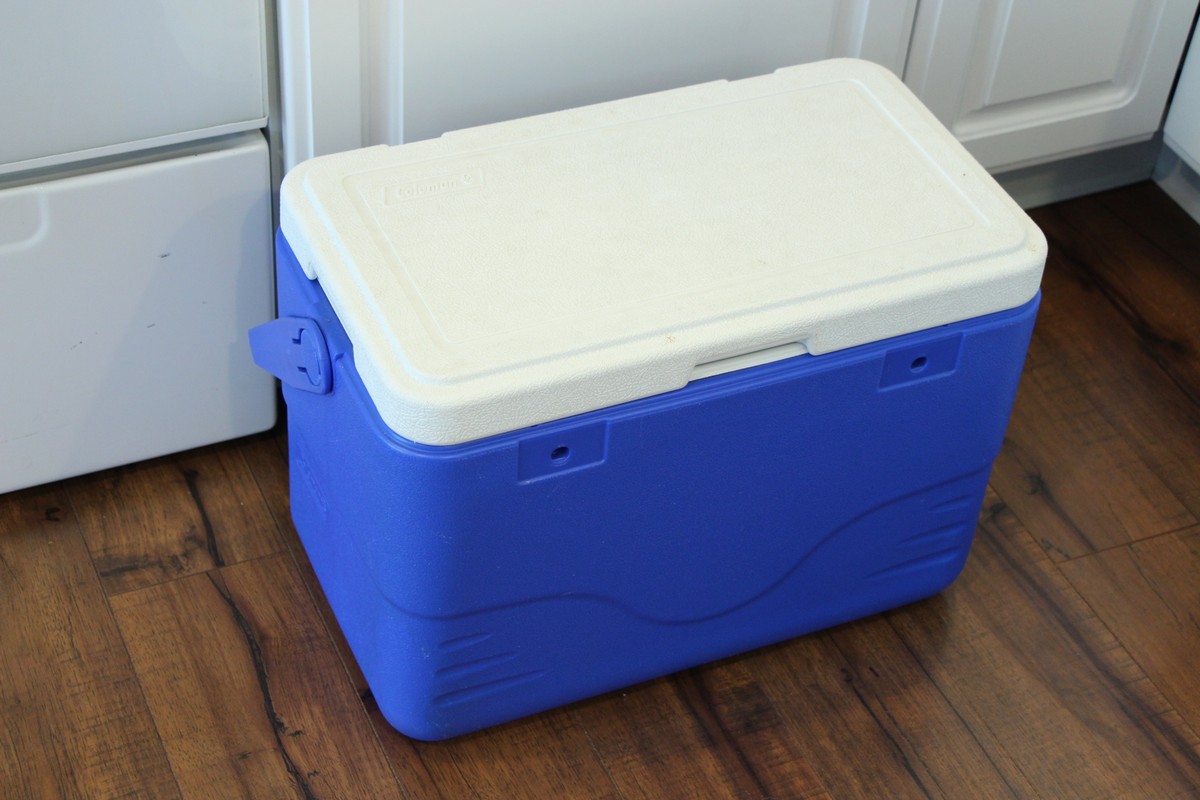
3. Cooler Method:
If you have lots of time and an oven is not an option, a cooler and heavy towel will work well. This method takes nearly four hours from start to finish, but since only a burner and cooler is needed, you technically could even make this dish while camping! How do you like that idea?! Preparing authentic Norwegian food while camping; how exotic arctic!! The insulation keeps the porridge hot enough to allow the rice to expand and soften. At the end you may need to reheat the porridge a little bit since it won’t stay as hot in the cooler as it would in an oven.
Go through steps 1-3, then place the hot, covered pot in a cooler with a couple of big bath towels wrapped around it for extra insulation. Make sure the pot is not in direct contact with the plastic in the cooler since it could melt the plastic.
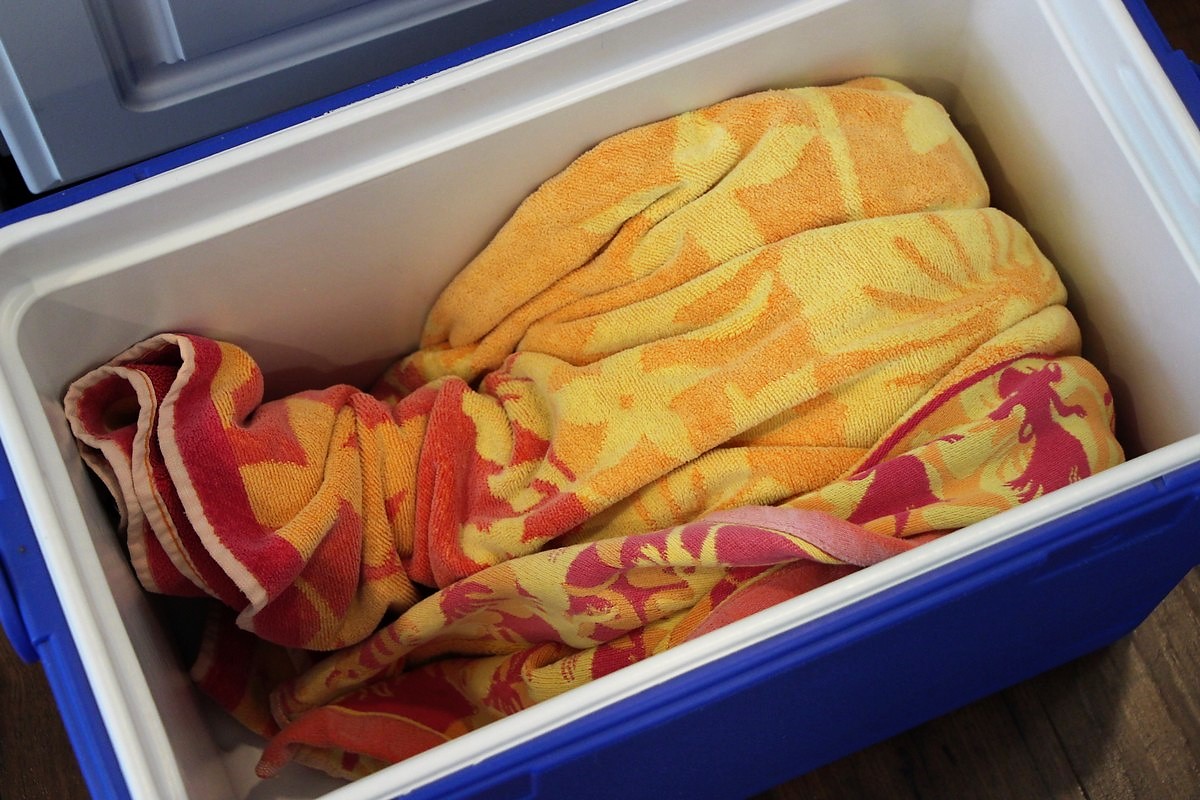
Put the lid securely on the cooler and let it sit for 3 1/2 hours or so. Do not lift the lid to peak inside since valuable heat would escape! No stirring needed.
3 1/2 hours works well for my cooler but the time may depend on how well insulated your cooler is, the size of the pot etc. This could affect how hot the pot stays and therefore how fast the rice will expand. When experimenting, three hours was not quite enough and left the risgrøt a bit runny, and four hours was a bit long and left it too thick. These “problems” can be easily fixed: If too runny, cook for a few minutes on low heat on the stove top to let it thicken. If it’s too thick, add some more milk.
When the time is up, remove the pot from the oven, take off the lid, and stir well. You may see some milk on top or in between, but it will quickly absorb when you stir, otherwise let it sit for a couple of minutes without a lid. You may need to reheat the porridge a little bit on the stove top.
Add salt, sugar, and vanilla and serve while hot. Sticking to Norwegian tradition, set out sugar, cinnamon, and butter for toppings.
Disclaimer: This method may not meet food safety regulations; hot food should not be kept under 140 degrees for more than two hours. The temperature of the milk should initially be much hotter than 140° F, but I am not sure how long it takes for the temperature to go below 140° F. Keep this in mind and use this method at your own risk.
4. Quilt Method, also called Dynegrøt (comforter porridge) in Norway:
This method is very similar to the cooler method, only you use heavy blankets, quilts, comforters etc. to keep the pot hot instead of a cooler. Do steps 1-3 above, then wrap the covered pot inside heavy quilts or blankets. Make sure the pot is very well wrapped and that you don’t feel any heat on the outside since that means heat is escaping. Let sit inside the blankets for 3 1/2 – 4 hours. If the porridge ends up too runny, cook for a few minutes on low heat on the stove top to let it thicken. If it’s too thick, add some more milk. Regardless, you may need to reheat the porridge a little bit on the stove top since it will have lost a bit of heat while sitting.
The quilt method saves a lot of electricity, although it also takes much longer to make plus you may have to heat it up a little bit at the end.
Disclaimer: This method may not meet food safety regulations; hot food should not be kept under 140 degrees for more than two hours. The temperature of the milk / rice should initially be much hotter than 140° F, but I am not sure how long it takes for the temperature to go below 140° F. Keep this in mind and use this method at your own risk.
5. Slow Cookers:
While experimenting with various cooking methods, I was excited to discover that a crock pot can be used for making risengrynsgrøt! I tried it two different ways; one worked well and the other one did not. Here’s what worked:
I first did steps 1-3 and cooked the rice in water on the stove top, then added milk and heated up. Then I poured the hot milk and rice into a preheated crock pot set on low and put the lid on. (I preheated my crock pot while doing steps 1-3 to give it a little head start.)
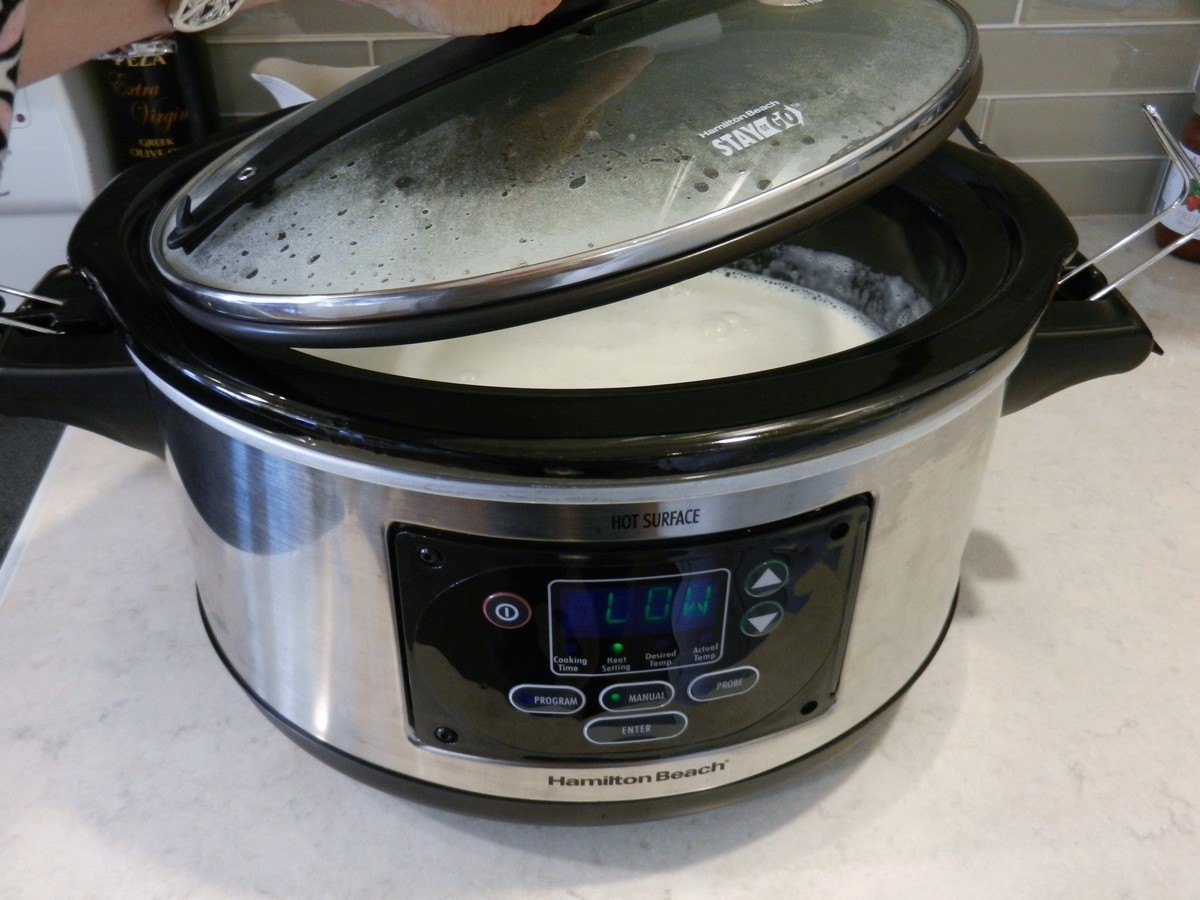
I cooked the rice porridge for 45 minutes, stirring every 15 minutes to monitor, and it was just about perfectly cooked after the 45 minutes. The rice was creamy and tender, although the porridge could stand to thicken just a tad more. So I left the lid off for a few minutes while adding salt, sugar, and vanilla, and this little bit of extra time caused it to thicken just right. I had been concerned that the milk would burn along the edges in the slow cooker, but it didn’t!
I also tried a different way, to see if I could skip cooking the rice in water on the stove top and do it directly in the slow cooker. That did not go very well: I first cooked the rice with water in the crock pot on high, and it took 1 hour 20 minutes before the water had absorbed! Yikes! 10 minutes on the stove top is much better even if it dirties another pot! But it did absorb eventually. Then I added the milk, turned the heat to low and stirred every half hour. After an additional 3 hours 10 minutes it was finally mostly done, but had taken 4 1/2 hours altogether! And even though the rice seemed tender and creamy at that point, there were actually crunchy pieces of rice throughout the porridge when we ate it. Not cool! So if you want to use a crock pot, just make sure to do steps 1-3 on the stove top first.
![]()
I hope this post has helped you figure out how you can easily make this delicious, traditional Norwegian rice porridge for yourself! After personally having experimented with a variety of cooking methods and found several ways that work well, I hope you will feel inspired to give it a try! If you do, I would love to hear from you in the comments below along with a star rating as it is very helpful to me as a blogger. Thanks in advance, and Happy Cooking and Reminiscing! May your delicious risengrynsgrøt bring you wonderful memories!
![]()
- 1½ cups white, medium grain rice
- 3 cups water
- 5 cups whole milk
- 2 tablespoons white granular sugar
- 1¼ teaspoon salt
- 2 teaspoons vanilla sugar / powder (preferred), or ¾ teaspoon vanilla extract
- Preheat the oven to 250° F.
- In a heavy pot (with no plastic parts) on the stove top, let rice and water boil uncovered on medium-low heat. Stir occasionally to prevent sticking until most of the water is absorbed. This will take approximately 10 minutes.
- Add the milk, raise the heat a bit and let it come to a boil again, stirring well and often while using higher heat.
- When the milk is near boiling, pull away from the heat and put a lid on the pot.
- Set the covered pot in the oven, close the door, make sure the oven reaches 250° F again and then turn off the heat. Do not open the door to check or stir, just leave the pot alone.
- Let the pot sit in the oven for 45 minutes.
- Remove from the oven and stir well.
- The porridge should be thick, creamy, and the rice tender. If the porridge seems a bit runny, let it sit uncovered for a couple of minutes. If it seems too thick, add some more milk.
- Add sugar, salt, and vanilla sugar; stir well and serve while hot. If vanilla sugar is not available, you may use vanilla extract; however, this brown liquid will tint the porridge and it will not be as white as it should be.
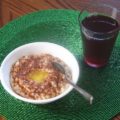
- Serve in bowls, sprinkle with cinnamon and white sugar and add a dab of butter in the center. Serve red juice to drink with the meal.
- Leave leftovers in the refrigerator and thin with milk when reheating.


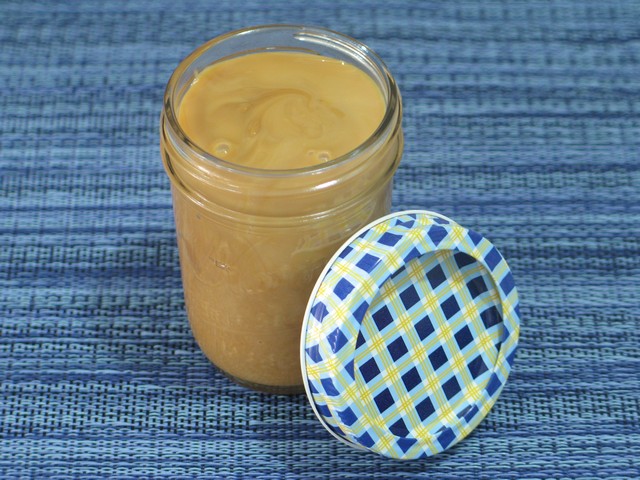


I like the different options offered, especially this one, as it frees up the last 45 min. to do something else. Now, if I could just find a good caramel recipe that would do the same. God Jul.
Great to hear! Thank you for letting me know, I’m glad to hear that you tried it and liked it! I also appreciate that you took the time to give it a star rating, thank you very much!!
We make our Christmas Eve lunch following the stove top method but based on your advice I’m going to try the oven and slow cooker methods. Your blog post is so easy to understand. Thank you for sharing!
You’re welcome, and thank you for the compliment and the star review! I hope it goes well when you try other methods and that you’ll find an alternative that works well for you. I just made it yesterday for our Christmas Eve lunch as well, and used the oven method. It was so convenient! Have a wonderful Christmas!
I can’t believe how much less time this recipe uses. My mother in law taught me how to do risengrynsgrot 50 years ago and I’ve been doing it her way ever since. I was taught to wash the rice to rinse it Then put it in a little water and boil for a few minutes, and drain. This was to get the starch out of the rice. Then melt a T of butter in the pot, then add rice and about a quart of milk. Cook on very low on top of stove, stirring every 5 or 10 minutes adding more milk as necessary for about 4 hours or until thick and all milk has been absorbed. I could never figure out why something that took so long to cook, and really wasn’t worth the energy ( in my opinion) was worth doing . Now that I know the answer to the question I will NEVER do it that way again. Yours turned out a quick (1 hr start to finish) delicious cereal that was a snap to do and didn’t burn on the bottom. Thank you so very much.
You have saved the Joy in Christmas
Oh how fun to hear!! I’m sorry your grandmother’s way didn’t work out very well for you, but now it sounds like you found the joy again! I’m glad to hear it! Sounds like it was quite an undertaking before. It really is such a yummy cereal, and even as many portions as I made in a short amount of time as I tested and experimented, thinking I’d have enough for a life time, I was happy to find that I still very much enjoy it. It would be a shame if I ate so much I would never touch it again, but fortunately I found happy takers so I didn’t get stuck with it all. Anyway, I appreciate the comment, thank you very much!
Oh bless you!!! My Norwegian grandmother taught my mother (her daughter in law) to do this on the stove as an all day slow simmer process with the step of boiling the rice for only a minute and then putting the milk, butter and rice on a very slow simmer all darn day. I tried your crockpot method this year for christmas first thing in the am and within an hour had perfect porridge and the rest of the day unexpectanly available! It came out perfect and our yearly tradition has been made so much easier.
That’s wonderful to hear!! WooHoo!!! There’s nothing like the gift of time! I’m so glad this worked out well for you, and I really appreciate that you took the time to comment to let me know! It is so nice to hear!
Thank you so much for the recipe! We recently moved to Oslo and I had been trying to locate a recipe that would allow me easily make Risgrøt and this is definitely it! I used the oven method and it worked like a charm. The recipe makes for an incredibly delicious, creamy and comforting rice porridge.
Wonderful! I’m so glad you liked my recipe!
Takk, Takk og Tusen takk!
Dette er de beste oppskrifter !
Lager Risensgroot i dag,
tusen takk og riktig
God Jul
Tusen takk, så koselig! Håper den smaker godt! Ha en god jul du også!
I made this for a night shift treat for my nursing coworkers and it was a sucess! I cooked it entirely in my instant pot and have a tip to share. I did the first water cook using the rice function, then used the porridge function twice to warm the added milk, caused some scalding. I recommend just a single round of the porridge function. I then used the keep warm function starting at 6 pm and the milk was absorbed by 10, when I was able to check in on it. There was no further scalding! I then added the vanilla, salt & sugar and the porridge kept beautifully with the keep warm option through until morning. I had used the Lundberg sushi rice. I will definitely do this again!
Great!! Thank you so much for these tips! And I’m happy to hear this worked so well for you, I’m sure your coworkers were happy to have someone bring them food!
I cook my rice pudding from the only recipe I know. My Aunt Marie’s Norwegian recipe. It’s a constant stirring for 1 1/2 hrs.
1 gallon whole milk
16oz Carolina long grain rice
add 1 tsp. vanilla extract when done
Cool and mix with 2pts of whipped cream that have been very slightly sweetened by confectionary sugar.
Have sweetened strawberries in a bowl as an accompaniment as well as krumkake.
I learned to make the standard recipe in Oslo about 50 years ago, but it took so long and ofen scorched.
I was searching for the pressure cooker method – how did I miss it?
God jul og mange takk for oppskriftene.
Værsågod, I’m glad I could help! God jul og godt nytt år!
I spent six weeks in Norway when I was 20 (I’m now over 60) and remembered this porridge all these years. Thanks very much for the recipe and especially the oven method, which I’ve used twice now. My friends are very impressed with its tastiness.
Oh wow! How wonderful to find a recipe after that many years, I am so happy I could help! It really makes my day to know that the work I put into these posts are appreciated by others. Thank you very much for your comment, how nice!
Terese I cannot begin to tell you how easy this recipe was compared to the way my mother and I cooked this, our recipe was 6 tablespoons of rice to a quart of milk ( and other ingredients ) and 2 hours of stirring, I even found a pot stirrer
which helped but it still took too long, your recipe method by the oven is a life saver , thanks so much! Also it was delicious!
Karen, I am so happy to hear you found my recipe helpful!! Thank you so much for letting me know, it is always uplifting to know that my efforts were useful to someone else. I hope you’ll have an amazing year ahead! Happy continued cooking!
That oven method is terrific! My mother in law taught me similar to what Elizabeth posted above. This came out perfect! I made ahead of time and just warmed it stove top with some more milk. This is fantastic! Thank you so much for posting. Merry Christmas!
That’s great to hear! I hope you had a wonderful Christmas celebration!