Brining and Slow Roasting for a Wonderfully Juicy Turkey Recipe
I have cooked turkeys for years now; for Thanksgiving, for Christmas, and anytime we run out of leftovers in the freezer. I always used to roast our turkeys on 325 degrees F, until fairly recently. After hearing about slow cooking at 200 degrees, I decided to try it and was very happy with the results. So this past Christmas my husband and I decided ahead of time that we should continue to roast at low temperatures.
If you do try this recipe, I would really appreciate a quick comment with a star rating (option found immediately under each recipe). It helps me out tremendously! Thanks in advance!
A couple of important things to be aware of is never to add stuffing or anything else to the cavity of a slow cooking turkey. With temperatures as low as 200 degrees, the stuffing simply won’t cook all the way through to reach the necessary, safe temperatures. Additionally, USDA states that cooking a turkey at temperatures less than 325 is unsafe, so if you do want to try this method, do it at your own risk. Personally I have read enough about it to feel comfortable doing this for my own family, but please do your own research before attempting this method.
Slow roasting is baking at temperatures between 200-325°F (93-160°C). Meat baked at low temperatures does not shrink nearly as much, a lot more of the juice is retained in the meat, and it won’t burn easily even if left in the oven a little longer than necessary.
Though slow roasting a turkey is often done in a regular oven, the one change for us this time around was to roast the turkey in an electric roaster oven, a large crock-pot looking device that you can place on a table or counter top, that serves as a second oven. My sweet husband surprised me with one shortly before Christmas this year, after observing how convenient things were at his sister’s house, when she used hers for Thanksgiving. I already have come to really appreciate my roaster oven as it is easy to use and frees up my oven for other dishes. I can also use it again right away after cooking my turkey to make stock out of the leftovers, to use for delicious, nutritious Turkey Noodle Soup. One pot to clean instead of two. The removable roasting pan fits in my refrigerator when needed. This particular roaster is a 22qt. and it is advertised that you can cook a turkey up to 22 Lbs in it. The turkey I roasted this year was just over 19Lbs, and as you can see in the pictures, there was plenty of room for it.
Last year we decided to put our turkey in a brine solution ahead of time, which ended up being a huge success. So we decided to do the same this year. Brining is said to play a large role in how juicy and flavorful the meat ends up, and it also helps to keep it from drying out. Not all turkeys need brining; some are self basting, others are not. I did read not to brine self basting or kosher turkeys as they already contain salt and can end up too salty.
Brining does add some extra work, but it can be so worth it! How long to brine depends on how salty the brine is. As a general rule, you brine for 1 hour per pound, using 1 c (10 oz) of iodine free table salt per gallon of water in the brine solution. Iodine free salt is important, as large amounts of iodine can be poisonous. Kosher salt is pure, but the weight of different brands is not consistent; so in order to get the right amount when using kosher salt, just remember that it needs to weigh 10 ounces or so, depending on how salty you want your brine to be.
I used 1 c of iodine free table salt to 1 gallon of water plus 1 gallon of heavily iced water, which I believe end up being approximately 3/4 c salt per gallon. I left the bird in the brine for about 12 hours due to time restriction, though last year it was left in the brine much longer and ended up more flavorful. If you use 3/4 c of table salt per gallon of water, you can leave the bird in there for several days. That means you can start the brining process while the bird is still frozen; thaw and brine at the same time. I might try that next time. Kept in a cool area with the frozen bird and added ice, the water will stay cold. If the ice melts, you can always add extra, and if you’re worried that the salt will be too diluted, just put the extra ice into a large zip lock bag and drop it in there.
I purchased a large industrial size bucket from the hardware store, which ended up being just right for this 19 pounder. A large cooler may be used as well, or you can use a new trash bag, XXL zip lock bag, or turkey oven bag for the job.
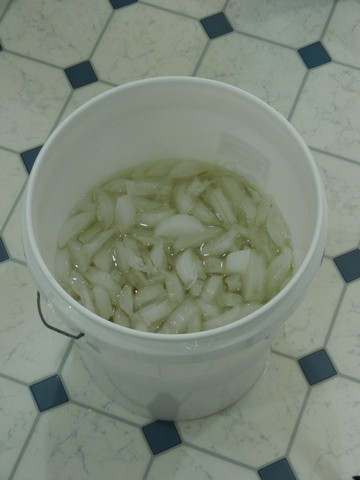
This is the brine along with ice, before the turkey was inserted:
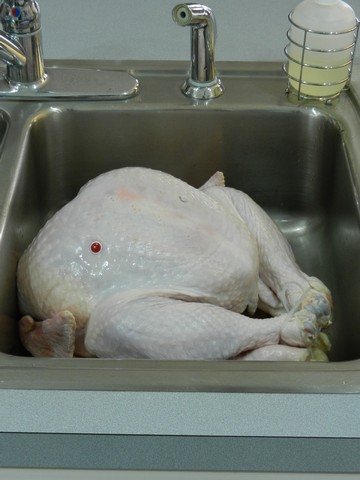
I rinsed my turkey in my clean kitchen sink prior to brining.
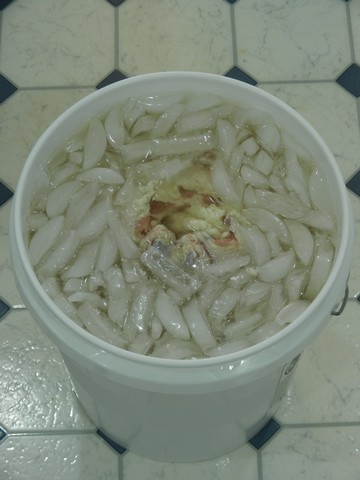
Then I inserted the bird into the brine and let it sit overnight. You can barely see it there, in the center. According to Alton Brown, whom I got my original brine recipe from (though I altered it a bit), it is not necessary to keep the turkey in the refrigerator while in the brine, as long as it is kept cool. The ice will help keep it cold, and bacteria does not grow in water this salty. My husband carried it out on our deck, where it was cold but not freezing.
Neck and giblets should be removed prior to brining and cooking. I prefer to cook neck and giblets separately, and this time I put them in the refrigerator to be saved for later. I like to add them to my stock pot once I make soup stock, which is made by cooking the carcass and other leftovers on low heat for hours on end. The result? Super tasty and highly nutritious soups unlike anything you’ll ever find at the store! Here’s a link to how it’s done. I do it with chicken bones as well. 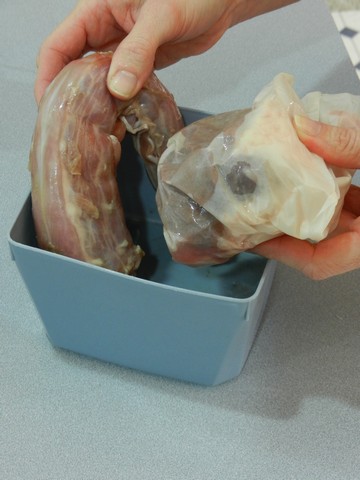
After brining I removed the turkey from the brine. Do not reuse the brine. It is important to rinse well inside and out, otherwise the turkey will end up far too salty. So, rinse, pat dry with paper towel, then rub the outside of the bird with oil. I usually use olive oil. I also prefer to add aluminum foil to the breast and legs, though not to the thighs since they take a bit longer to cook. For the breast, I do what Alton Brown suggested, and fold the foil into a triangle to fit.
Remember: It is NOT SAFE to stuff a turkey if you’re going to slow cook. The stuffing will not reach a proper temperature when slow roasting and may cause foodborne illness.
I started roasting at 10PM. First at 350 degrees F. for 1 hr to destroy surface bacteria, then I turned it down to 200 degrees to cook overnight while keeping the lid on the entire time. One thing to be aware of is that some ovens automatically turn off after 12 hours, so you may want to keep that in mind and double check. When researching, I read that a general rule is to roast three times longer at 200 than the normal cooking time , though my turkeys always get done much sooner. I’ve always relied on thermometers rather than cooking times, since the suggested times always fail me.
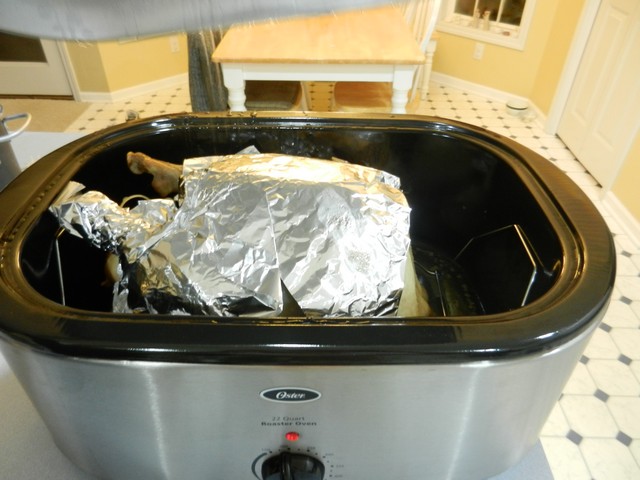
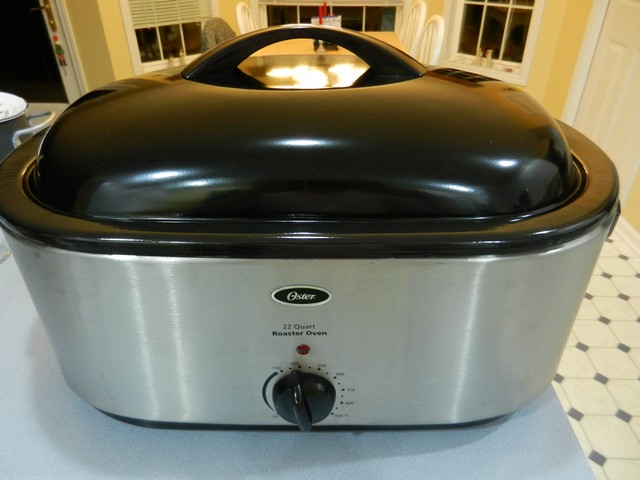
Isn’t my new roaster oven good looking, sitting on the counter there? It’s been so handy and helpful!
When my husband got up early the next morning around 7AM, the turkey was already done, to our surprise. The pop-up thermometer that came with the bird had popped, and when we checked with our digital thermometer, it had reached the necessary temperatures and then some. Pop-up thermometers pop when the meat registers 180°F, which is the temperature necessary for the legs and thighs, though the breast really is fully cooked at 160°. Which means the breast is already over cooked by the time the popper pops. In our case, it happened, but it still was very good since it was cooked at such low temperature. It would seem like the popper should be placed in the thigh, but because of the many bones, it needs to stay in the meaty breasts. Remember that you need to stay away from bones when measuring; bones heat up faster than the meat, so you’ll get an inaccurate result if you measure right by them.
The tricky part is to be able to get to 160° in the breast, but still reach 180° in the legs and thighs. Since dark meat takes longer to cook, it can be difficult to accomplish this, but it helps if the breast is covered while the thighs are not, as the foil will help slow down cooking in the covered parts. I have yet to be consistently successful in this area. Slow cooking helps reach the goal of correct temperatures in both parts yet not over cooking, as the meat cooks more evenly at low temperatures, and the heat reaches into the deeper parts before overcooking the outer layers. One more point for slow cooking! I err on the side of caution and cook a little longer, both to avoid the dreaded salmonella infection, but also because the meat will be a bit more tender if it is for fully cooked and then some. Too much and it will be too dry; to little and it will stick to the bones and not be as tender.
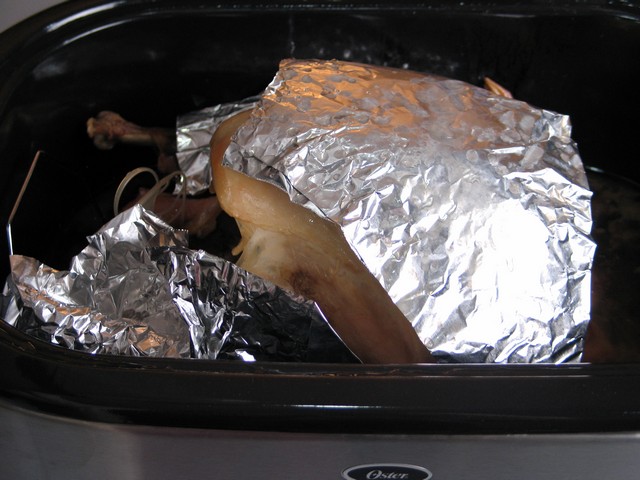
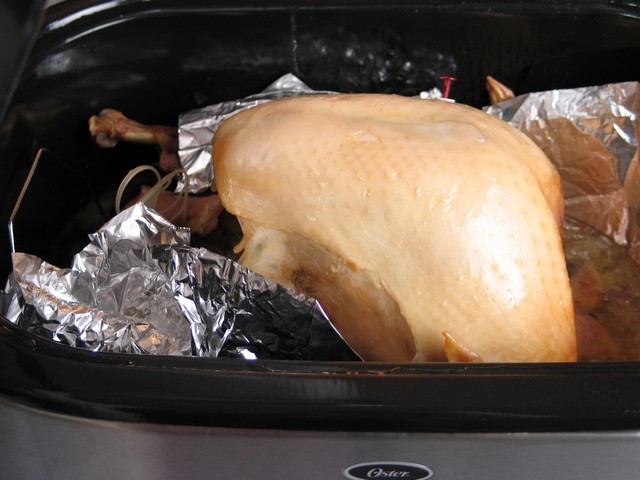
Not expecting it to be done so early, and not ready to eat anything but breakfast at that point, we lowered the temperature to about 150° for 4 hrs until ready to use. Though I would have preferred that it wasn’t done until closer to meal time, we found that the meat still was very juicy and tender, and completely fell off the bones when we were ready to eat.
I often have experienced that when chicken or turkey is done to the point of the meat falling off the bones, it is typically overly done and has started to dry out. That was not the case with this bird, which I contribute to the brining, low temperatures used, and not having waited for an excessive amount of hours. It is said that meat cooked at temperatures as low as 200°F will not dry out or burn, and that you can allow it to cook for several additional hours. My own experience has been that it can, in fact, dry out a bit. But when we turned it down to 150°, the additional 4 hours did not cause drying. (I would not turn the temperature down much lower, as meat needs to be kept at 140° to be safe.) I sure would have liked to go back and dig into it immediately after it was done to check whether there would have been a difference in juiciness or tenderness etc. But that will have to be for next time. I will update if there is any difference worth mentioning.
The exact time your turkey will need to cook depends on a lot of things. There are so many variables. You may want to look at some time tables to get an idea of what to expect, depending on your preferred method of cooking. Just remember to let the turkey rest for 15 minutes before carving to prevent the juices from leaking out.
As you can see, this bird was not brown and pretty like the ones typically seen on turkey pictures, which was completely intentional on my part. I have found that the meat stays much more moist if you cover and protect it from browning during the roasting process, and for my family the juicy meat is to be preferred over a pretty looking bird soon to be cut up anyway. If you do want the skin brown and crispy, you can raise the temperature a bit at the very end (probably to around 400° or so) until you get it the way you want it.
Usually I make a larger turkey than we really need, then I cut up the leftover meat and put in portions in zip-lock bags to freeze. Some of the nicer pieces we use for turkey dinners, and the rest is cut up for casseroles and soups. I use my much trusted digital scale for this job, to get the exact amounts needed in each portion.
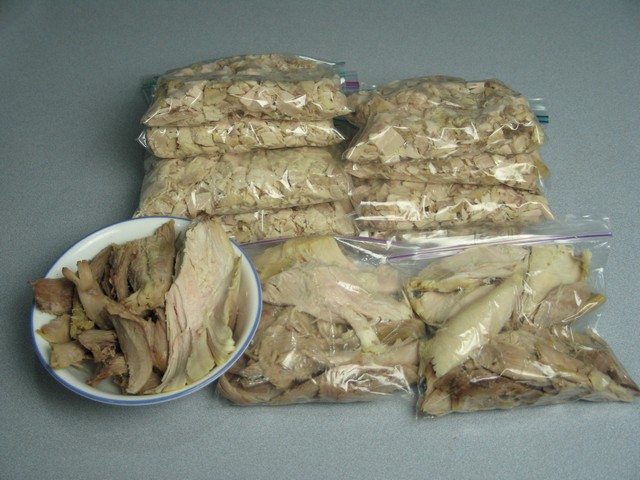
The drippings from the turkey go into the refrigerator to cool down and firm up, then I weigh up portions of this, too, and freeze. You can see how it separates and gels.
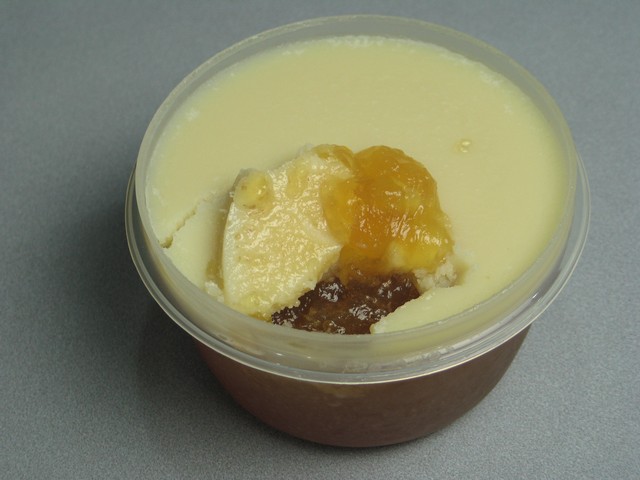
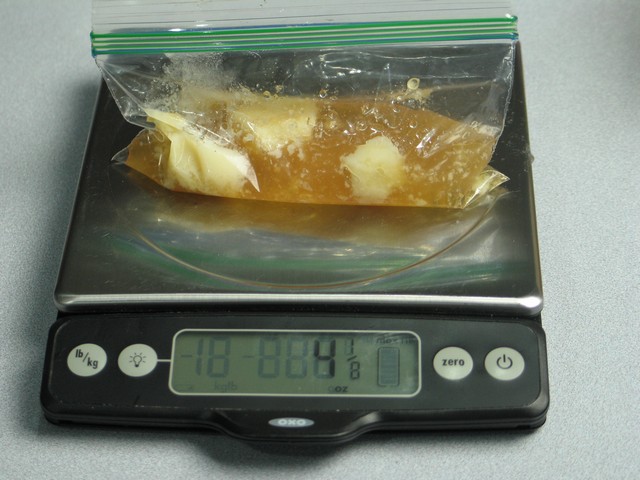
I prefer 1/2 c or 4 oz. per bag of drippings; it is wonderful to use for gravy, adding flavor to various recipes, or dilute a little bit to use as a substitute for chicken broth.
My OXO scale has been so helpful when preparing these bags of leftovers; it is very accurate and has several neat features that I love. It is one of my favorite kitchen gadgets! Here’s a link to where you can find it on Amazon. Just click the picture below:
Roasting a large turkey for the holidays ensures lots of wonderful meat for your holiday table, and sometimes provides plenty for the freezer as well! Please comment and rate this recipe if you try it; option is found immediately under the recipe. Thank you!!
- 1 c iodine free table salt or 10 oz Kosher salt
- ½ c brown sugar
- 1 Tbsp whole black pepper corns
- 1 gallon water
- 1 gallon heavily iced water
- In a large pot, mix together salt, sugar, pepper and 1 gallon of water.
- Bring to a boil, and stir until salt and sugar has dissolved.
- Refrigerate overnight until cold.
- Add heavily iced water when ready to use for brining; use a container large enough to hold the entire turkey with brine.
- Making sure turkey has been thoroughly thawed out, rinse well inside and out, then emerge completely into brine.
- Let sit overnight, or up to 1 hour per Lb.
- Rinse well, pat dry, and prepare to cook.

I’m excited to find a turkey recipe that won’t dry out my turkey so much! I’ve never tried this way of cooking one but am excited about it. Electric roaster ovens are sooo handy.
I have the same roaster oven and a 18.6 lbs. turkey. I’m excited to do it exactly how you did it and thanks a lot for this information
Thank you for your information. I have wanted to do this for some time and now that I have an electric roaster oven I am ready to make Thanksgiving dinner for the family. From previous experience in a traditional gas oven I know that beef and pork roasts are much juicier and tender slow-low-cooked this way.
My mom has always slow cooked her turkey. I have followed in her steps. I am excited to try it in the electric roaster this year.
So excited to find your article about brining AND slow roasting. I was ever so afraid that by doing both I would wind up with a sloppy, soggy turkey. I so appreciate your experience and tips!
I forgot to ask in my previous message whether or not your roaster has a self-basting lid. I would like to buy a roaster, and had no idea that there were different types of lids to consider! Thanks for all the links to recipes and cooking tools to purchase! I’ll be following your blog from now on!
Wow, I’ve never heard of a self basting lid! So, obviously we just have a regular lid… I’m glad to hear you found my blog helpful! 🙂 Hope you find a roaster you’re happy with. I would love to hear back from you on what you ended up purchasing, and what you found out regarding a self basting lid, just exactly what that does. Thanks for your comments!
Add two tablespoons of white sugar to the brine and 1 cup of white wine. Turkey will brown to picture perfect perfection.
Thank you for the suggestion!
Also, to create a “browned” effect, at the4 ned when the bird is just about ready, liberally use paprika to cover skin, rub in with a bit of butter and maybe a minute or two of monitored broil. It’ll look stunning.
Thank you for the suggestion!
Thank you, Terese, for your slow roasting directions. I’m doing it in the oven and covering the roasting pan. Looking forward to trying it – every year it’s different! My son added some interesting ingredients into the solution we soaked the pre-brined turkey in! We shall see tomorrow if it was inspiration or a wild hair!
Thank you for your comment! I hope you had a wonderful Thanksgiving and that the turkey turned out great!
Hello, I have worked as a professional chef for years. You do not need to heat the turkey up for one hour on 350 degrees. After thousands of turkeys slow cooked I can tell you your turkey will be even better with all low heat. They make a special professional oven called the Sham which is a giant slow cooker for various items( every kind of meat and proofing rolls too). We used this without the tin foil and all at a lower temp than you. 175 degrees! Try it and you’ll be happy. FDA approved and USDA to boot!
If you prefer the 200 degrees that’s good too. Ditch the tin!
Good to hear! We will try that next time! Thank you very much for commenting and letting us know, I really appreciate it!
Sherry, how many hours would I think keep on slow roasting seems 70 two 13# birds then?
How do you get 10 oz in a cup? I’ve never heard of that. I’ve cooked for years, and any cup I have is 8 oz. Would like to try this, but if my measurement of the salt is off, it won’t work.
thnx!
Penny
Kosher salt is coarser than table salt, so you would have to use a larger amount by volume than 1 cup, if you choose Kosher salt to get the same amount of actual salt. So you would use either 1 cup of regular table salt (iodine free), or 10 ounces by weight if you use Kosher salt.
Brining and slow roasting is a great combo for turkey. It locks in moisture while building rich flavor throughout. Definitely worth the extra time!