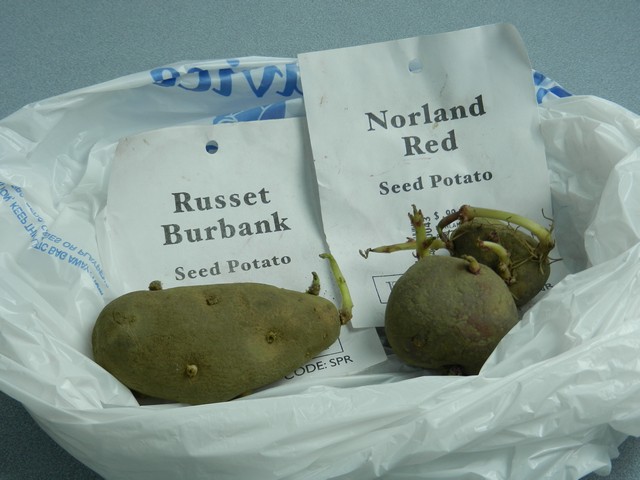
Planting and growing potatoes may sound difficult and something only a seasoned gardener would do, but it is really not that tricky! Just a little bit of information can help you know what to do to get started. I’ll give you some pointers regarding varieties and seed potatoes, chitting (sprouting), and cutting. Chitting and cutting is not strictly necessary, and there are different opinions on these practices, but I’ll tell you what I’ve learned so far and you can decide for yourself what you should do.
Potato Varieties
Potatoes, spuds, taters, whatever you like to call them, originated from South America, and according to Wikipedia, there are a stunning 5,000 different varieties across the world today! Fortunately you won’t have to choose between that many at the store! Only a very small fraction of these varieties are in reality available to us, and for the most part you only need to worry about which characteristics you want to focus on: Do you want a so-called white potato, red-skin, baking potato, or perhaps a beautiful, yellow Yukon?
These taters are quite different from each other, and some of the main differences are the content of starch versus water. White and red-skin potatoes contain a lot of water and sugar (but are low on starch), and are ideal for soups and stews, and also for potato salads, as they hold their shape well when they are done cooking. For mashing, however, you’ll want a different variety, because potatoes high in water makes for soggy mash. You can’t add much milk as they already contain so much moisture.
That brings me to baking potatoes (same as Russet or Idaho), which is the ideal potato for mashing because they are starchy and low in water. Therefore, you can add plenty of milk and get that nice, creamy texture. Just as the name suggests, they are also the ideal potato for baking. They do tend to fall apart after cooking if cubed and used for soups etc., but they are great as French fries or fried on the pan. They are also perfect to use in Norwegian lefse!!
Another interesting variety is the popular Yukon potato. These are very flavorful, with a beautiful, yellow color, and fall somewhere in the middle starch and water wise. They are considered an all-purpose potato and can be used for just about anything. If you decide to go for Yukon, you’ll probably need to purchase them early on, otherwise you may very well find that they are sold out by the time you get to the store. I found out the hard way. By May, they are definitely long gone.
And if you wonder what new-potatoes are, well, that’s any potato that is not done growing yet: babies. Their skins are very thin and delicate, and they are tender and sweet. They are best boiled or steamed, regardless of variety, as their sugars have not yet developed into starch.
Purchasing seed potatoes
It is recommended to use certified seed potatoes, which are certified disease free at the time of purchase. (Seed potato means that the potato is intended for planting.) It is said that supermarket potatoes, or even the ones dug from your own garden, can be diseased even if they look fine. A lot of people still use them with good results, though you do run a higher risk of losing your crop to disease than if you use certified disease free seed potatoes. Of course, disease or pests can be contracted at any time after planting no matter how healthy your potatoes were when you planted them. In addition, eating-potatoes from supermarkets have often been treated with chemicals to prevent sprouting in storage, so it only makes sense not to plant these potatoes since sprouting is what you want when planting. If you cannot purchase seed-potatoes, I would think that organic potatoes might work better than those from super markets.
Chitting / Sprouting
After purchasing, it is also said that you should encourage them to sprout to kick-start the growth process before you plant them. If it’s warm enough for planting, it may not be necessary since they will sprout right in the ground. But if it’s early in the season and the soil is too cold yet for planting, it can give them a head start to get them going faster once you do plant them. This could allow for an earlier harvest and maybe time for a second crop. It could also mean harvesting before late-season disease sets in.
If you do want to sprout them indoors, it is recommended to place them in a bright area (not sunny though) in a shallow box or egg cartons in order to encourage green, strong shoots, rather than the white ones that tend to grow on eating-potatoes left in the dark in the pantry. If you do decide to chit your potatoes, place them so that the end with the most eyes face up, and when planting, rub off all but the four strongest sprouts.
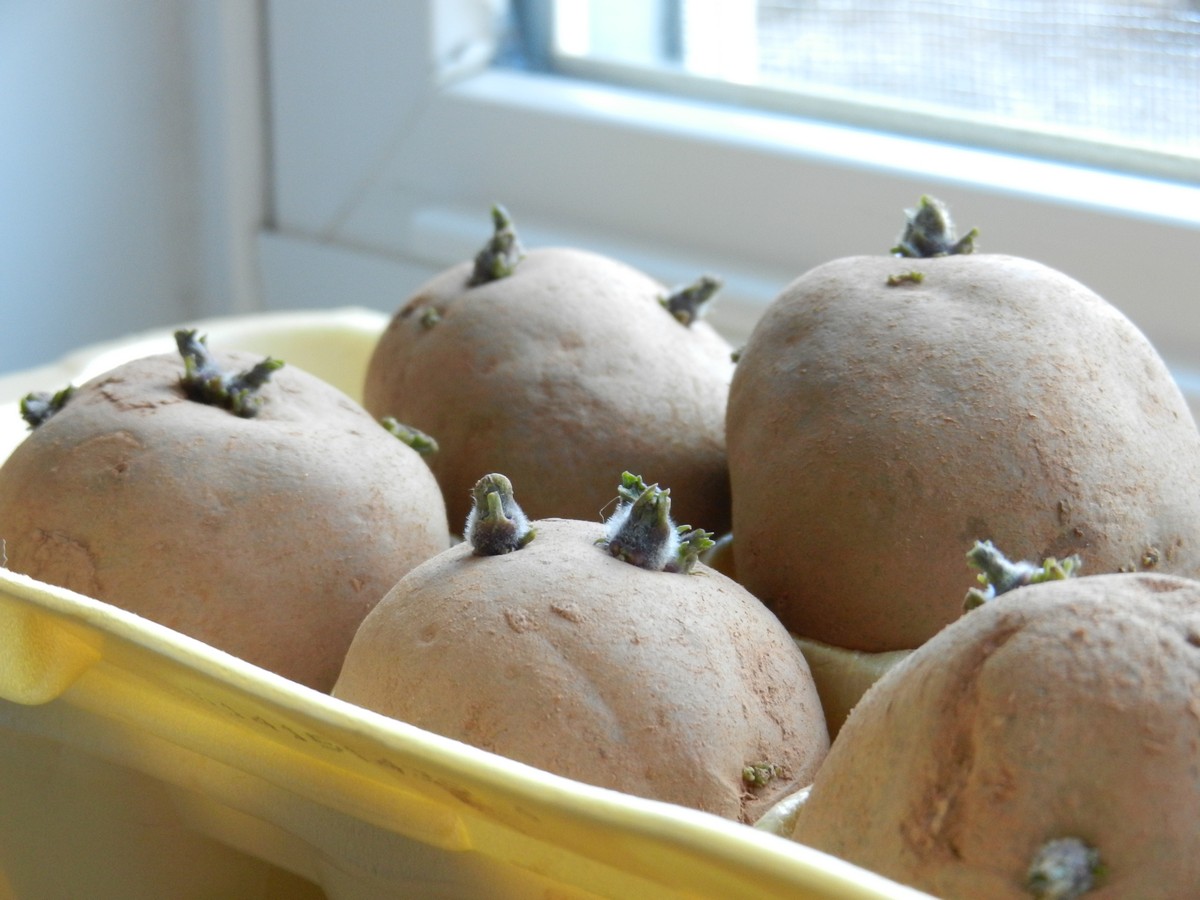
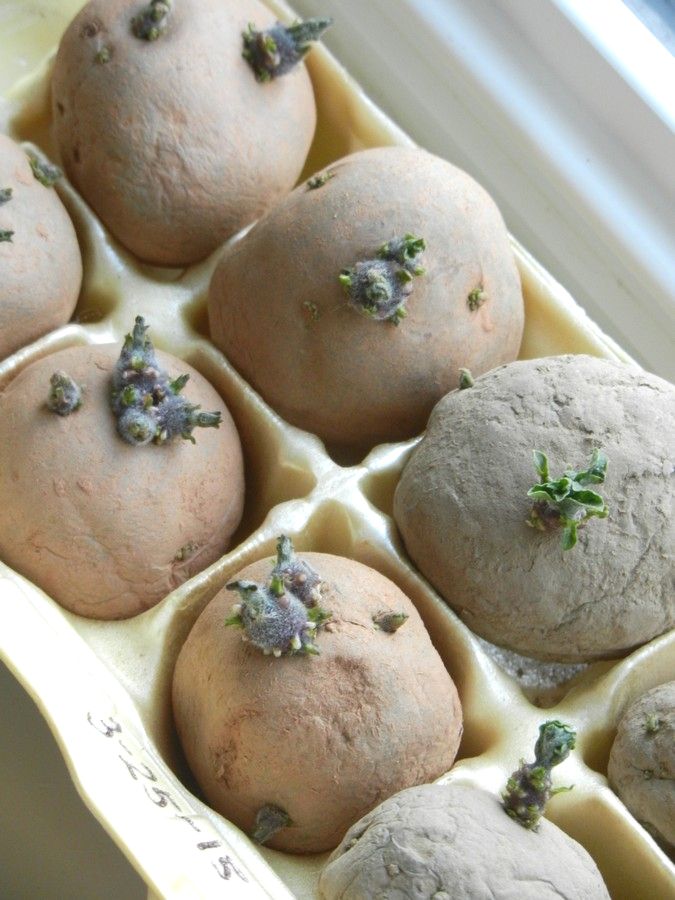
If you happen to see this little root-looking spot (where it was connected to its mother-plant), let it face down:
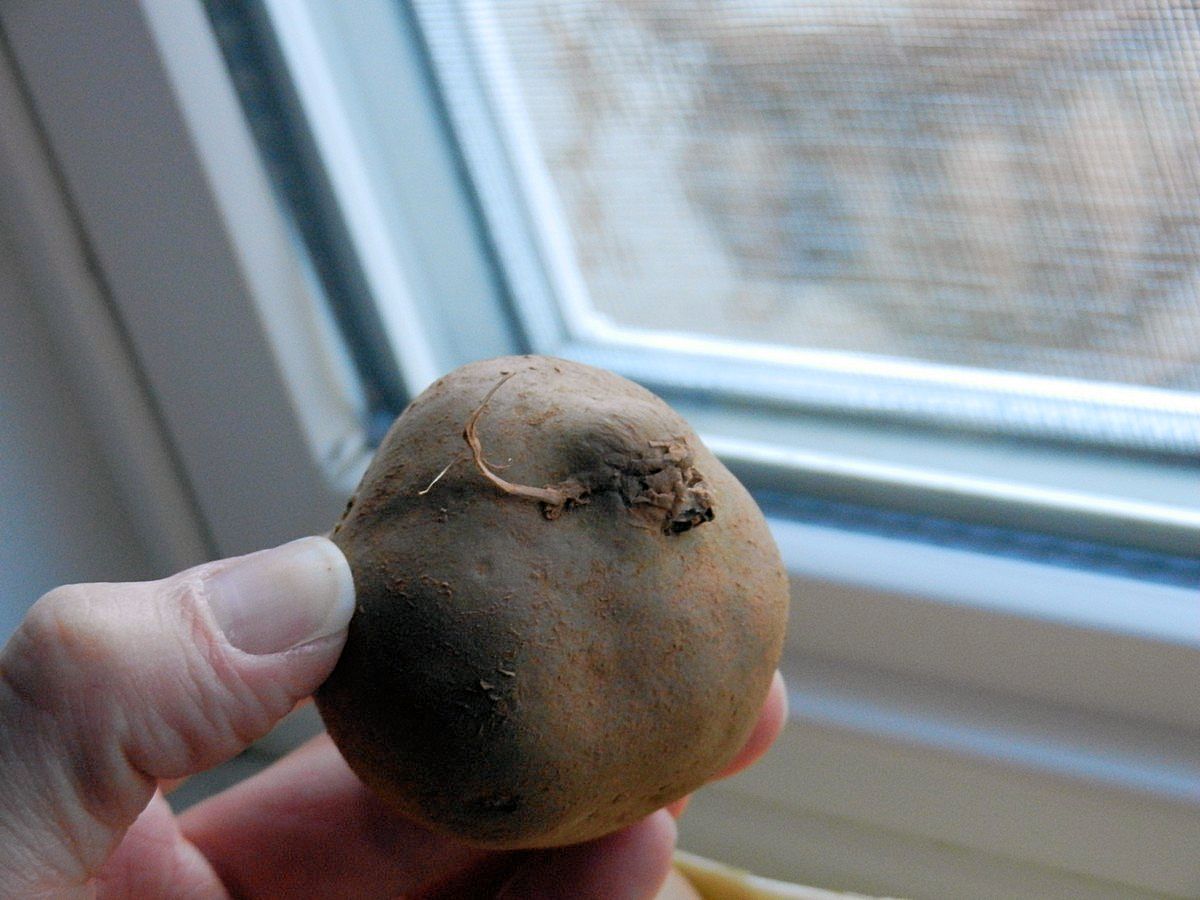
Some people will skip the chitting part and plant as is, whether sprouted or not. The potatoes will sprout under ground when the temperature is right and grow just fine, but it takes a bit longer since potatoes go dormant in cold soil. You may as well leave them inside for a while until the soil is at least 45 degrees F.
When planting, plant the potatoes with sprouts pointing up, and the side of the potato with the most eyes should be facing up as well. Just use your judgement, -it’s not rocket science. If some sprouts are not facing up, they will come up eventually.
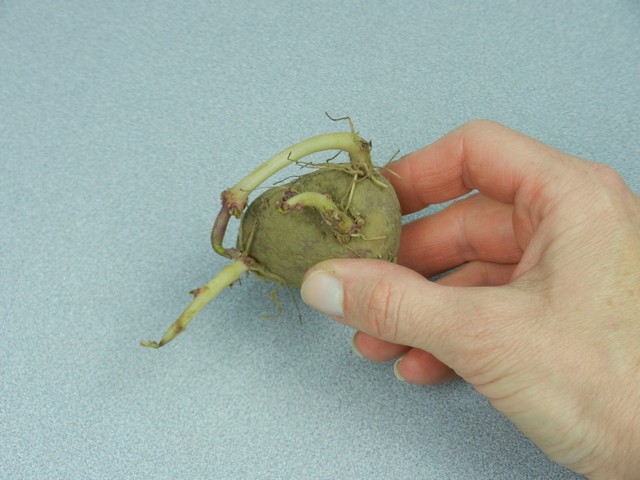
Here’s a small seed potato that had sprouted at the store; some believe you should break these off and let them sprout over again in a bright location instead of in a bin or a sack (I planted these as-is and they sprouted right away in ground):
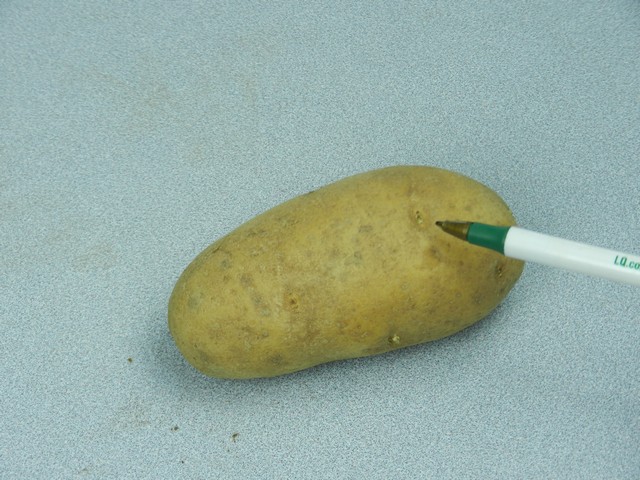
Small potatoes, golf ball size or smaller, can be planted without further ado as long as they have at least one or two “eyes”, while large potatoes should be divided. The “eyes” are the little indentations that the sprouts grow from:
Cutting Seed Potatoes
In order to simplify things, I like to stick to small seed potatoes that can be planted as is. Otherwise, large potatoes can be planted whole as well, or they can be cut into smaller pieces.
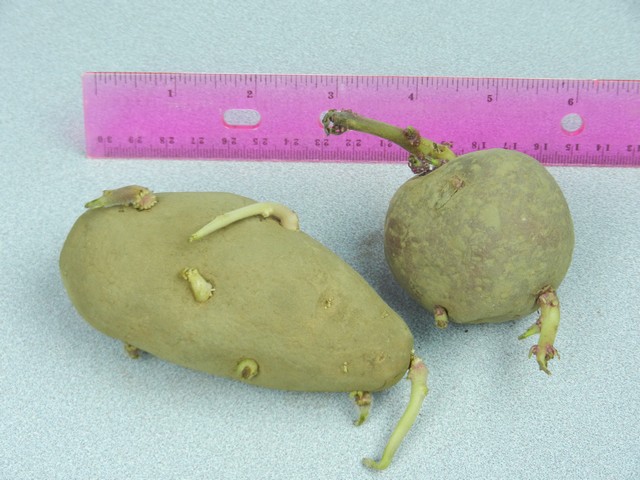
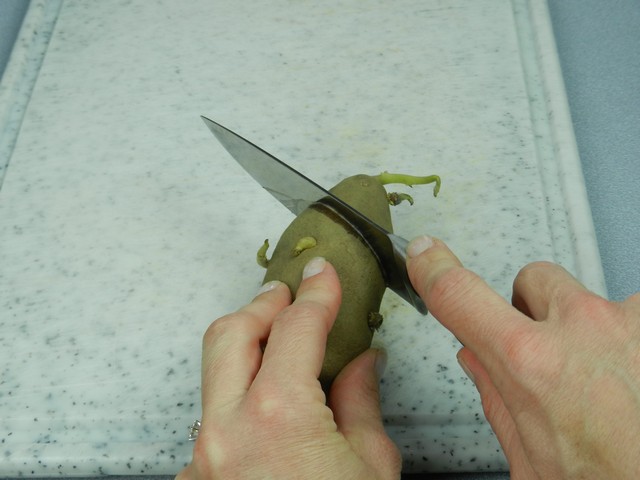
If you cut large potatoes, you can stretch your batch since each piece will produce a new plant. Cut larger potatoes into pieces of about 2 inches each, making sure that they have, preferably, 2-3 eyes (or more) in each piece.
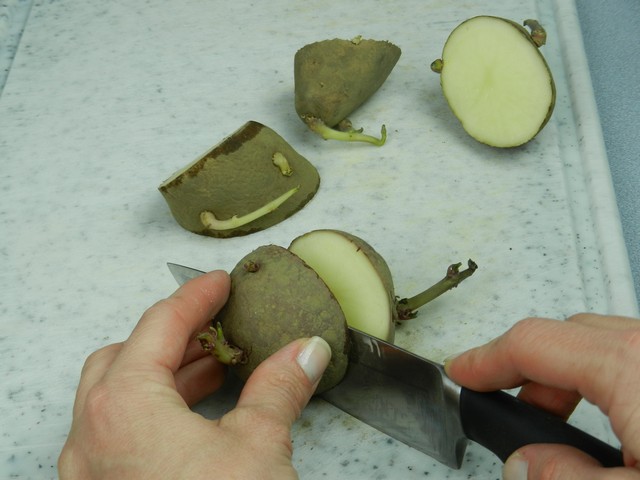
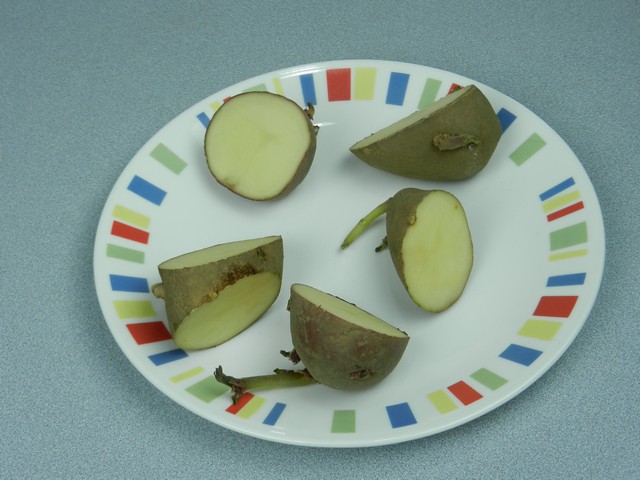
After cutting, some people let them sit for a day until the cut surfaces are dry to the touch; in other words, they’ve formed a protective membrane (callus). Other people feel this process is unnecessary and will only serve to introduce them to germs in the air, and instead choose to cut immediately before planting. I normally don’t bother with cutting, I just buy potatoes small enough to plant whole.
When I did cut potatoes to experiment a little bit, believing they needed to sit for several days, this is what my potato pieces looked like after three days:
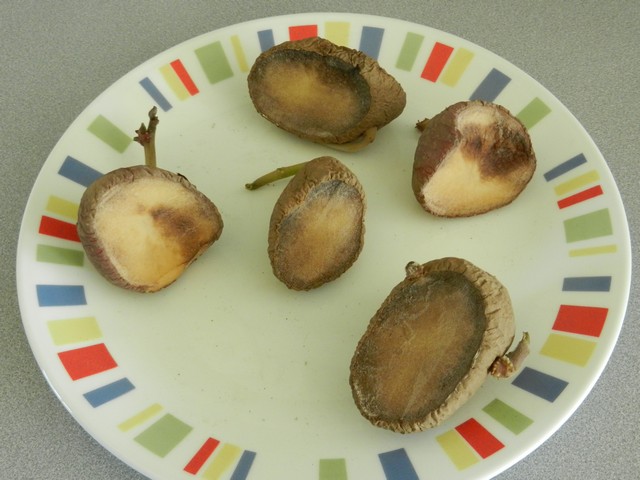
Pretty nasty looking, huh? I ended up planting them all, but only a few sprouted and my harvest from them was poor. I later went on a gardening site to ask, and was told not to leave them out for more than just a day at the most, certainly not several days. It sounds like some darkening is OK, but not dark gray. Just for the fun of it I grabbed one of my pantry potatoes (not for planting) to experiment, and cut it to show a picture of what they will look like after only one day:
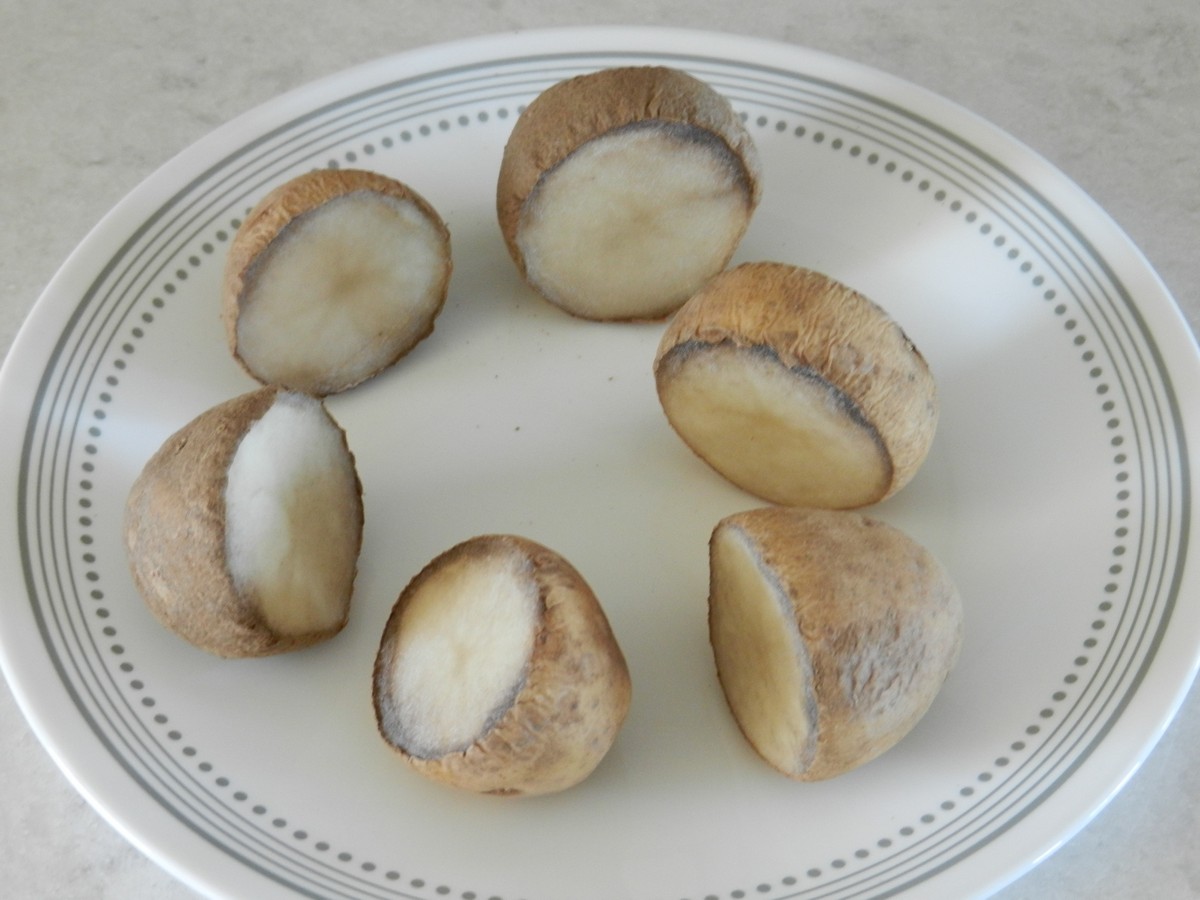
If any of you have input or experience regarding callouses, I would love to read your comments! For the most part I’m just going to stick to whole, small potatoes. That seems safer all around, to me.
In 2015 I experimented a bit when planting my potatoes; I cut some in advance and let them sit for a day until a callous formed, some I planted without cutting, and some were cut immediately before dropping into the planting hole. They all sprouted and I could not see a difference between these three groups. This was an experiment on an extremely small scale, so it doesn’t prove anything scientifically, but for now I’m satisfied to either plant whole or cut as I’m planting.
Also take a peak at my next potato related posts: Growing Potatoes Part 3: Planting & Growing Potatoes; and later, Growing Potatoes Part 4: Harvesting & Storing. And of course, my first post of this four-part series, Growing Potatoes Part 1: Getting Started (what to expect, tips, information.)
There are so many rules to go by when preparing and planting potatoes, but it seems most people do whatever grandma did and swear by their methods. Perhaps you do get a better / higher yield at the end if you go to all the extra steps, but it does take more time and energy. For me, it’s not worth it to fiddle too much. I do choose certified seed potatoes, but I often forgo chitting and cutting. Many people just use whatever they have on hand and cut and dump them right in ground in whatever way they see fit. And they still seem happy with the results. So if you feel overwhelmed at all this information, just do your best with it and don’t worry about the rest. Come fall, the chances of finding treasures hidden beneath the surface in your garden is quite high!


Helpful on cutting before planting ???
Thank you! 🙂
So, I tried sprouting chambray potatoes and then plant them in a double pot (one with 3 rectangular windows) so you can pull it out and the harvest comes easier. The plant grew up very fast but the pot was to tight for potatoes to develop and the plant started withering… I couldn´t wait any longer and tried to harvest them 2 months after the planting and I could see little peanut-form potatoes ☺…. I web-searched and found that whenever the plant is ready to harvest it should have a yellowish look.
* Finally we decided to transplant it in to the garden.
Oh no, that’s too bad! 🙁 Space probably was a big factor. You can harvest before the plants turns yellow as well, but when they are yellow it’s definitely a good time as I don’t believe the potatoes will continue to grow much, if any, at that point.
Thank you for this insightful guide on choosing and preparing seed potatoes! I really appreciate the clear steps you’ve shared, and I’m excited to try them out in my own garden. I’ll definitely be visiting again for more tips!
Thank you Brooklyn, I hope you’ll have a lot of fun planting and harvesting potatoes! I’m glad I was able to help!