Perfect Chicken with Top 3 Homemade Dry Rub Recipes
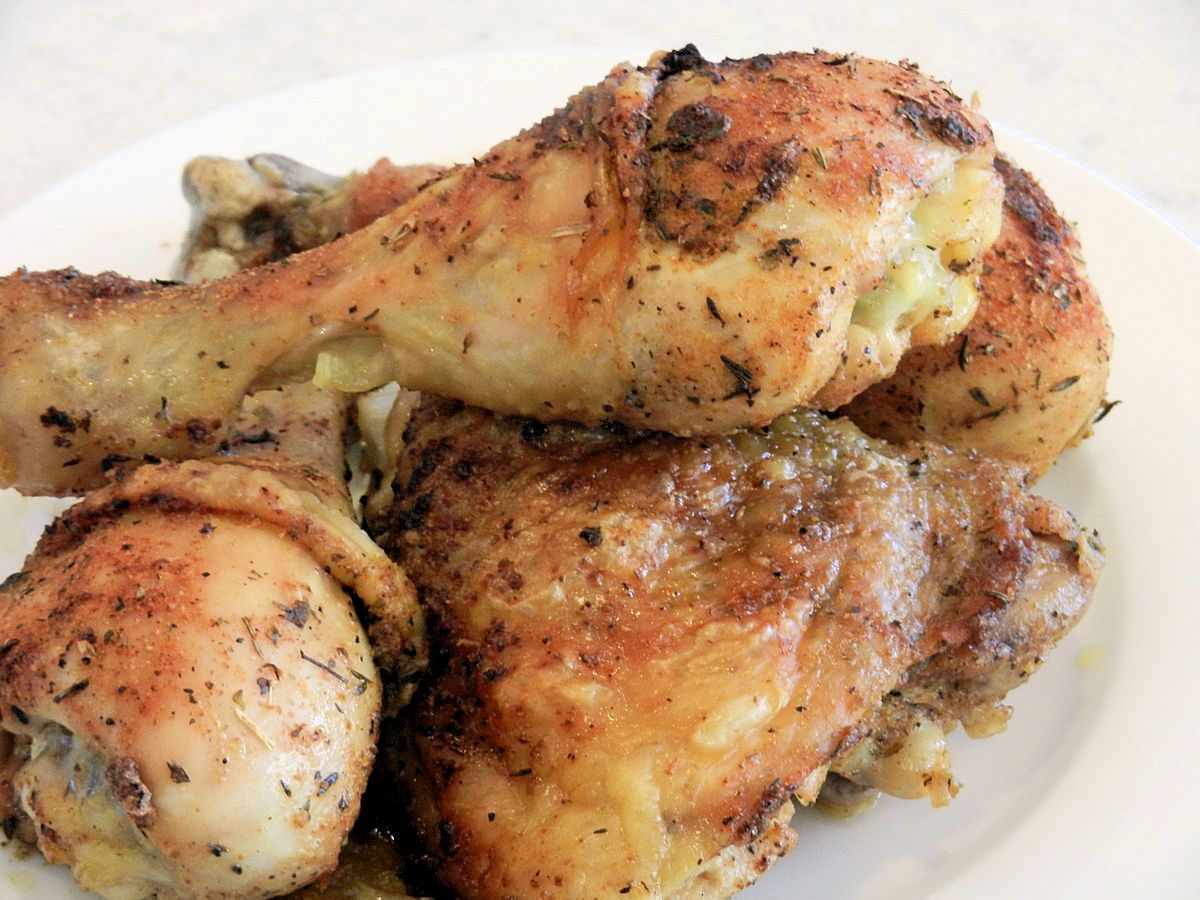
Dry rubs are easy to make at home, and with three truly amazing recipes below, there is really no need to buy expensive spice mixes from the store! A dry rub is a mix of dry spices and herbs as opposed to wet marinades. Dry rubs can be made in large batches as they keep fresh for a long time and are easy to store. In this post I will share my absolute favorite homemade chicken rub recipes (at the bottom of this post), and also give you important tips on how to apply seasonings to chicken, which will make a world of a difference in the end as far as flavor goes! In addition, I’ll let you in on what I do to make sure my chicken is cooked to perfection and super juicy!
The flavors in all three of the recipes in this post makes chicken taste like something you’d find at a great restaurant! They have quickly become must-keep recipes for my family as we absolutely love them, and it’s fun with variation!
If you do try these recipes, I would really appreciate a quick comment with a star rating (option found immediately under each recipe). It helps me out tremendously! Thanks in advance!
Why Make Your Own Rubs?
Homemade seasoning mixes have several benefits over those purchased at stores: They save you money, give you variety with the endless choices available, and they are usually also healthier choices since you would likely not be adding MSG, preservatives, and other additives. You’ll know what goes into your food; no harmful surprises.
When you purchase single ingredient spices, don’t buy those tiny spice containers; you can save A LOT of money by using off-brand spices in large containers. Just take a peek at my post Saving Money on Quality, Inexpensive Discount Herbs & Spices.
Using the Rubs, and The Art of Seasoning Chicken
Each of these recipes makes a good amount of spice mix, so count on leftovers for a different time, just like if you bought a container of spice mix at the store. Don’t add all of it to one regular sized batch of chicken, or it will be way too much!
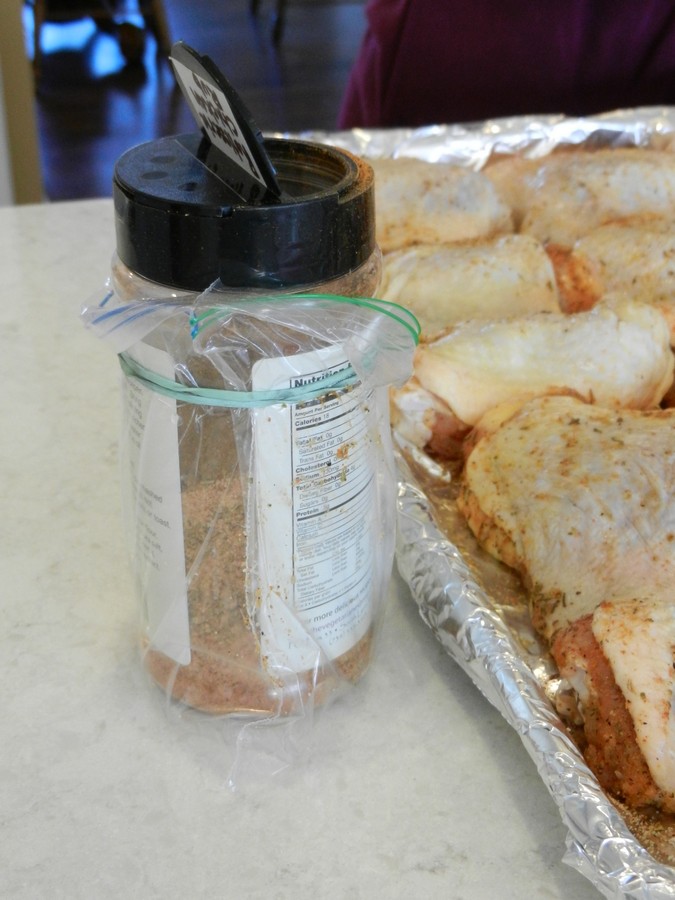
To make the dry rubs, add each of the single ingredients to a bowl and mix thoroughly. When done blending the spices, I liberally apply to chicken. I store leftover spices in a large used-up spice container from the store. To keep the container clean while seasoning chicken and working with messy hands, I cover it with plastic fastened with a rubber band. That way I avoid getting the mess on the container itself. Very convenient! Also make sure to use the larger opening on the lid and not the small sprinkling holes, as herbs can’t get through easily.
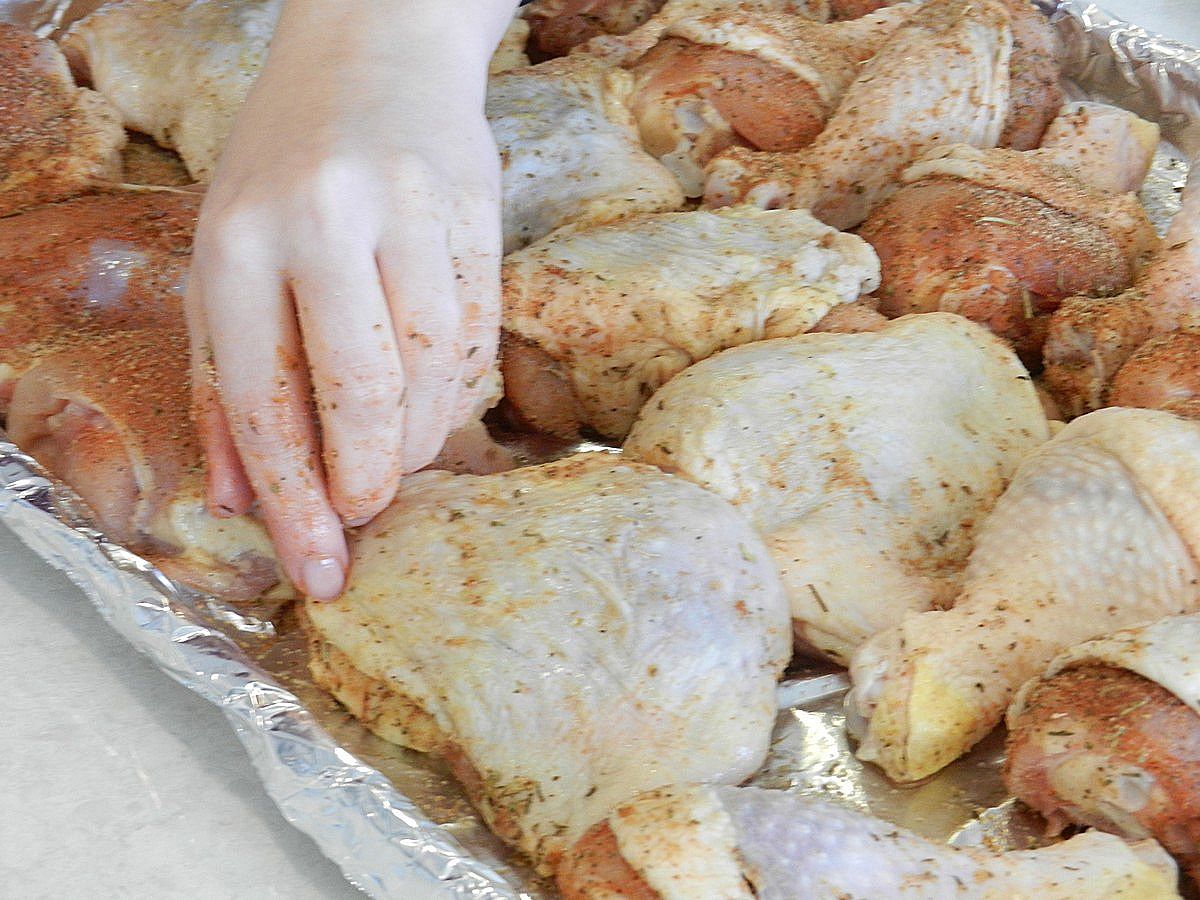
One important thing to realize is that dry spices have a hard time penetrating the skin of chicken, so it’s very important to work them UNDER the skin in order to flavor the meat!! A lot of people don’t seem to know this fact, but it makes a huge difference and can take the chicken from bland to flavorful!
I slip a finger or two between the skin and meat and rip the skin loose so it can be pushed to the side. I don’t remove it all the way, just enough to expose the meat.
In the next picture the skin has been moved to the side of each piece, and a good amount of spices (but not all of it!) added directly to the meat. To sprinkle just a little bit of spice won’t do; you have to be generous or there won’t be much flavor. Turn the pieces over to season the underside as well, and inside crevices if using breasts.
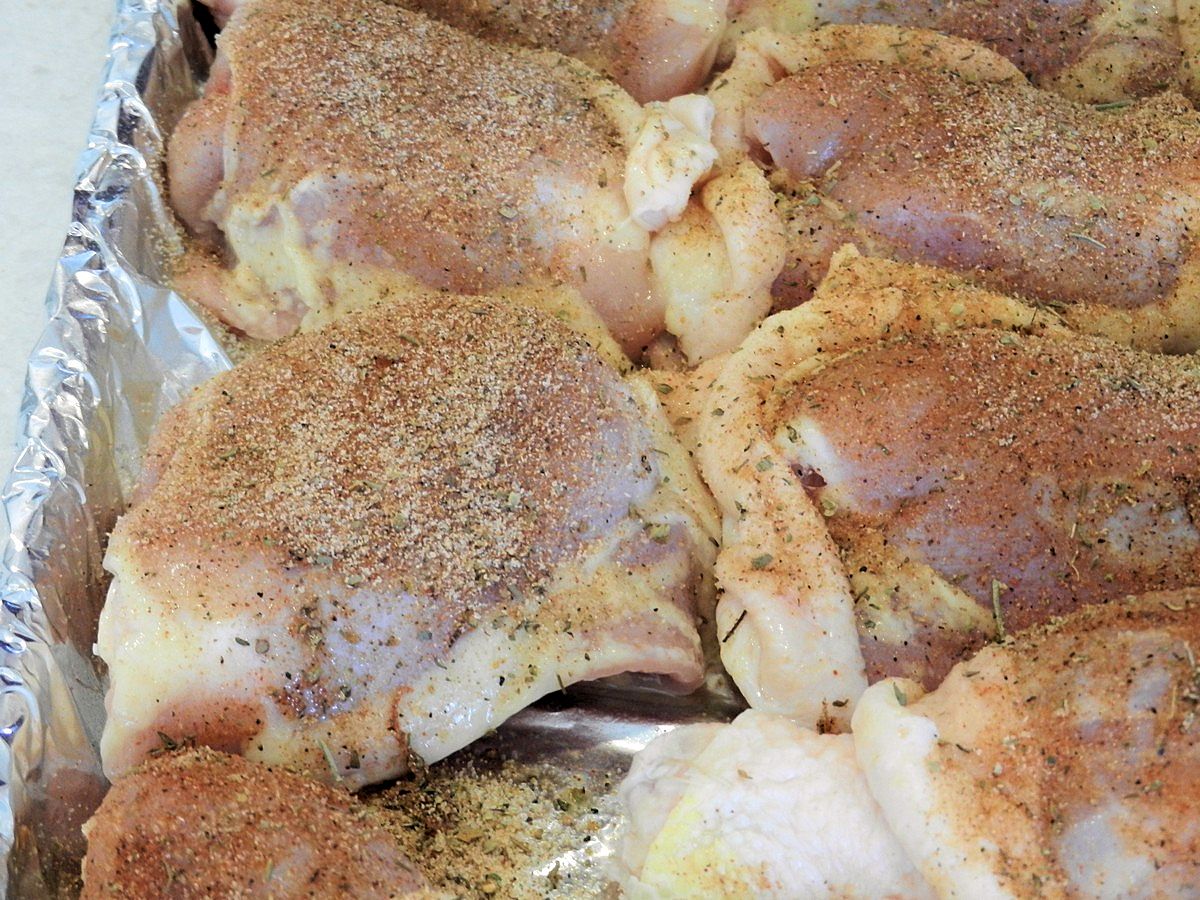
Then the skin is put back in place over the meat to serve as a protective covering during cooking. The skin helps keep it nice and juicy.
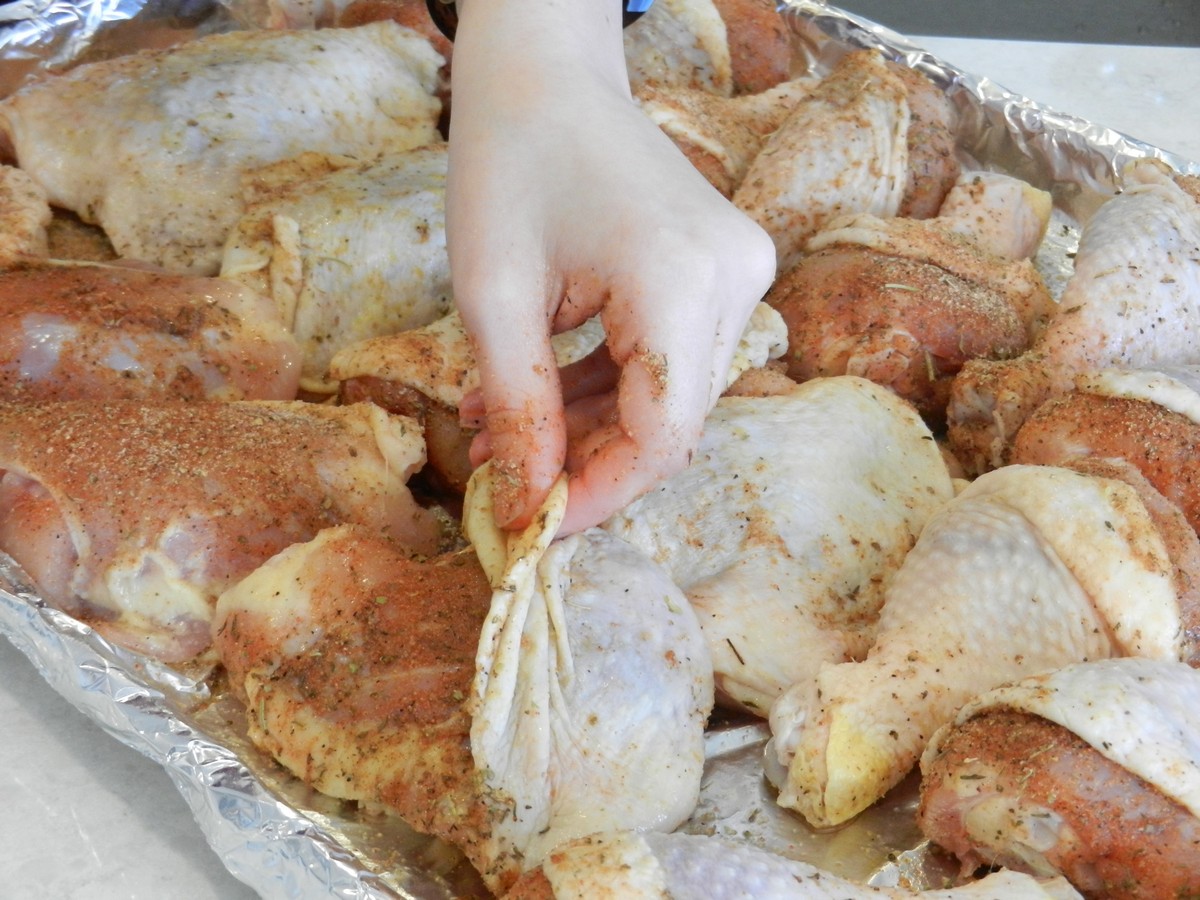
This is my daughter’s youthful, dainty hands working on it today. It’s good for kids and teens to learn how to handle raw meat (and safety measures), as they otherwise can get really squeamish about it later on.
How to Cook Perfect, Juicy Chicken
For bone-in chicken pieces, several temperatures will work. I do 400 degrees F, uncovered, for around 50 min. with my large batches. BUT: The time can vary depending on the size of the individual pieces, how many, and whether they are tight together. So you really need to check to be sure, and if you only bake a few, start checking after only 30 minutes. Also, if you cover with foil, it will take longer. Pay attention! More tips on doneness below the next picture.
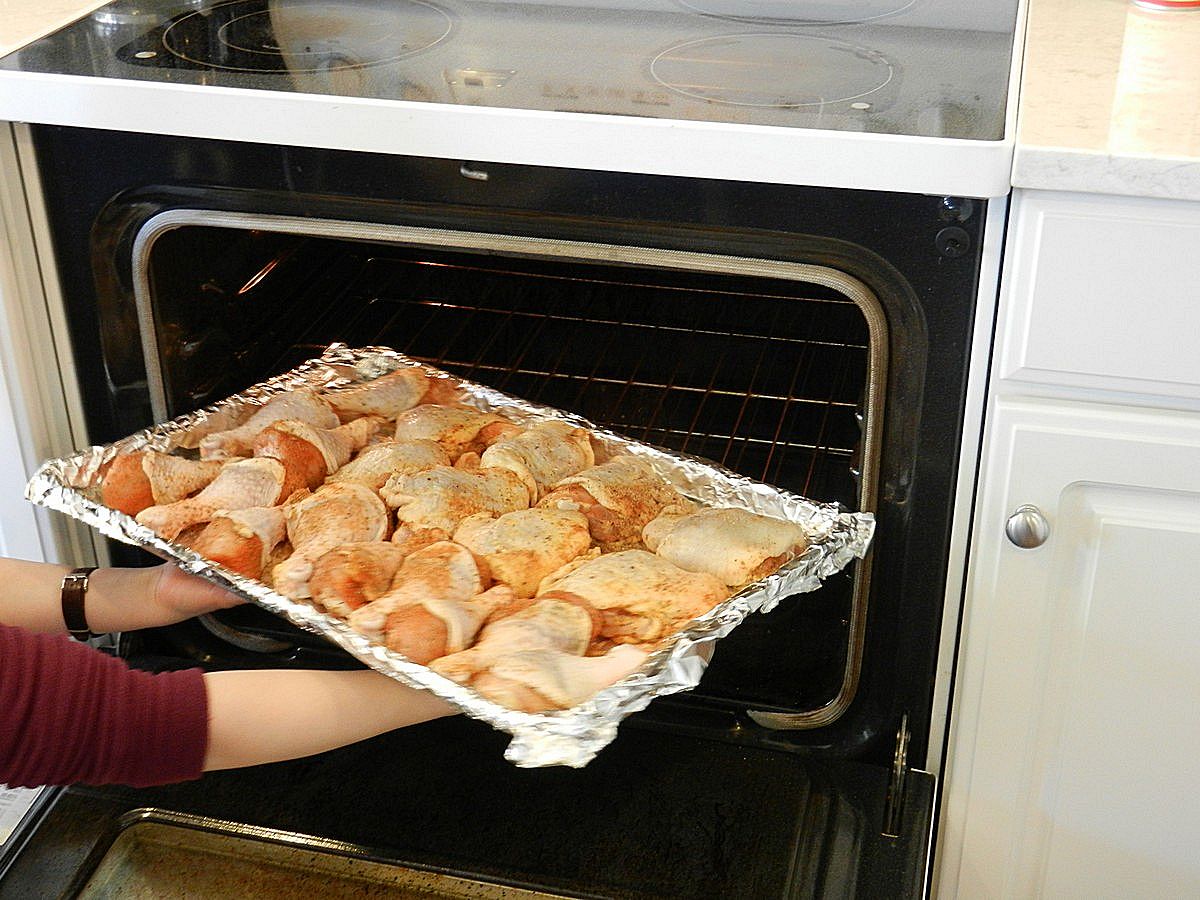
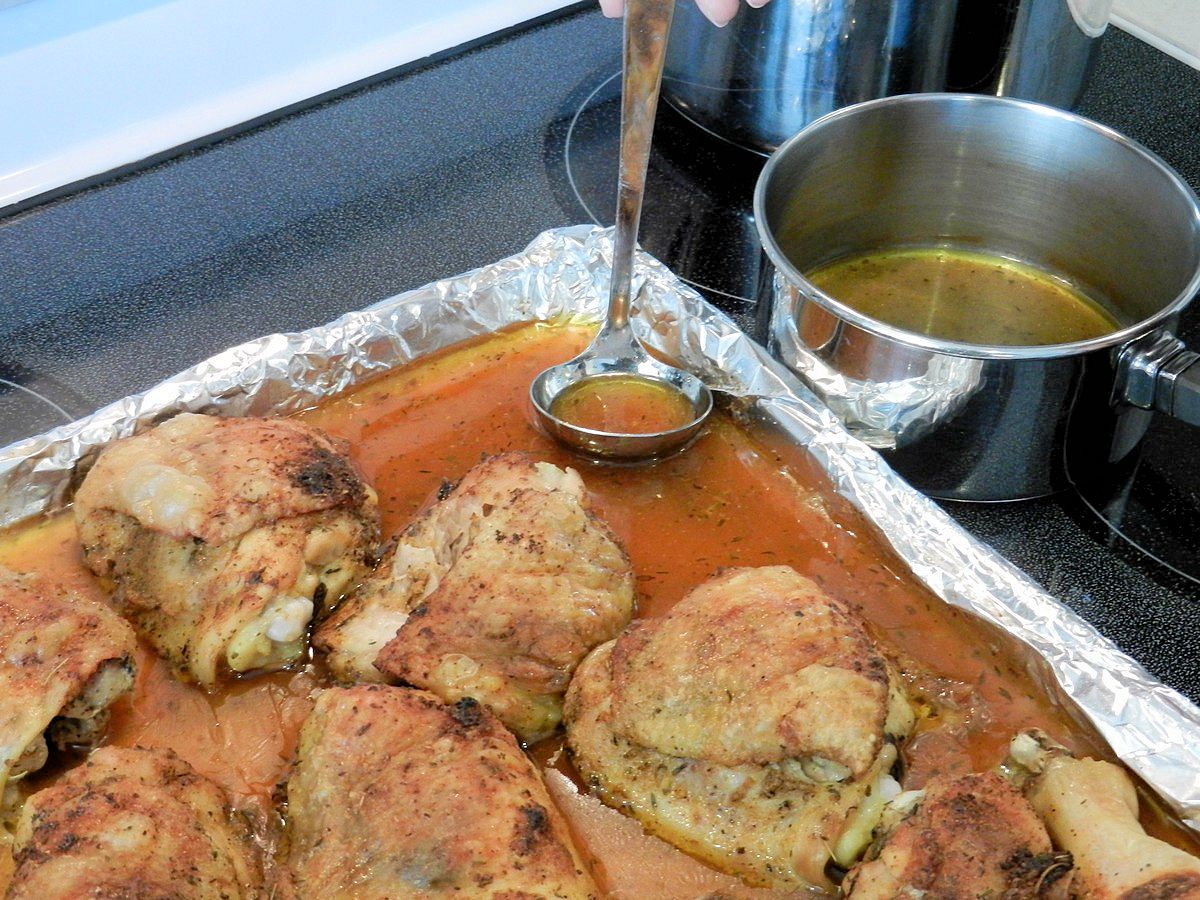
I love my Big Sheet oven pan for these large batches! This one is 21 x 15 inches, and as you can see, it holds a lot! I sometimes line it with aluminum foil (sprayed) to make clean-up easier.
Bake ONLY until the juices run clear and the meat can be SOMEWHAT pulled away from the bones, and no longer! This is when I find chicken to be the juiciest, and also very tender. Don’t cook until the meat falls off the bones! For chicken, “fall off the bones” usually means dry; notice that a good restaurant won’t typically serve chicken falling apart. However, it is important that the meat doesn’t stick to the bones too firmly either, otherwise it’s just plain difficult to eat and some parts will feel under-done.
Here’s what I do when I check for doneness:
* To get an idea of how far the cooking has come along, I tap the meat during baking using a fork, spoon, or something similar, and I feel the “bounce” of the meat; if the meat feels like you’re tapping rubber, it is probably pretty raw inside still. When done, it will have less of a bounce. Over time, as you learn what it should feel like, this is a good test that can give you an idea of whether it’s time to check inside. I don’t trust myself enough to go by tapping alone, I do dig into it.
* I like to check a little bit too early rather than risking being even a little bit too late!
* When I think the meat is getting close to done I use two forks to check inside to feel how the meat pulls from the bones. To me, this is the most useful test in determining whether the chicken is cooked to the correct stage. Just tug the meat from the bone in a couple of areas, and make sure it can be pulled off the bone but not so loose that it comes right off. If it sticks pretty hard, bake five minutes longer and try again.
* Some people feel more comfortable using a thermometer. Legs or thighs have a lot of little bones to avoid while checking, so personally I prefer not to use one for these chicken parts. Be aware that even though dark meat should read 180 F, white meat should only read 160 F. Don’t overcook or your meat will be dry!
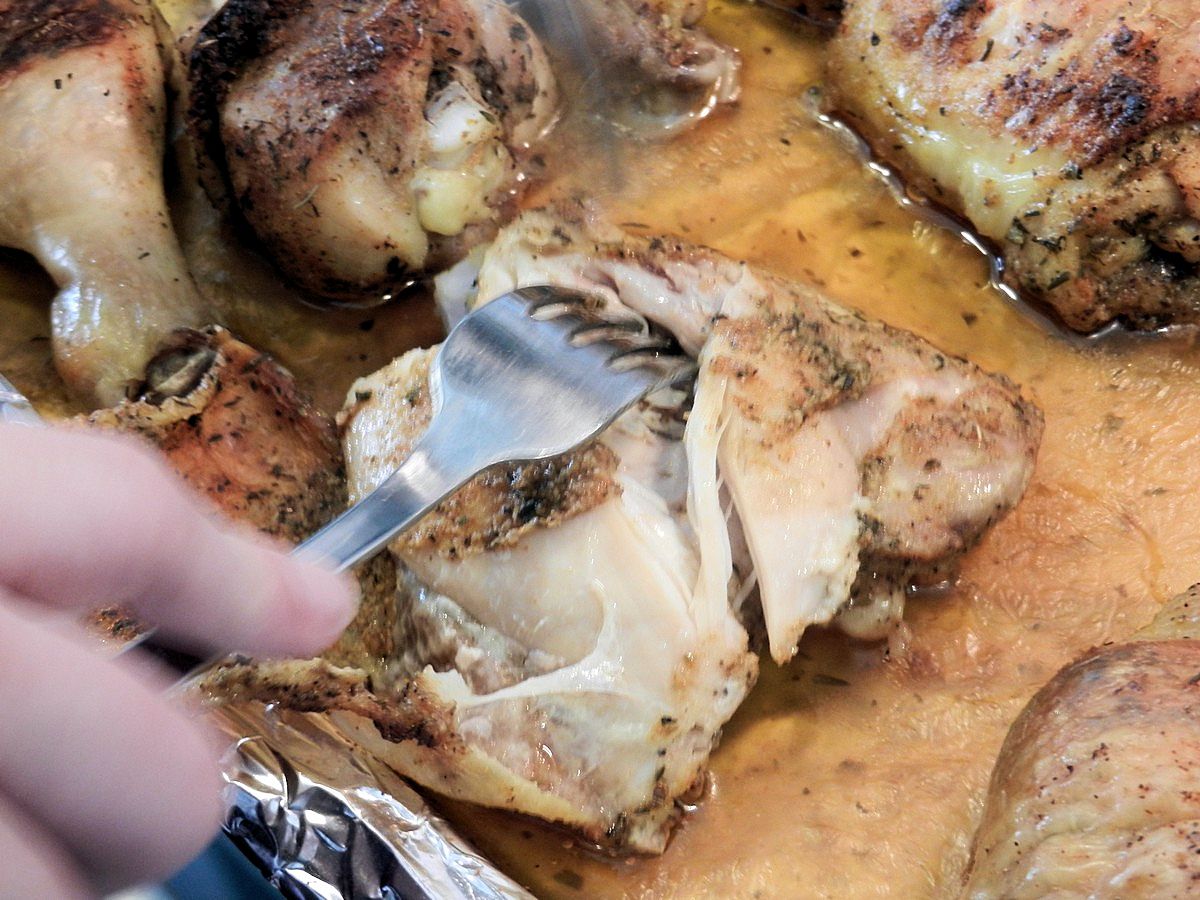
As already stated, you don’t want chicken to fall off the bones. Also realize that chicken cooks quickly toward the end and it doesn’t take much time to bring it from underdone to overdone.
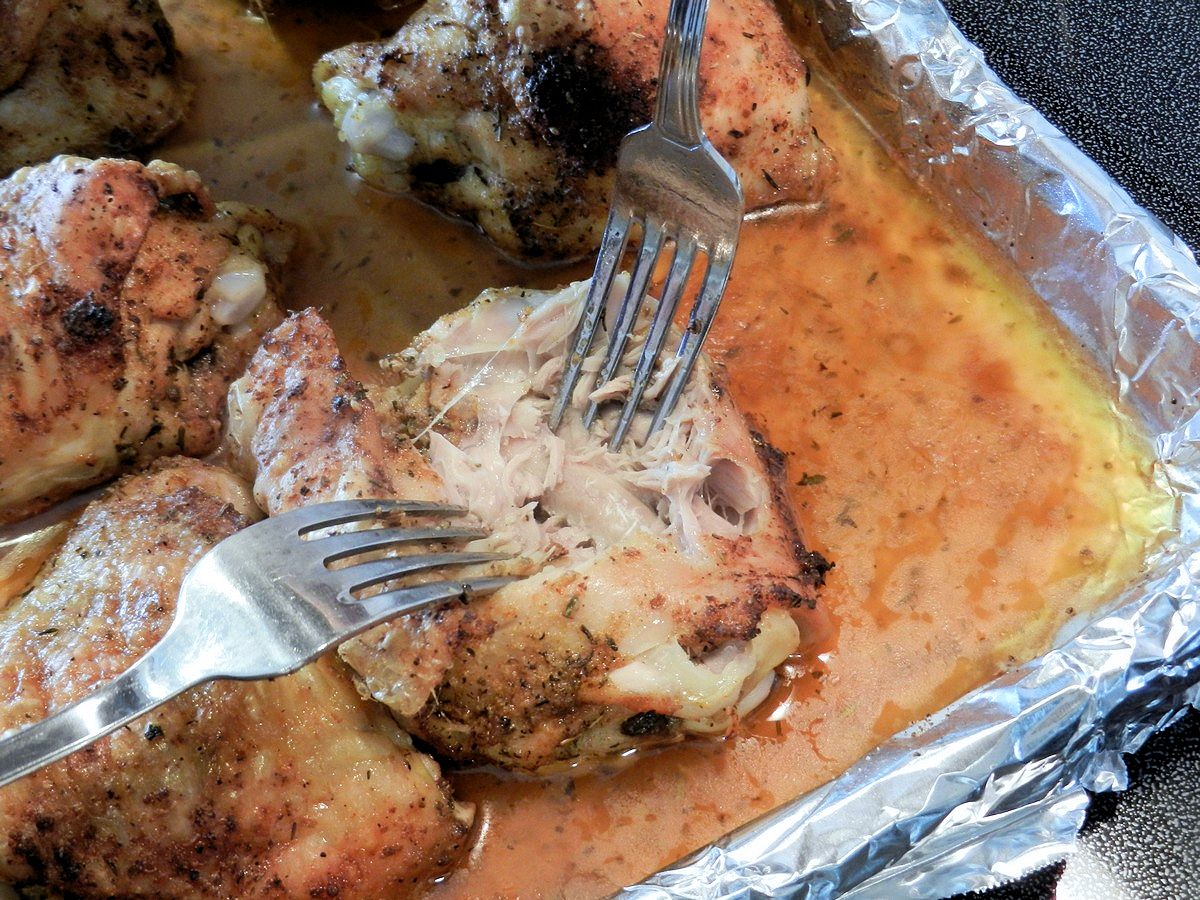
In order to learn quickly from experience, it helps to repeat it often in a short period of time, to remember what you did and what the outcome was.
Toward the end, you can brush the pieces with BBQ sauce if you’d like, although I usually don’t as it’s already so tasty with the dry rub mixes!
When the chicken is done, using the drippings will make the most amazing gravy! Drippings are concentrated and strong tasting with all the spices, so I thin to taste with some vegetable broth and thicken with flour or cornstarch, then bring it to a boil while whisking. It should not be necessary to add any additional salt or flavors. You can see how to make the gravy in my pot roast article, although keep in mind that pot roast broth already contains water and can be used as-is instead of thinning.

The three chicken rub recipes I will share below, after making some simple changes to each, were originally found online on food.com, Bobby Flay on Food Network, and Smitten Kitchen. Some of the adjustments I made allows you to use the finished spice mix generously in order to give it wonderful flavor, without killing you in the end with too much heat or salt.
So that’s how to use your own chicken rubs for excellent tasting, homemade chicken, juicy and flavorful just like at restaurants! Since it’s so easy and inexpensive, and also a healthier alternative, it makes sense to mix your own spices. Just get a good amount of seasoning under the skin and watch the cooking time, and you’ll be proud to serve this fantastic tasting chicken to family and friends! I hope you’ll love the following recipes as much as my family does! Please comment and rate these recipes if you try them; option is found immediately under the recipe. Thank you!!
- ¾ c salt
- ¼ c Italian seasoning
- ¼ c onion powder
- ¼ c garlic powder
- ¼ c paprika
- 2 Tbsp thyme
- 2 Tbsp dried mustard
- 2 Tbsp black pepper
- 1 Tbsp cayenne (red) pepper
- Mix all ingredients together well, and store in an air tight container.
- 3 tablespoons salt
- 2 tablespoon garlic powder
- 2 tablespoon onion powder
- 2 teaspoon thyme
- 2 teaspoon sage
- 2 teaspoon black pepper
- 2 teaspoon paprika
- Mix all ingredients together thoroughly, and store in air tight container.
- 3 tablespoons salt
- 3 tablespoons chili powder
- 4 tablespoons paprika
- 2 teaspoons black pepper
- 2 teaspoons garlic powder
- 1 teaspoon cumin
- 1 teaspoon cayenne pepper (red)
- ½ teaspoon nutmeg
- Mix together all ingredients thoroughly. Store in an air tight container.



I’ve been looking for a rub to enhance the flavor and help hold the moisture of my chicken pieces and I thought perhaps I had found a gold mine in these three. After reading the ingredients of the Rotisserie Rub, it actually started to make my stomach a bit queezy. 3/4 c (cup?) of salt seems like an awful lot of salt to put on something you’re not planning to preserve for a month or six 1/4 c (cups?) of three other ingredients also seems a bit excessive. Please verify these amounts for me. I will be trying the other two recipies and thank you in advance for your assistance and your recipies..
You wouldn’t use all of this mix for one batch of chicken, only part of it, otherwise it would be far too much. The rest is to be stored for a different time. This recipe makes quite a bit of rub, so you can cut it in half or even more, if you want to. It’s just like buying a large container of spice mix at the store; you’d only use what was needed for the specific recipe you’re working on, then leave the rest for later. The amount of salt is appropriate when you compare to the amount of other spices that also is added into it (3/4 c salt to almost 1 1/2 c spices). I hope that helps., but I’ll edit my post to clarify there as well. Thank you for your comment, it is helpful to get some thoughts from my readers!
My big sister takes a whole chicken, does a dry rub, then in slow cooker, she puts crumpled up tin foil balls places her seasoned chicken in the slow cooker, at let’s it roast slow all day. The chicken was so flavorful and moist!
I’ve done tin foil balls in a slow cooker as well, with a whole chicken on top, and it does work very well.
Wowwee! 3 rubs to enjoy! Are these rubs for baking only? Can any of them be used for frying and/or grilling? Tfs these recipes. And thanx for your responses
They can be used for grilling as well, or for crock pots.
Okayyy, is that a yes for the frying?
Yes, it should be good for frying.
Thanx sweetie. Will try it and post my results
Hi, it’s me again. Can I use these rubs on whole baked chicken? Thanx for your response
Yes, absolutely! You can use them a variety of ways, whole chicken or in pieces, and in crock pot, oven, or grilled. I hope that helps!
Sorry, I didn’t mean to post a question twice
No problem at all! 🙂 All comments are pending approval, so sometimes people will post more than once thinking their first comment didn’t go through. So it does happen from time to time. Have a great day!