Step by Step Garlic Planting
I now have my garlic cloves in-ground. On October 22, 2011, my husband tilled the garden for me, then I went ahead and planted my garlic. This is my first year planting garlic at the right time of year, using proper garlic seed. I tried last season, and failed on every point. I will share those experiences in a different post, in which you will see why that project was doomed from the beginning, also what I learned in the process. Doing your homework first makes a big difference in the outcome of a lot of different projects; planting garlic is no exception.
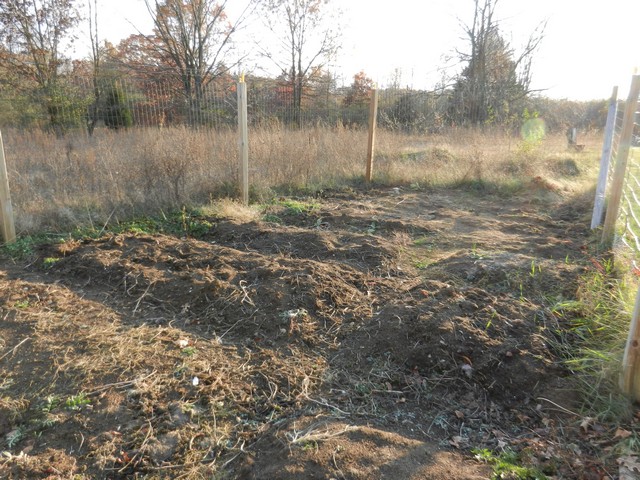
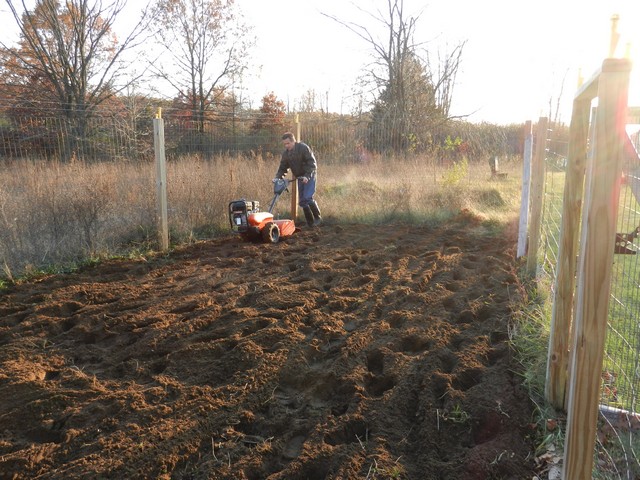
This is my garden before tilling; lots of weeds and died-off plants after the harvest was completed. Or should I say, almost completed, as my husband did find another little potato while tilling! WooHoo!! I’ll take it! Here he is, my darling, tilling away; about half-way through.
Adding lime. If only I had remembered to put down lime before (or during) tilling, then I could have saved myself the job of working it into the soil. Oh well, live and learn.
I made a chart to figure out where I want to plant my various vegetables next year; they need to be rotated in order to help prevent diseases, and for nutrition purposes, as different plants absorb different nutrients, and the soil could become depleted. So I keep charts from previous years to help me decide where to place the next season’s plants. I ended up picking the one corner for my garlic. But first, some lime to sprinkle around on the soil before planting. I know garlic is a heavy feeder, so I’ll have to fertilize further later on. I’m not exactly sure yet what that will be. But I have time (I think…) to figure out what to do. I think they like a lot of nitrogen, in comparison to most vegetables, which like nitrogen only in moderation. Compost is always an excellent fertilizer as well.
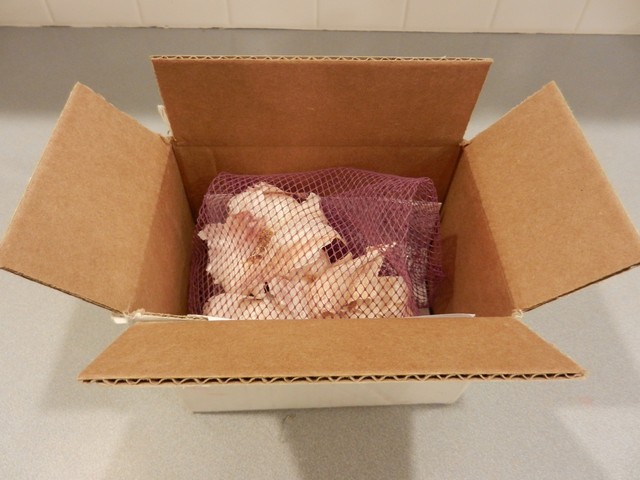
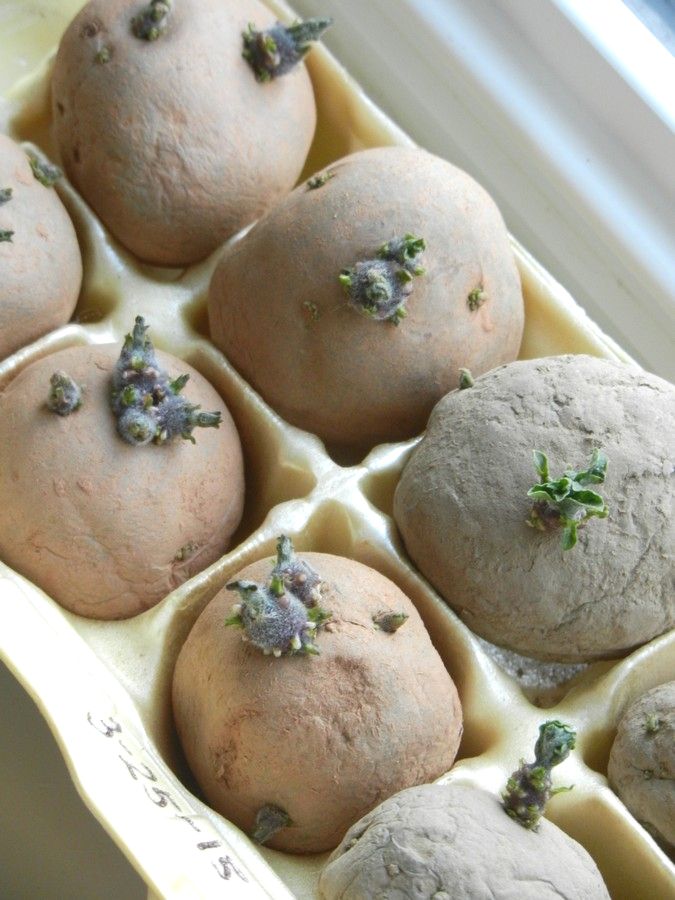
This is what the box of garlic looked like when it arrived in the mail. This is Inchelium Red softneck garlic. I ordered them from Territorial Seed Company, and was very happy with the order. I ordered in the spring, then they shipped it to me in October. If you want to order, make sure to do so in the spring time. By fall, a lot of (or most) companies will be sold out. They will take your order, you pay for it, then they hold it and ship it out during fall season. I believe it works the same way most places. I think that the reason they don’t ship it to you right away is that the bulbs are still growing and not yet ready for harvest.

As you can see, the bulbs (and cloves!) were quite large. I was surprised to see the cloves arrive as whole garlic bulbs; I hadn’t really thought about what they would look like, I was just envisioning them as individual cloves in a baggie. Of course, why would they pick it apart; might as well give me the bulbs. Just one of those things; you imagine things without really thinking about it. Not that it matters. At all.
Also, notice how well separated the cloves are. They must have had a good, long growing season to look this mature. If planted too late, they simply won’t have enough time to separate. This is why it is recommended to plant garlic in the fall, though some people have good results planting them in the spring time as well.
Garlic first grow into a bulb similar to an onion, then they start separating if they have time before the heat of summer sets in. They do not grow well when the temperatures are over 85 degrees F, or 30 C. Around July they will decide they are done, and the plants will start to die back, which is when you need to harvest to prevent rot. If this happens before the bulb has separated into cloves, you will get one, fat bulb instead of individual cloves. This is not always a problem; it just depends on what you want to do with them. They can still be used. Lets say you want to make a huge meal in which you need a whole garlic; it just means less peeling. Otherwise you could also wait until fall again, and replant it. This would ensure a much larger garlic bulb the following year, most likely with fully separated cloves as it’s had lots of time to grow and separate.
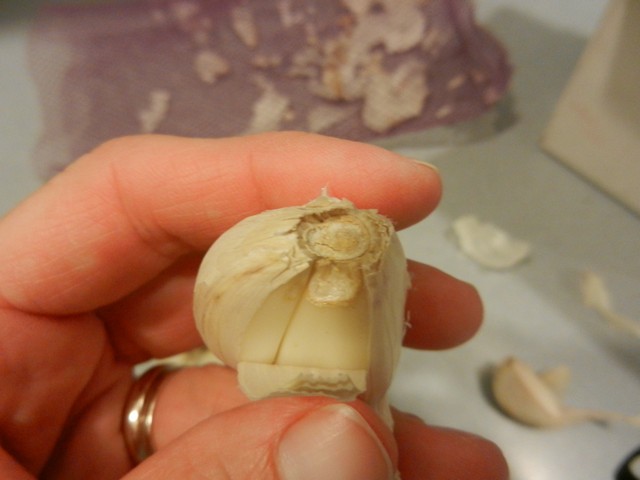
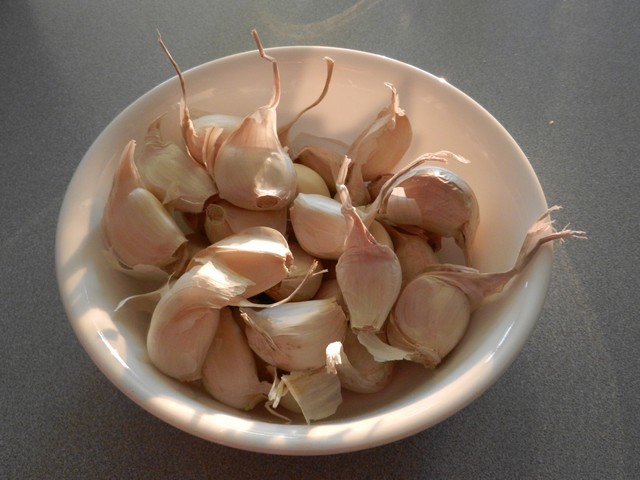
The cloves were easy to separate. I kept the larger cloves for planting, then saved the smaller ones to be used in recipes. Some of them were huge and seemed like they were in the process of separating, like the one in this above photo. I was unsure whether I should count that as one or two cloves. Some of them I picked apart, and some I didn’t. I have a feeling I should have left them be, and not split them apart.

Here they are, my beautiful cloves glowing in the afternoon sun on my counter top, all separated and ready for planting. They do not need to be peeled before planting. In fact, a lot of the websites I visited in order to read about garlic planting, said not to peel. Some said that the paper-like peel will serve as a protector during the initial stages after planting. However, some actually encourage peeling in order to check for damage, and remove any disease, pests and eggs along with the peel. One place went so far as to suggest peeling, then soaking in a water + baking soda solution overnight, then give them a vodka bath to kill pests, eggs and fungi. I don’t think I’m ready for these steps yet… Sounds scary! I have a hard time imagining the cloves sprouting after that kind of treatment, though on a second page, a blogger using that same method reports great results! Sound like it might be legit. Personally, I decided to plant them with the peel intact, and mess with them as little as possible until I am far more experienced.
Do you see the strings on the garlic cloves on the picture above? These are the tips, which should face up when you plant. The opposite end is the root end.
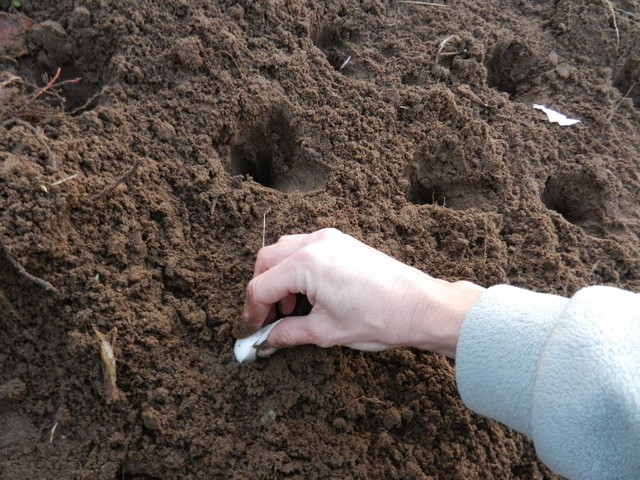
I suppose you could dig a little hole to put the clove into, but my soil was loose enough after tilling that I could push it right in. Tip up, root end down.
Just push it in. Good ‘n deep.
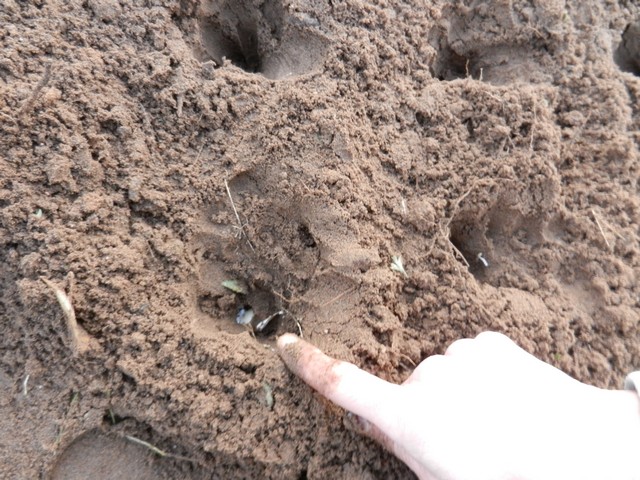
There it is, about 3 in. down. The top / tip is about 2 in. below the surface.
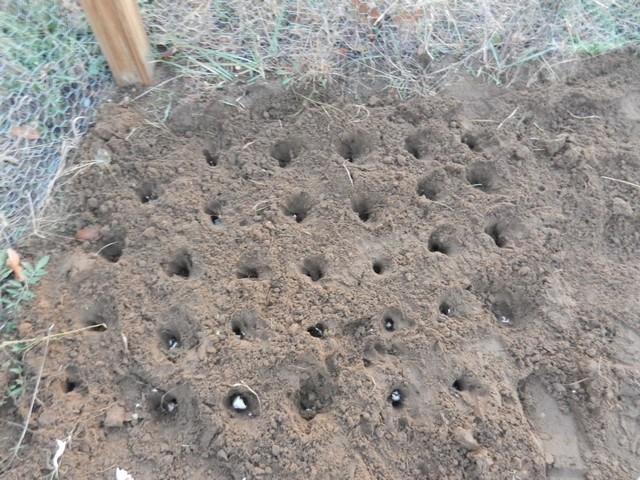
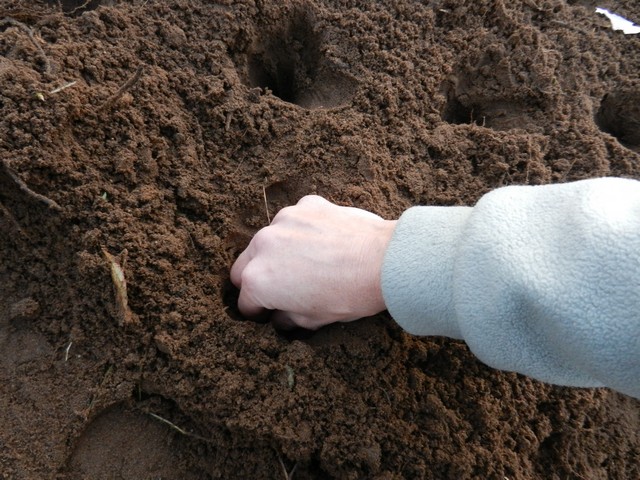
That’s it, they are in. They are about 5 inches apart. On the package they came in, the directions said to plant 4-6 in. apart and to cover with 1-2 in. of soil. I didn’t measure too closely, just used their suggestions as an idea.
Ready to cover up.
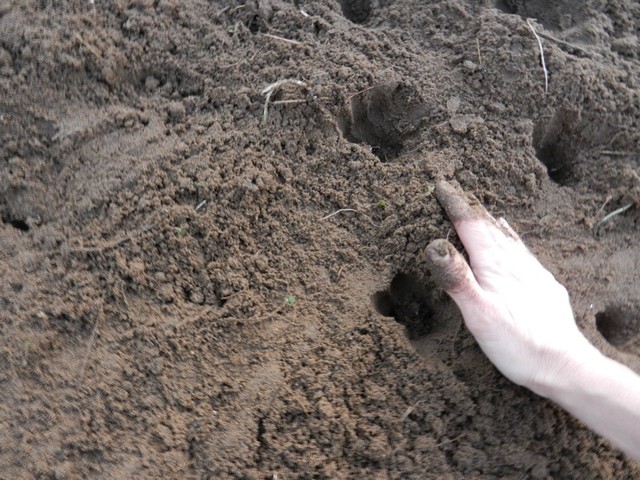
I just used my hand to cover them all in a few sweeps.
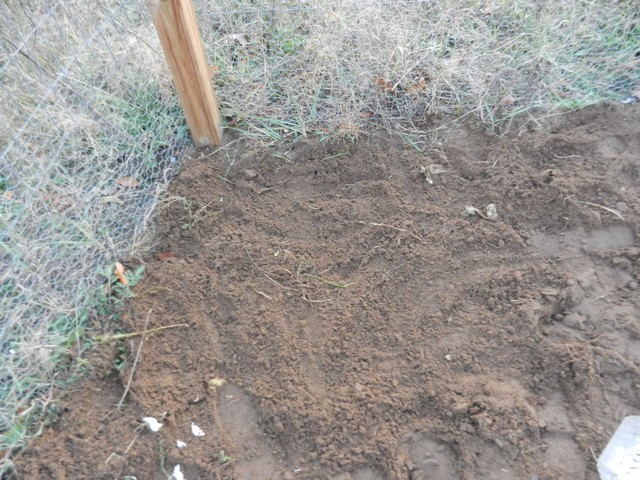
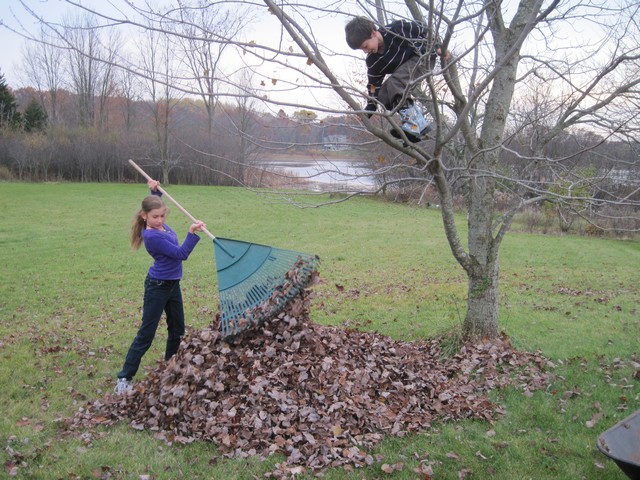
Done. Now for the kids to rake up a pile of maple leaves for me to use for mulch.
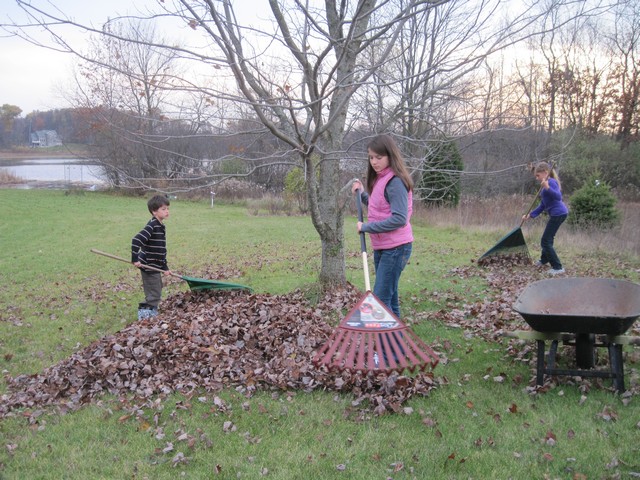
Thank you, angels!

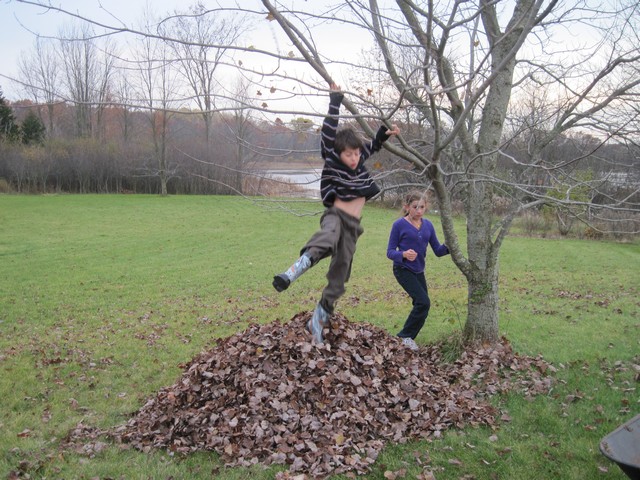
With such a nice pile, it would be a shame not to jump into it!
REALLY jump in! Careful there, buddy!
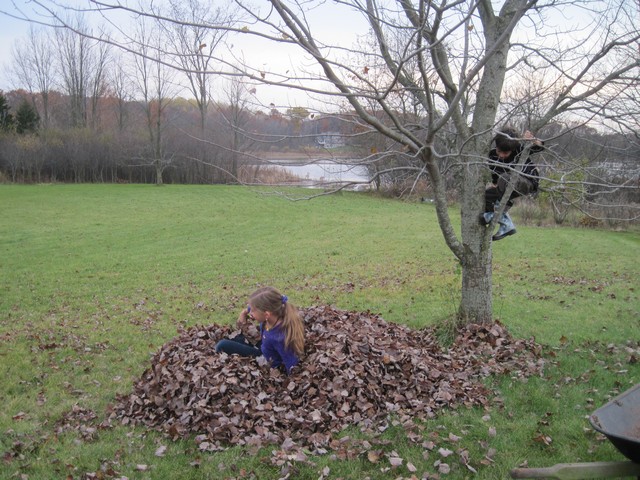
There. All covered up, ready for winter.
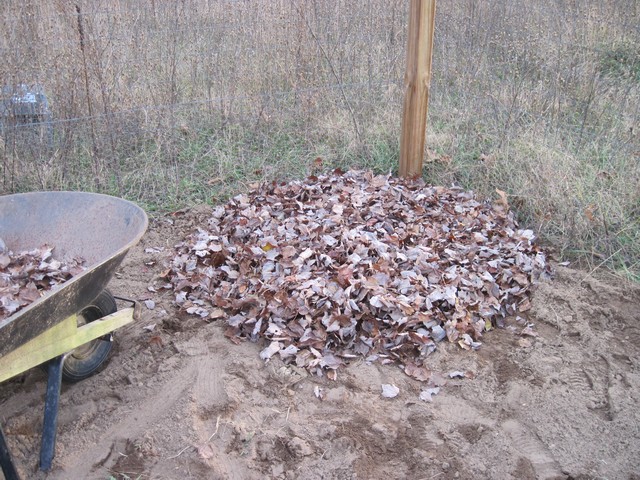
Mulch is needed in my area (zone 5) for softneck garlic, otherwise they may not make it through the winter. It is especially hard for plants when there is little to no snow-fall, as snow helps serve as a blanket and shield from the very frigid temperatures. You can use a variety of different materials for mulch. I used maple leaves because that’s what I had on hand.
Hopefully this will be enough to protect my garlic from the cold winter weather. It will be interesting to see whether they tolerate our Midwest winters. As I mentioned already, I decided on Inchelium Red garlic, which is a softneck. Softneck garlic normally don’t tolerate freezing temperatures very well, so I chose this softneck variety because it is supposed to be quite hardy compared to other types of softneck garlic. Hardneck varieties tolerate frost much better and are generally what is recommended for my zone. The reason I chose softneck is that I want to make a pretty garlic braid to hang in my kitchen, which you can’t do with hardneck garlic, because they… well, they have a hard neck. The neck is the long stem that grows out from the tip of the bulb. Which, if it’s hard, or stiff, won’t bend when you try to braid them together. So that won’t work. I thought it would be worth it to try with softneck, at least, but of course I need to mulch for them to have a fighting chance.
So that’s it! My garlic is officially in-ground as of October 29, 2011.
UPDATE:
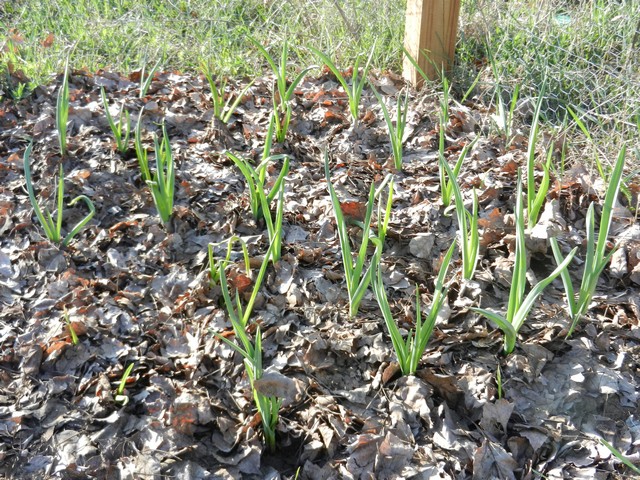
In the spring, after a long, cold winter, I was happy to see my garlic sprouting and then growing throughout the summer.
Unfortunately I experienced another failed attempt when it was time to harvest. I think I did a lot of things right, but ultimately the crop failed and I’m making some guesses as to why that may have been. I came up with three possible issues:
1. I probably didn’t fertilize nearly enough, resulting in small garlic bulbs (I’m just guessing here…).
2. I believe I waited too long to harvest them. By the time I decided they were ready, it had been too long and they were starting to deteriorate.
3. I may have over watered toward the end, causing some rot and deterioration.
I was very disappointed to have another failed garlic crop, as it had seemed so promising this time around. But I still had fun trying it. And as hobby gardeners we have to accept some ups and downs and some failures along the way; it is part of learning and growing (no pun intended.)
I ended up putting the bad garlic bulbs to good use by throwing them underneath my broccoli plants to use as pest control (click this link to read more.) And it was amazing to see how well they worked at keeping worms away! I would have been more happy to have a beautiful garlic braid hanging in my kitchen, but that was not meant to be this time around. At any rate, experimenting and learning along the way is always fun and worth while!


I’m trying to expand my garden and I would love to add garlic. It is something I use a lot so it would be nice to get it from my own backyard. I appreciate you tip to mulch so they can make it through the winter. How do you tell when they are ready to be harvested so you don’t end up with deteriorated ones? Thanks for sharing your experience!
Good for you! I am not actually the best person to ask though, as I decided to do away with garlic planting and focus more on growing other vegetables that I enjoy more. But I think that you should be OK if you pick a little early rather than wait too long, and don’t water too much toward the end. Mine probably were over watered at that stage and I waited a little bit too long. Look at what your variety says about days to harvest and use that as a general guide, then look at other readiness signs to tell you for sure, such as wilting bottom leaves. Here’s a link to a different site that might be helpful:
http://www.gardenbetty.com/2011/07/the-trick-of-knowing-when-to-harvest-garlic/