Dollar Bill Origami; Dressy Shirt & Tie
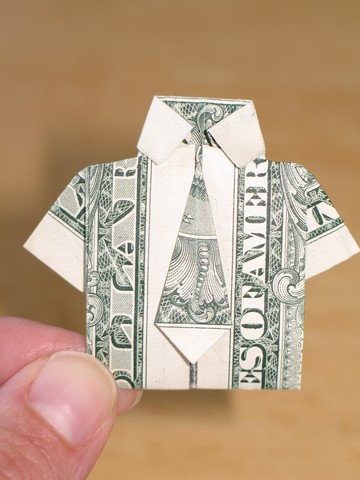
Today, just for the fun of it, I want to post about making origami creations using American $1 bills. I watched a video on this, and thought it was really neat, so I decided to give it a try. It was so much fun, so I’d like to share a couple of these videos along with the creations I made. Since I am not very experienced in origami, I found the videos to be very helpful. I am concluding that if I can do this, that means you probably can, too!
One of the first things I did, was to get a hold of some nice, crisp dollar bills. Since I had a limited supply of newer bills, I practiced on some softer, used ones at first until I had an idea of what I was trying to do, then I did it on a stiff, new bill to make the end product look nice and neat. I have included a picture of my final product for each item. I did find that if the used bills had folds in them prior to the project, more so than just being soft and worn, it made it more confusing to fold since it was harder to know which fold to use.
The first few videos were made by such nice, encouraging gentlemen who help you step by step. Nothing is rushed, but show you in detail just how to do it. I watched other videos as well, where they took you through the process in a very professional looking manner, but didn’t do nearly as good of a job explaining and helping you to see what you’re trying to do. The videos I included are my favorite ones. The video of the dog is a bit trickier to follow, as there is no sound or text to help you along, so I had to go back several times in order to catch just what the next step was, but I made it in the end.
Dressy Shirt & Tie:
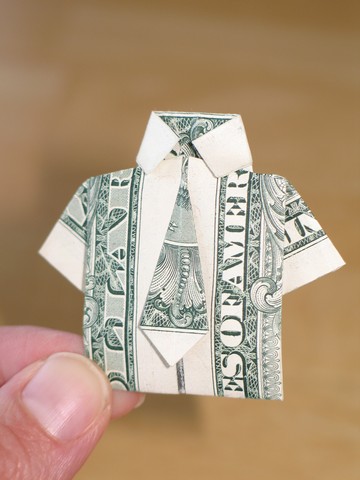
The video to show you how:
Casual Shirts & Pants:
The gentleman on this next video, Jerry from “yesmagic” on YouTube, explains and shows you how to make a more casual shirt, but with a pair of pants to go with it. And this one can stand up! With a head and all! He even shares a bit of life’s wisdom along the way while explaining what he’s doing and why; “Now, what I want (to accomplish)… Of course you can’t always get what you want… But what I want, is…” I love it, he sounds like a person I would have loved to talk to and get to know.
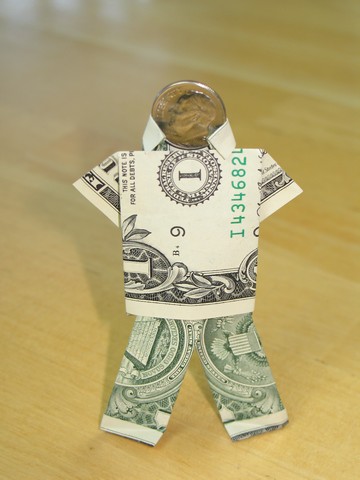
Here’s his video:
Jerry has several other videos as well, and here’s a:
Box; or rather, it’s a slide-out drawer in a chest:

The video:
This box is really neat, you can put something tiny inside and it actually works! Granted, I had to hold down some stick-up corners inside the chest I made in order to close the drawer, but it was fun to use! It would be so cool to give as a little gift, or a huge gift if you put something tiny but valuable inside, such as a piece of jewelry. Jerry also had the great idea of using these dollar-origami models to give as a tip; you could use bills of different values, depending on the size of tip needed, or use two or three different $1 ideas. Maybe put a few regular dollar bills on the table at the restaurant with a one dollar origami creation on top? It gives you something to do while you wait for your food.
Pretty heart:
This was a pretty easy one. Once I figured out how to make one corner, I just repeated all the way around. This video starts out by showing you a few pictures on how to start the project, then goes over to video.
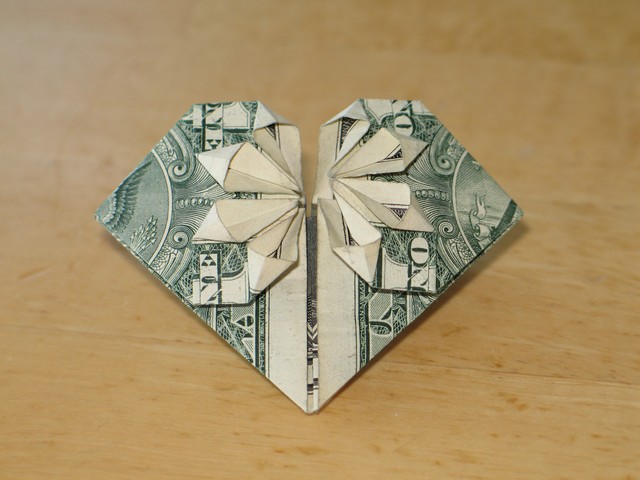
The video:
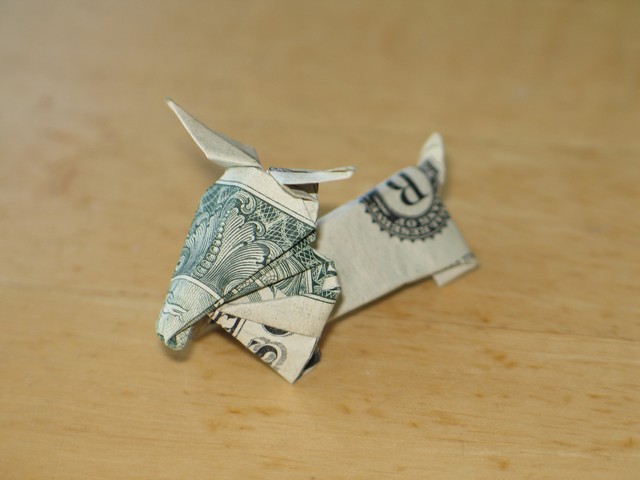
Dog:
Could this be some kind of terrier, perhaps? A little cutie, that’s for sure!
The video:
Jerry from yesmagic has another video in which he makes several different models, and toward the end, he shows you various creations that he has already made and will teach you in his other videos:
I have not made these, but if you’re interested, you can search for them on YouTube, and perhaps include yesmagic in the search or look for the black cloth background. I thought he did an excellent job explaining things in a way I could easily follow.
Now I gotta do it a few times in a row to help me remember the steps, and show it off to someone!



I’m going to show this to Ashlyn!! She will love it. Thanks for posting!