Delicious Cherry Lemonade for a Crowd. Recipe & Tips
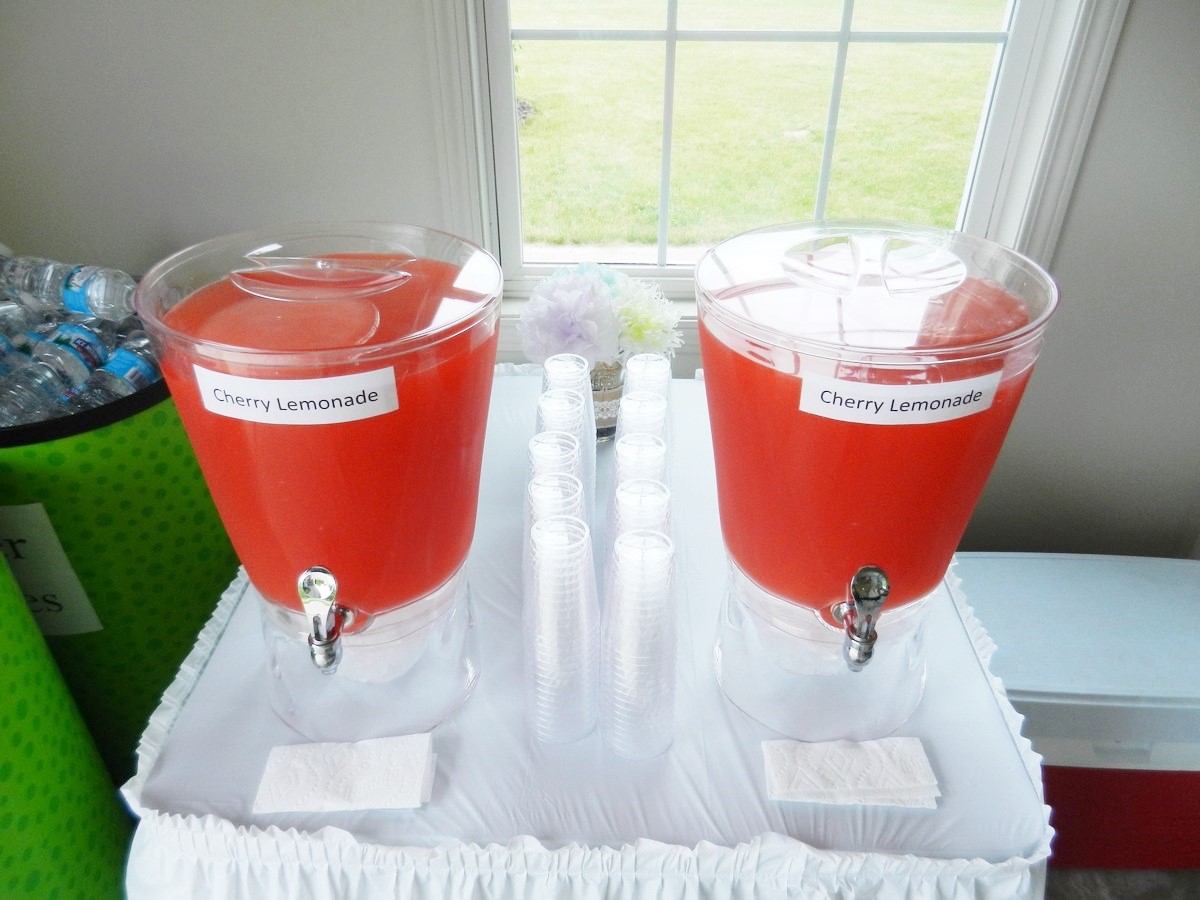
Best-Ever Flavored Lemonade on a Budget
I recently hosted a graduation open house for over 150 people in honor of my daughter’s graduation from high school. A graduation open house is a tradition in the northern states, for you southerners who think I must be crazy! It is, actually, pretty crazy but a lot of fun, too! At any rate, when deciding on a menu, we looked at different options for beverages. The goal was to serve something easy and good tasting, but affordable at the same time. In the end we decided on water bottles and lemonade in dispensers. But not just any bland lemonade: I figured out a way to cut back on cost while serving a wonderful cherry flavored lemonade that not only looked beautiful, but also tasted absolutely delicious! It also ended up being very easy, even for such a large crowd of people, and yet so tasty! Using the following recipe also allows you to choose other flavors, although cherry is our favorite. Read on and you will see just how simple it can be to score big without breaking the bank, in addition to several good tips!
Other ideas that were considered:
We had looked at other beverage options as well. The easiest would have been soda cans and water bottles in a kids’ plastic pool filled with ice. But after we heard people say to provide 2-3 drinks per person (really??? That can’t be right, can it?) and that many people will waste a lot of it by leaving half filled cans behind, it felt hard to fork up the money for it. Why pour money down the drain (literally!) when we could put it into a college fund? From what I understand, particularly kids will take a couple of sips of a soda can, set it down, forget which one was theirs, and go grab another one. So if a lot of kids come, that might get expensive. Another option was to use 2-liter soda bottles in ice, but that seemed difficult for guests to handle, holding plates of food and trying to push the bottle back down into the ice again.
Serving water in addition also seemed like a good idea as many people simply prefer water over sugary drinks, especially if they are downright thirsty. When checking water bottle prices, they seemed cheap enough for the convenience: just dump them into ice and be done with it. BUT: We initially thought we would purchase mini water bottles to keep waste and cost down, since people can easily reach for more if needed. Surprisingly though, mini water bottles turned out to be more expensive than regular sized! This was true for every store that I checked! And why pay more for less??? So it was a no-brainer and we went with the normal sized water bottles.
So, lemonade and water bottles it was.
How To make the Lemonade:
As a base I used Country Time powdered mix since it is really inexpensive and easy to mix. Purchasing the powder on sale is half of what soda cans cost on sale, or even less. In itself it tastes OK, but I added a couple of simple ingredients that really kicked it up without adding much cost. The secret here is to add some real lemon juice and sugar to get some of that fresh, tart lemon flavor, and also adding extra additional flavor and color by using just a little bit of Kool-Aid powder. Yes, I know… Pure junk, but it’s only for special occasions.
Obviously, if you want the very best lemonade you could ever get, you would squeeze lemons to use only pure, fresh juice along with sugar and water. That would also be very expensive and a lot of work to make when serving a large group of people. Keep in mind therefore, that the goal of this blog post is to show you how to get the biggest bang for your buck: Great lemonade at a very low cost, plus quick and easy to make.
If you decide to try this recipe, I would love it if you would leave me a comment and a star rating at the bottom of this post. It really helps me out, so thank you in advance!!
Pictured below are the ingredients needed for this fabulous cherry lemonade. The recipe itself is found at the bottom of this post.
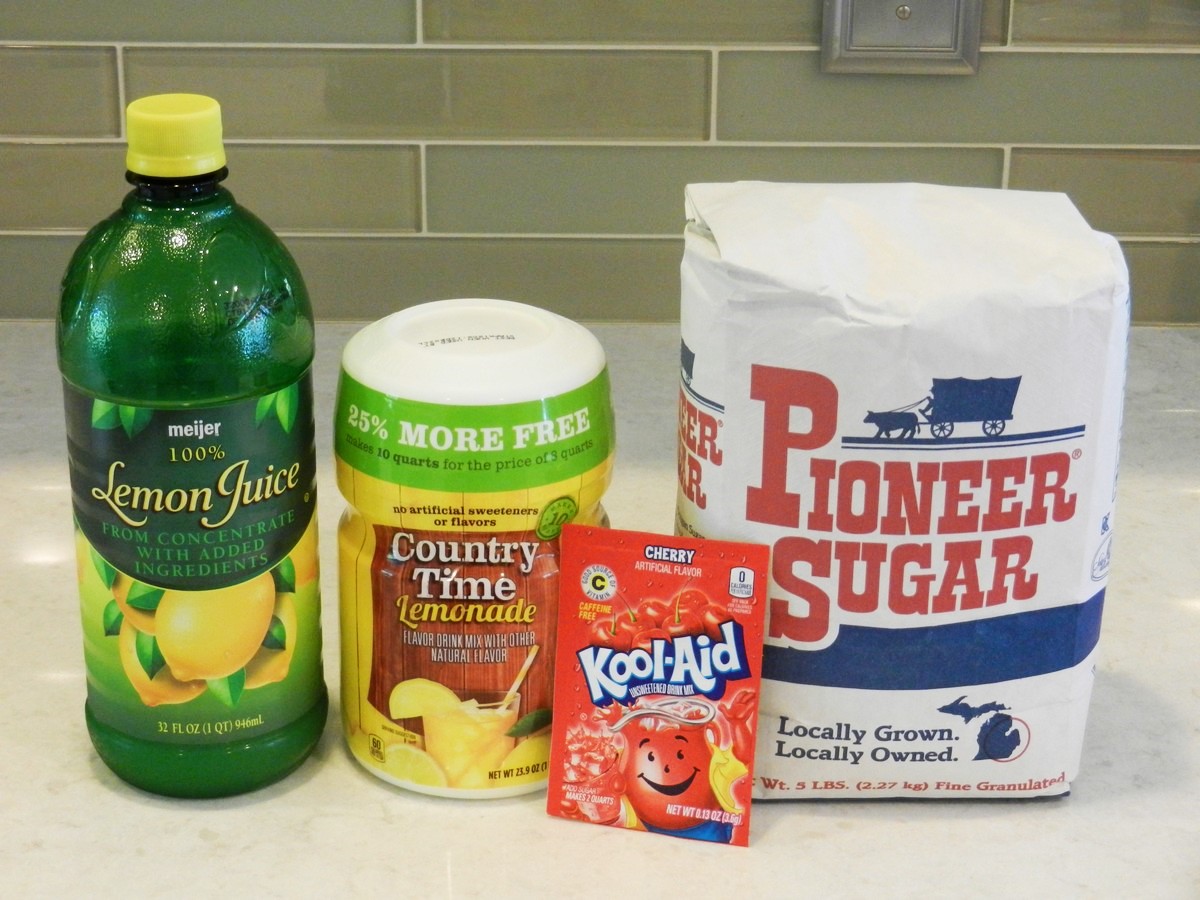
You’ll need:
Country Time lemonade powder, sugar, lemon juice, cold water, and Kool-Aid powder of your choice.
If you use a different flavor than cherry Kool-Aid with yellow lemonade, it is best to test it first. Mix up a small amount in a glass to see how the color looks and how it tastes before making what you need. Some flavors are more noticeable than others; I found strawberry to be very subtle, so it takes quite a bit to make a difference. Cherry is stronger and tastes wonderful, even with a little bit! In addition, not all colors will look nice combined with yellow powdered lemonade. If so, and you really want that particular Kool-Aid flavor, try mixing it into pink Country Time lemonade and see if that works. One time I tried to make purple by adding grape into the yellow mix, and that did NOT go well! It looked like dirty dishwater with a hint of purple. Mixing it into pink lemonade worked better, but it still wasn’t great, and certainly nothing to serve to good company.
Preparing the lemonade:
Fill a gallon sized pitcher a little bit more than half way with cold water. Mix all of the ingredients together and stir well until the sugar is completely dissolved. The measuring cup seen below belongs to a set of six stainless steel cups from KitchenMade; they work very well, are strong and durable and nest inside each other perfectly! Love love love! I now have two sets.
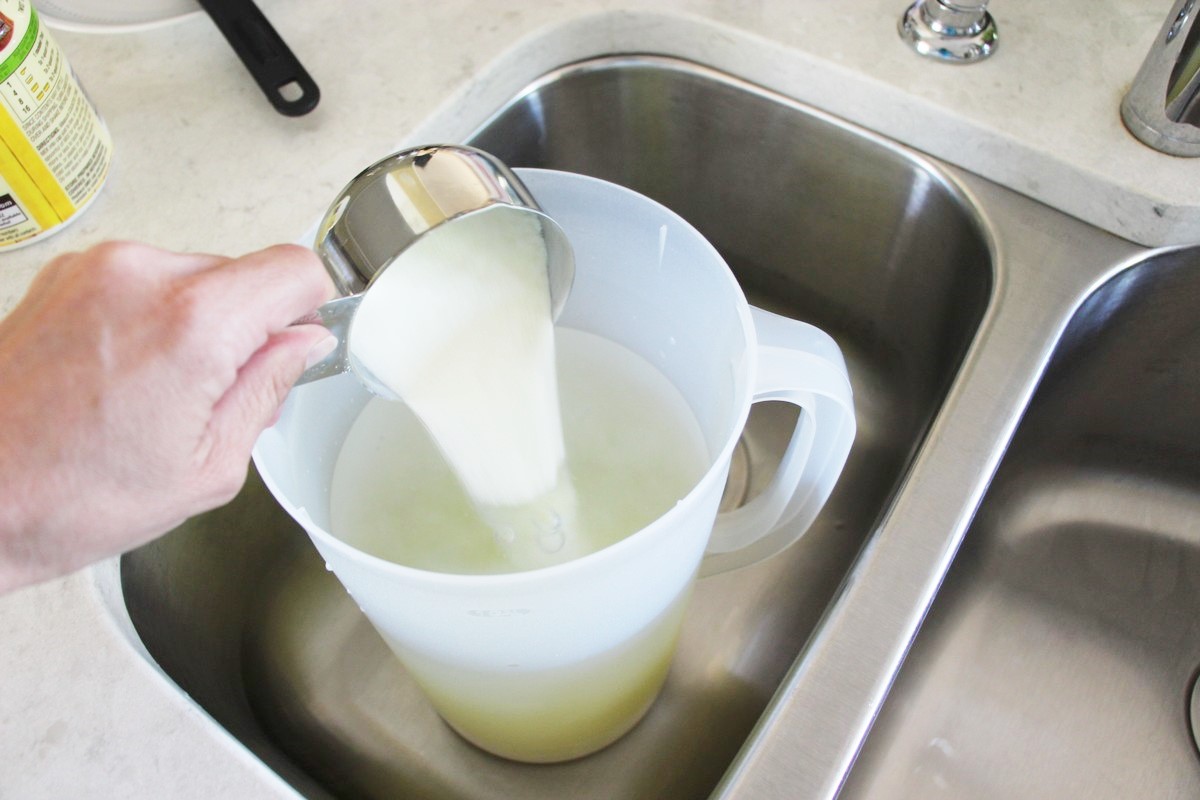
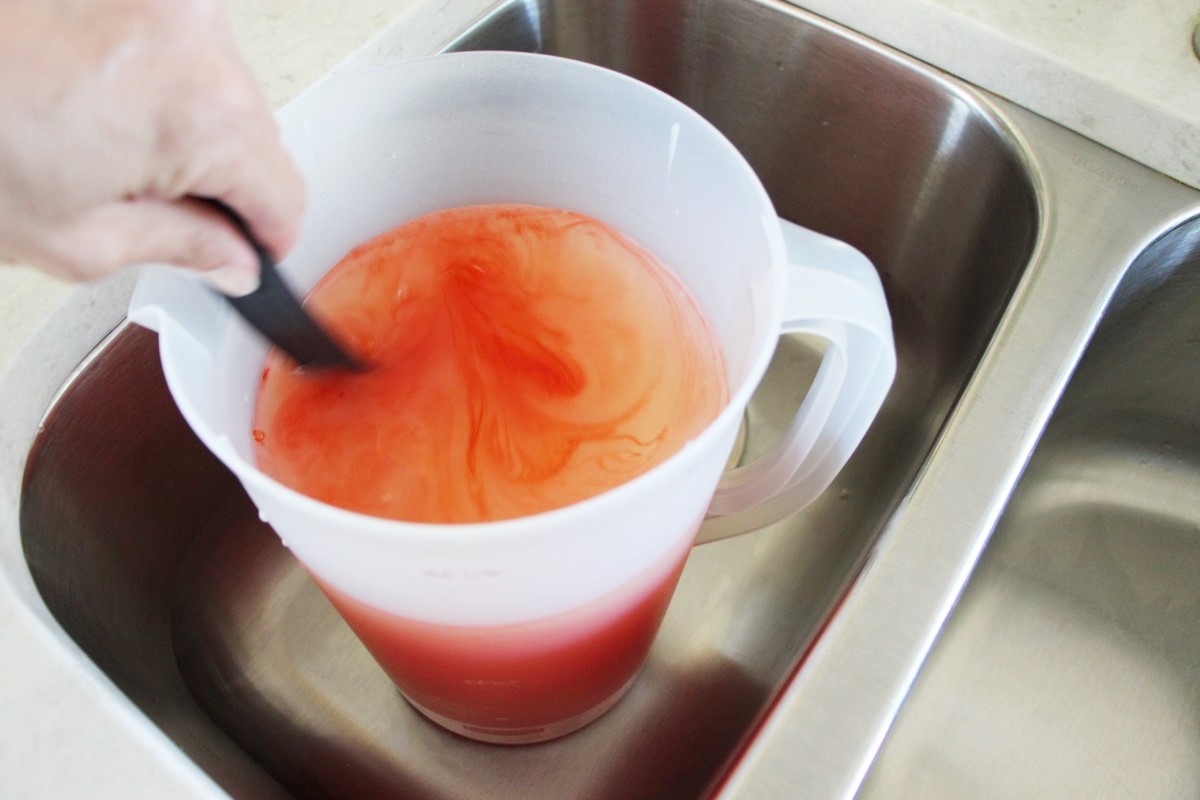
Then fill up the rest of the pitcher with more cold water and ice if needed, and stir well. Make sure the lemonade feels completely smooth and not gritty at all. Do not use extra ice after the container is filled up as it results in a diluted drink.
In the pictures above I used a rubbermaid pitcher, which pours nicely but does not have an air tight, spill proof lid. The one in the picture below is a sterilite pitcher, which has an air tight, spill proof lid but doesn’t pour quite as nice.
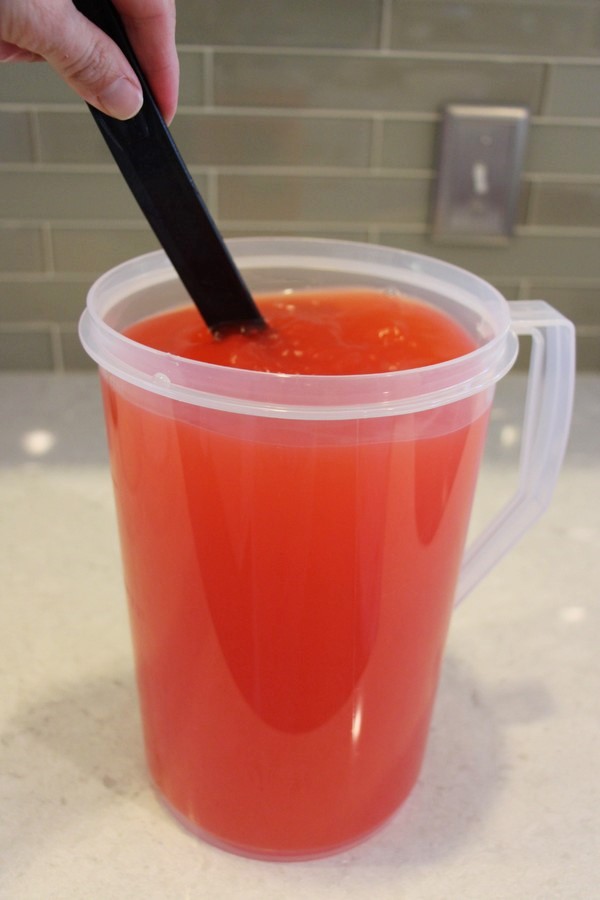
Keep well chilled. For tips on how to keep the lemonade cold during the party without diluting with extra ice, see below.
Useful Tips:
Simplify by making ahead. But how much to make?
We made the cherry lemonade a day or two in advance and kept it cold in the refrigerator in pitchers until needed. You could also use empty 2-liter bottles for storage.
We made six gallons in advance and three more during the party, which was a good amount for 160 guests for this type of party, and we had leftovers. But then of course we also had water bottles and used 90 of those. To figure out how much to make, here are a couple of things to keep in mind
*How hot will it be? People drink more when it’s really hot outside. If it’s rainy and it’s an open house, you may not have as many people attend, and the ones who do may eat quickly and then scurry on out of there.
*Consider the type of party you’ll be hosting: During an open house of this nature people will come and go, eat, socialize for a while, then leave. When we provided cherry lemonade for a wedding recently, we needed far more than during our open house, since guests stayed for a few hours and would help themselves several times. So I prepared extras as needed during this party.
*Glass size: If you use large glasses you will probably need more lemonade than if you use smaller ones. I find that people tend to fill their glasses up regardless of size, whether they need that amount or not.
Keeping the lemonade cold during the party:
Our party was going to be held outside, and since there was a potential for hot weather I didn’t want to risk diluting the lemonade by adding a ton of ice.
The Bad Idea: I had heard of freezing lemonade in muffin tins to use for ice cubes, which would keep the drink cold but not dilute it. Super idea, right? Well, I experimented in advance and found it to be very difficult for me to do. Keeping the muffin tins flat and from spilling in the freezer was tricky enough. But getting the ice cubes out of the tins was another, huge problem! They simply wouldn’t let go and slip out of the tins, even when melted enough that they could spin around freely. There was a suction that held on to them, both in my regular aluminum tins and also non-stick ones. Since the tins are hard and you cannot push or twist the cubes out, they had to melt quite a bit before finally coming out. And it just left a mess with all the juice coming out along with them!
And here comes The Good Idea: Not wanting to give up quite yet, I concluded it would be cool to make jumbo ice cubes instead by pouring cherry lemonade into plastic storage containers. And it worked like a charm!! Using lids, you can stack them in the freezer and they are easy to pop out of the containers once frozen. This can all be done days in advance.
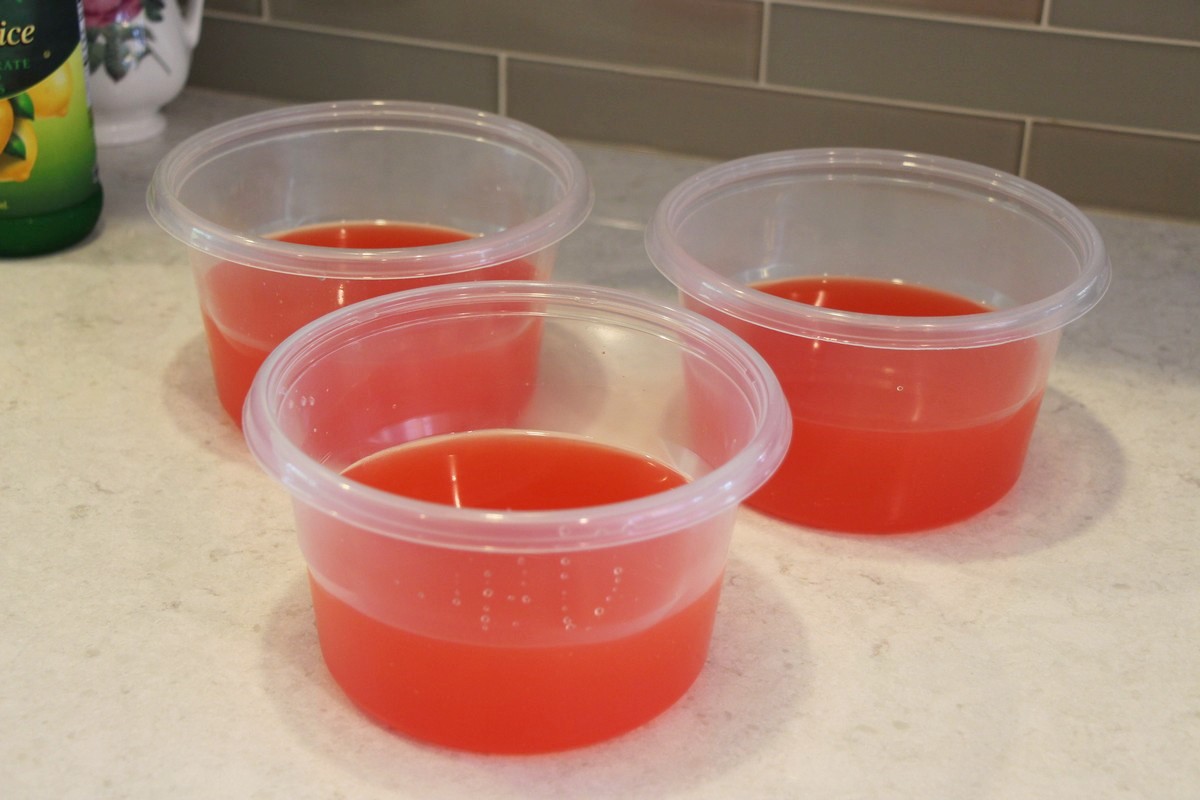
Whenever I make these mega sized ice cubes, I use Ziploc brand storage containers. These are nice and uniform and very flat on the bottom, which looks much nicer than tupperware shapes. The flat lids make them very stackable and they nest nicely when you store them. My particular containers hold 7 cups but I only fill them slightly less then half full to keep the ice cubes looking more like disks.
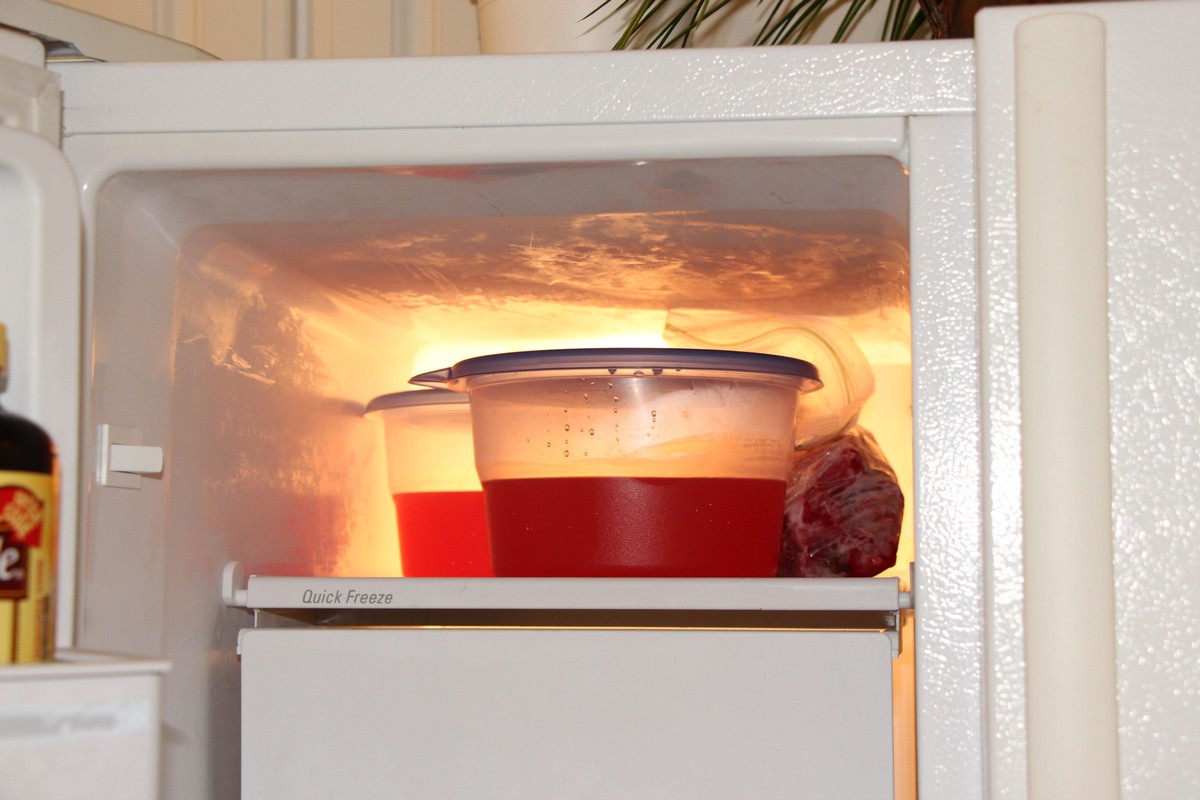
Put lids on the containers and find a flat surface in the freezer, stacking them on top of each other if needed. Just let them freeze flat so that the disks will be as uniform as possible in the end. Freeze for about 24 hours or so until frozen solid all the way through.
Once frozen solid, run the containers’ bottoms and sides under hot water for a few seconds until the frozen lemonade releases when you press the bottom.
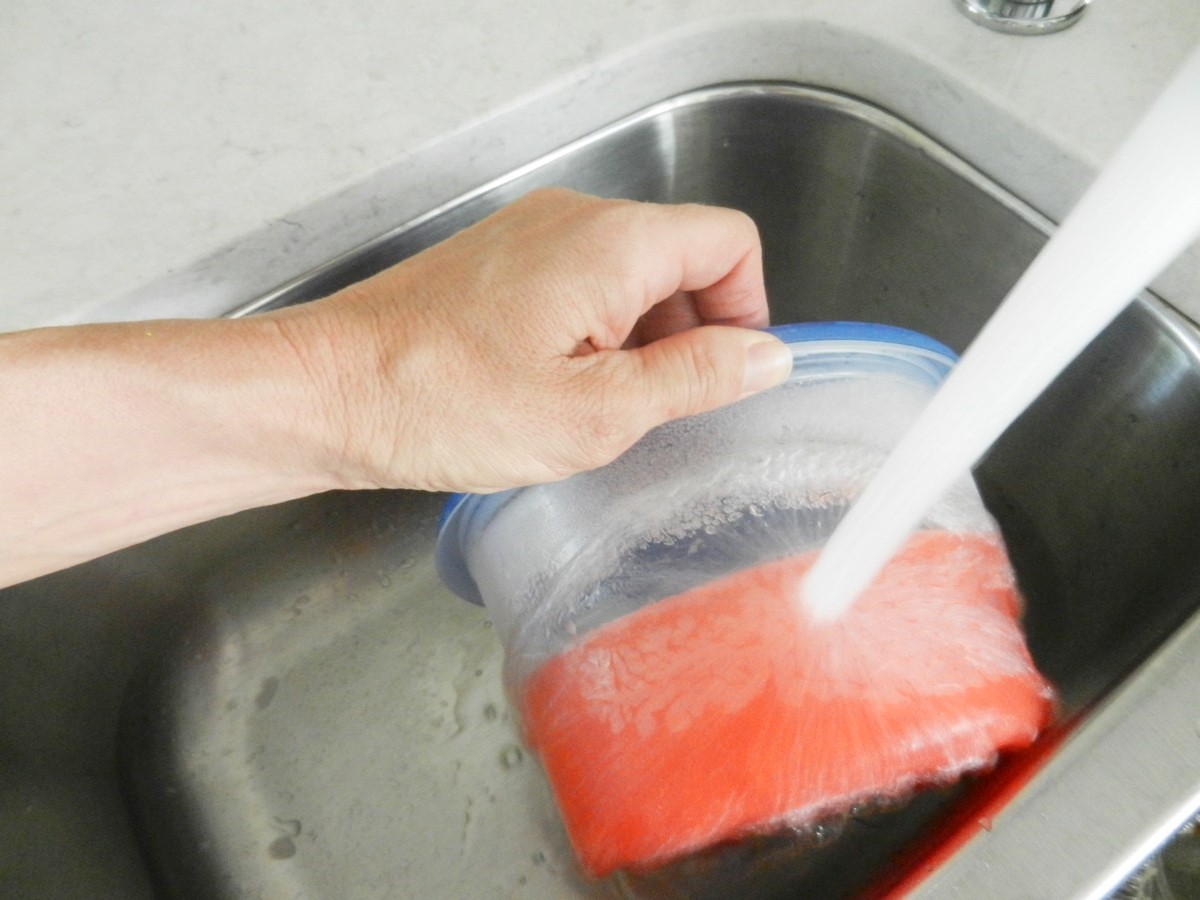
See, with a little push it comes right out!
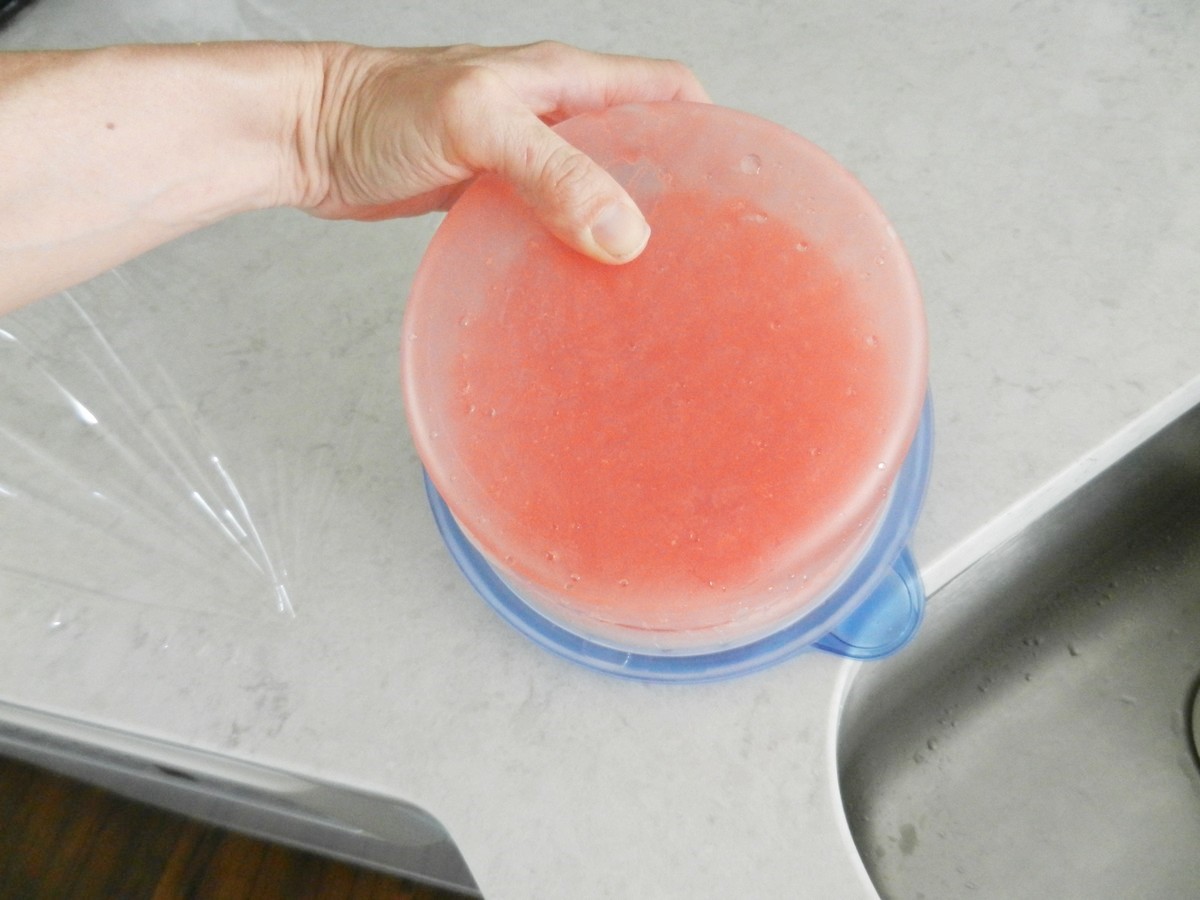
Dump it onto a large piece of plastic wrap, then wrap it up in plastic to put back into the freezer until ready to use.
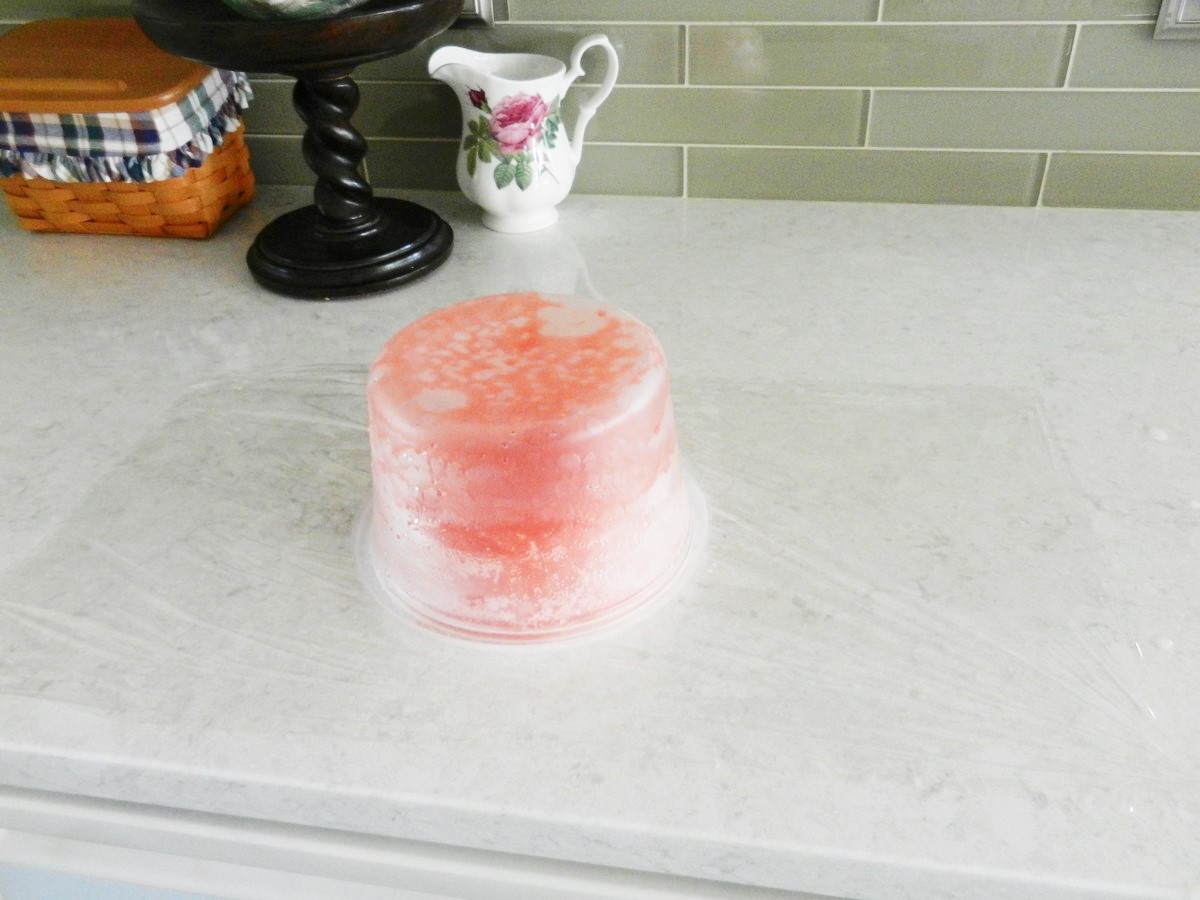
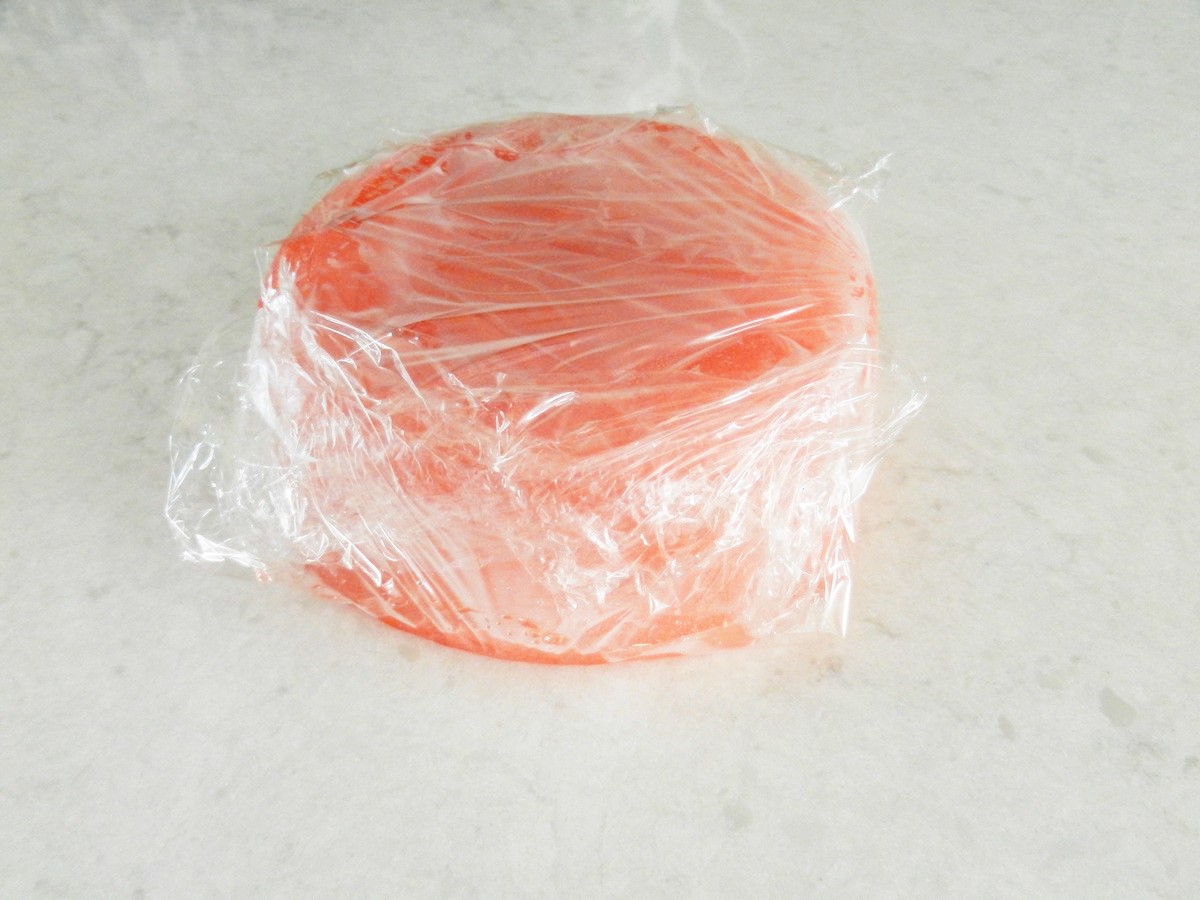
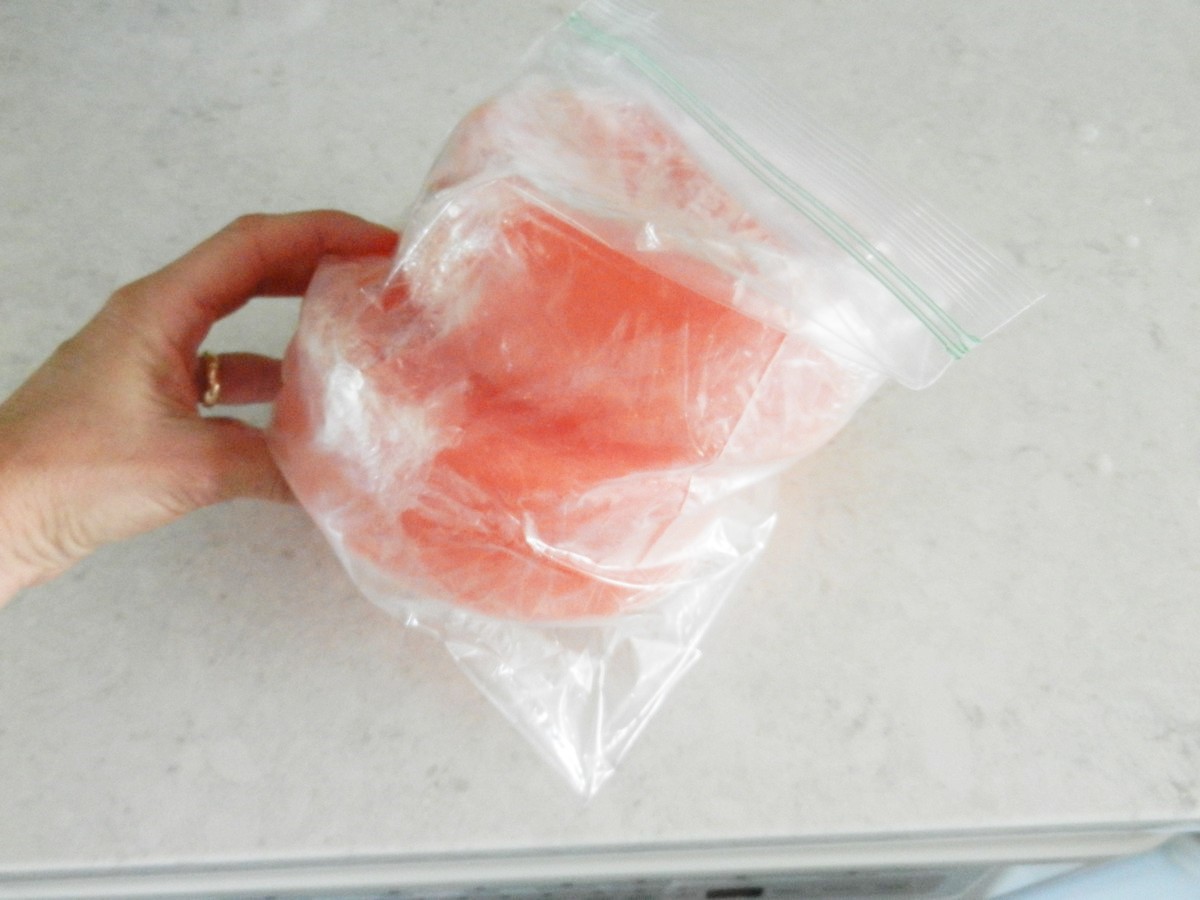
I wrap the disks individually, then put them into large plastic bags and straight into the freezer again immediately. Very simple! These disks are so much easier and cleaner to slip into the lemonade than dumping ice cubes, and they last quite a while. We kept our dispensers in the shade of the garage; the temperature was in the mid to upper 70’s, we refilled once with lemonade and a new disk in each plus the ones from the muffin tins, and there was a lot left of each disk three hours later. It worked very well!
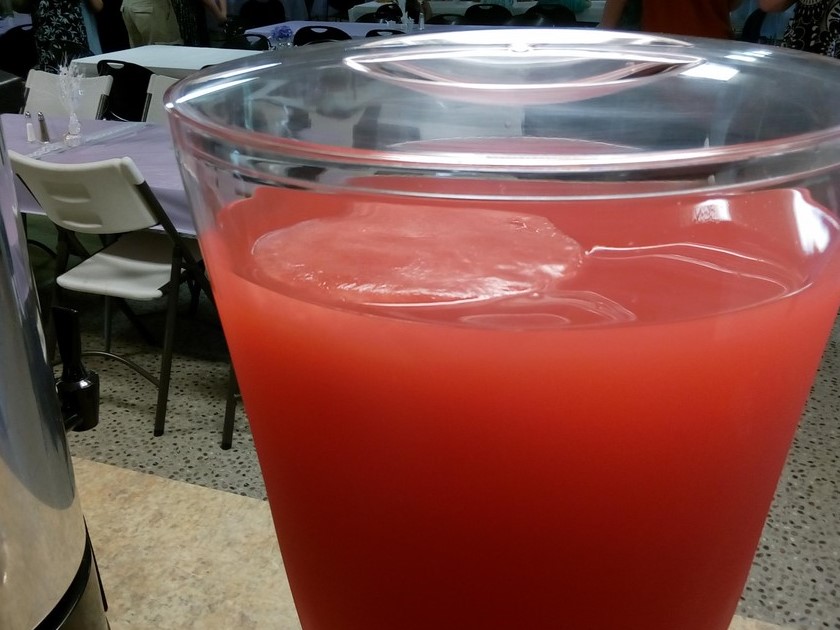
This is what the giant ice cube looks like inside the lemonade; also see the picture at the very top of this post:
Serving:
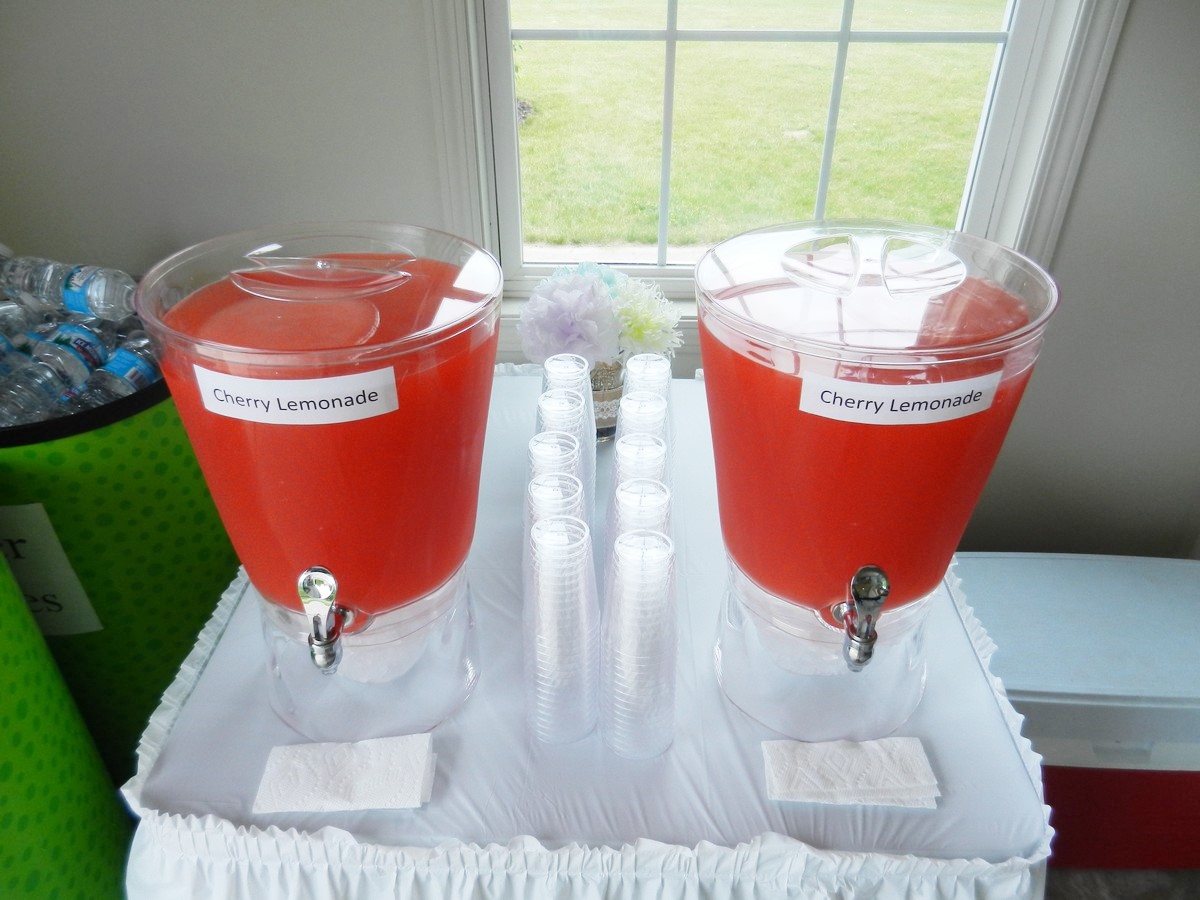
We used Chinet plastic glasses for the lemonade, which looked very elegant. Our glasses were purchased at Costco and held about 8-9 fl.oz, and that seemed about perfect as guests could refill as needed. Keep in mind that if you provide huge cups, people will automatically fill them up whether they need it or not, resulting in a lot of waste. These clear, smaller glasses gave a feel of sophistication compared to the standard, huge, colored Solo cups. And the dispensers looked very pretty as well.
If you want to get a hold of dispensers, here’s some info: Mine were purchased from Costco, and Sam’s Club carry dispensers as well. The closest I could find on Amazon, for comparison, is the one in this link, which looks strikingly like the one that Sam’s Club has sold in the past. I have borrowed this one from a friend before and it works very well. The shape is different than the Costco dispenser and it has an insert in the middle for ice, while my dispensers keep ice inside the base, similar to this one from Amazon. At Costco and Sam’s they are only around $20 and they both hold 3.5 gallons each.
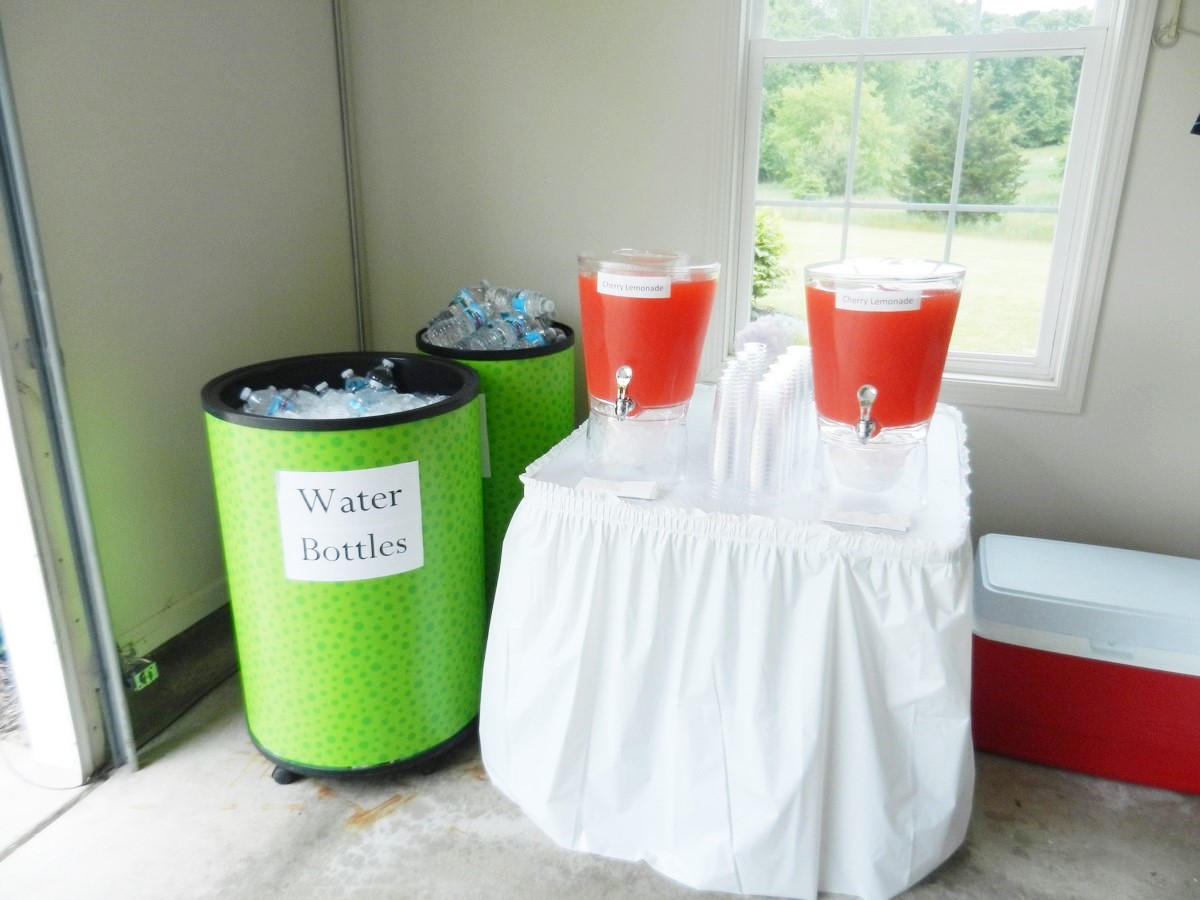
We had done a lot of thinking back and forth; how to conveniently serve drinks for such a large crowd while also keeping cost down? Providing inexpensive water bottles plus serving delicious cherry flavored lemonade proved to be just the thing for us. We received lots of compliments on the lemonade. It was easy to make and surprisingly cheap, which fit us perfectly now that we’re trying to support a young adult going into college! Please do leave me a comment and star rating below if you decide to try this recipe. It would be so helpful! Wishing you all the best for your own party and the people you are celebrating!
- Up to 1 gallon cold water
- 1⅓ cup Country Time lemonade powder mix
- ½ cup sugar
- ½ cup lemon juice
- ½ teaspoon Cherry KoolAid powder or flavor of your choice
- In a gallon sized pitcher, fill about half way up with cold water.
- Add Country Time lemonade drink mix, sugar, lemon juice, and KoolAid powder.
- Stir well until all sugar has dissolved and lemonade feels smooth and not gritty.
- Fill the rest of the pitcher up to the gallon mark with cold water and ice if needed.
- Store in the refrigerator until ready to use.




Will b trying this very soon it sounds delicious! It will probably also b pretty with added fruit. Thank u for sharing.
Yes, that would look very pretty I’m sure! I hope you’ll love it!
R u sure about the measurement of Kool-Aid? Followed recipe exactly except when I just added 1/2 tsp of cherry Kool Aid, it took on a sick pink color. Not even close to your picture.
Yes, I am sure about that measurement. Did you by chance use black cherry or a different brand of Kool-Aid? If using a different flavor or brand, that could definitely change the color. If so you may need to experiment with the amounts or make sure it’s Kool-Aid brand and regular red cherry. But yes, I have made this recipe countless times and it always ends up a pretty, bright color, just like in my pictures. I hope it works out better for you next time you try it!
Also used 1/2 teaspoon of the cherry koolaid power and it was a very pale color and barely changed the taste. I was hoping for the color to be as red as your picture.
Did you ever get the cherry lemonade to look like the authors picture or taste a hint of cherry flavor to the lemonade? I also followed recipe as written and the lemonade was very pale and tasteless.
I don’t know why you are having trouble, all I can say is that this is what I do to get the color you see in the picture, and the flavor is great! Since I can’t see exactly what you are doing I can’t say what’s going wrong. But like I’m saying, this is the measurements I came up with and that’s been working for me. You can always add more if you don’t think there’s enough KoolAid powder in there. It’s been a while now since I made it, so I suppose there’s a possibility the company changed their powder, but seems like it is the way it’s always been. I am sorry you’re having trouble with yours though. I would honestly just add more, in that case. But first make sure you have the same brand and the same flavor as pictured.