Cream Cheese Squares Recipe, Picture Guide
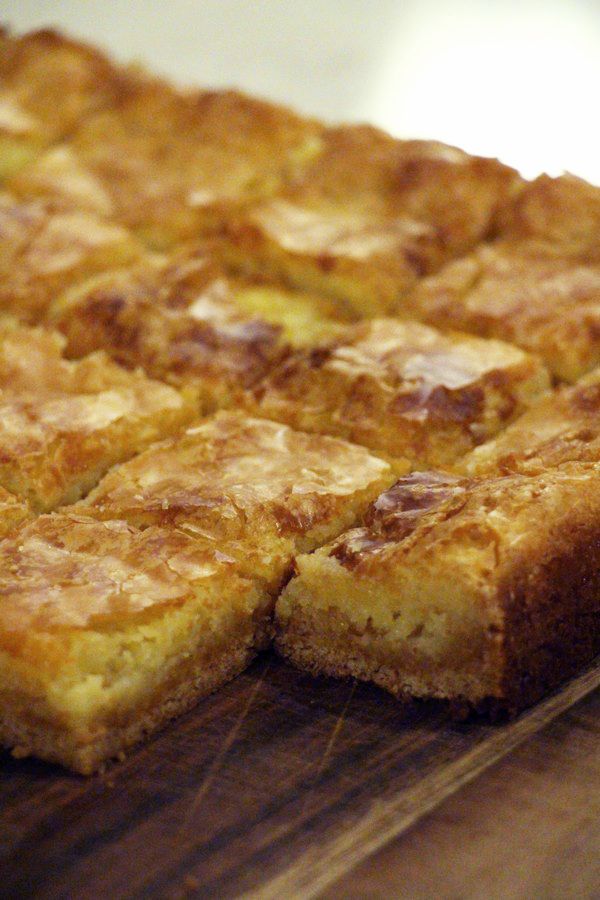
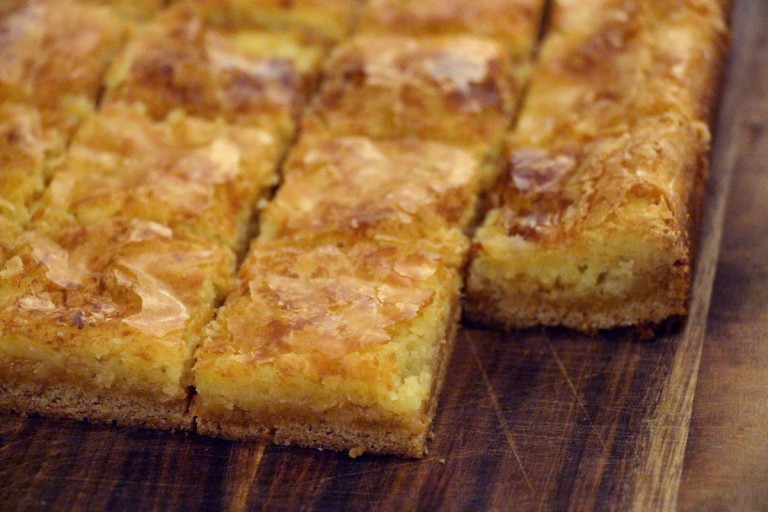
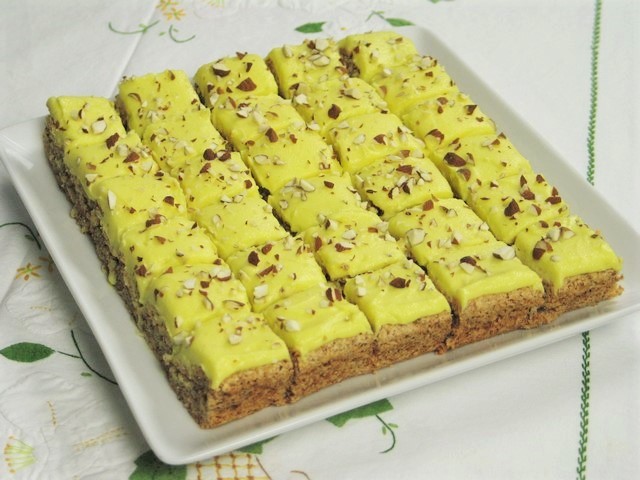
These cream cheese bars are an absolutely delicious dessert! They are super sticky and gooey but can still be eaten without a fork if served cold. While very sweet and rich, it is hard to stop at only one! With this picture tutorial you can see that this is an easy recipe to put together, using a yellow cake crust on the bottom and covered by a sticky, dense cream cheese filling. They look a bit like lemon bars but the taste is very different. Kids and teens will sometimes be reluctant to try them due to the cream cheese that they contain, but once they sample them they quickly realize that they’re not biting into cream cheese, but a delectable, sweet dessert!
If you decide to try this recipe, please consider leaving me a star rating and a comment below; it is very helpful for me and I appreciate it very much! Thanks in advance!
When my son brought some of these bars to school with him, one of his 8th grade friends loved it and went home to search my blog for the recipe, to no avail; I simply hadn’t put together a post on it yet. Since my own kids will also definitely want this recipe once they’re out on their own, it was time! Caden, this blog post is for you! 🙂 I hope you’ll have fun baking!
The How-To’s:
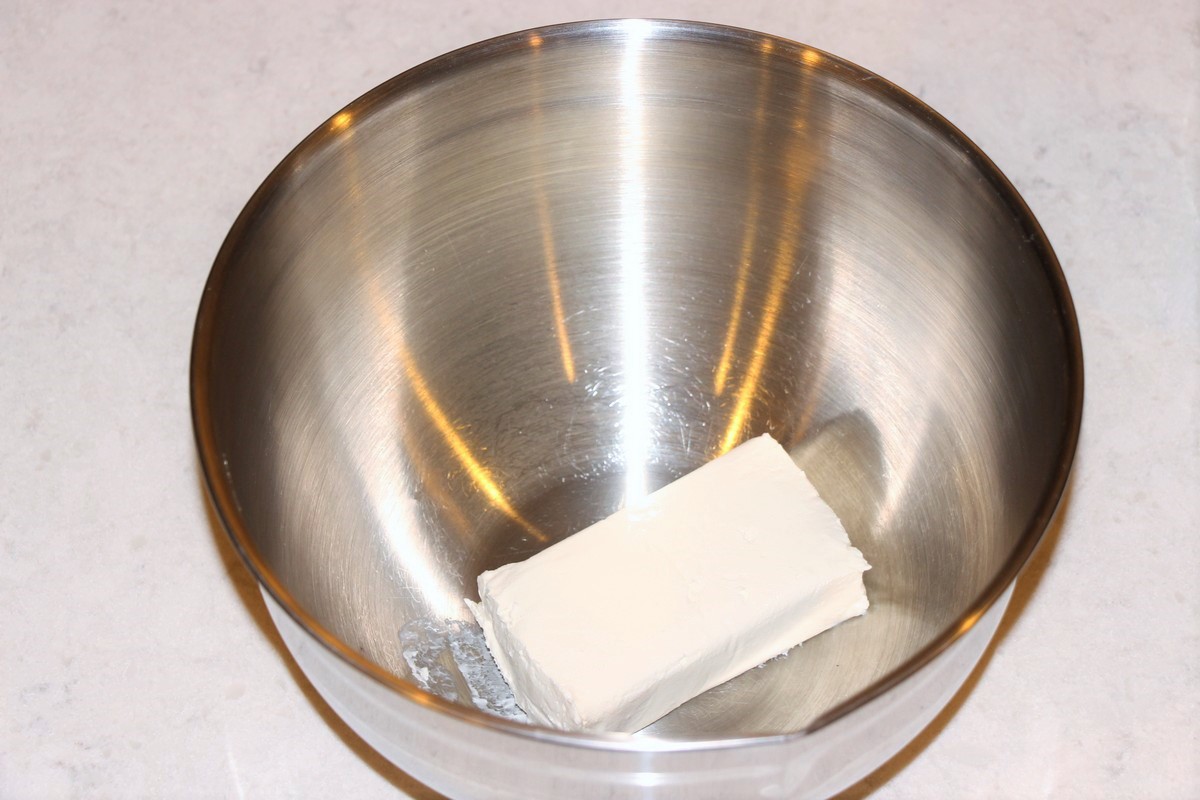
Start out by setting the cream cheese on the counter top to soften a little bit.
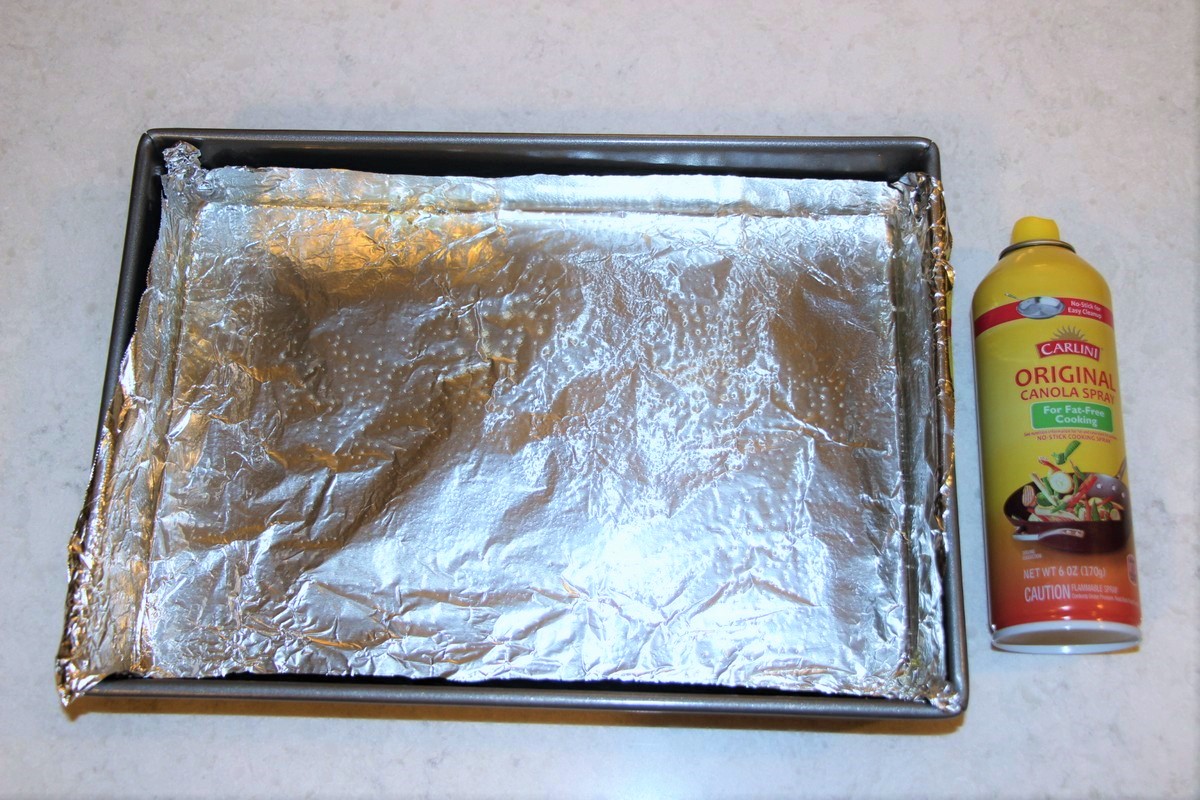
Line a 13 x 9 baking pan with aluminum foil or parchment paper and spray it well with cooking spray. These bars tend to stick to the pan something fierce, so lining and then greasing will make it much easier to remove from the pan later. Look at the pictures further down to see how I do it.
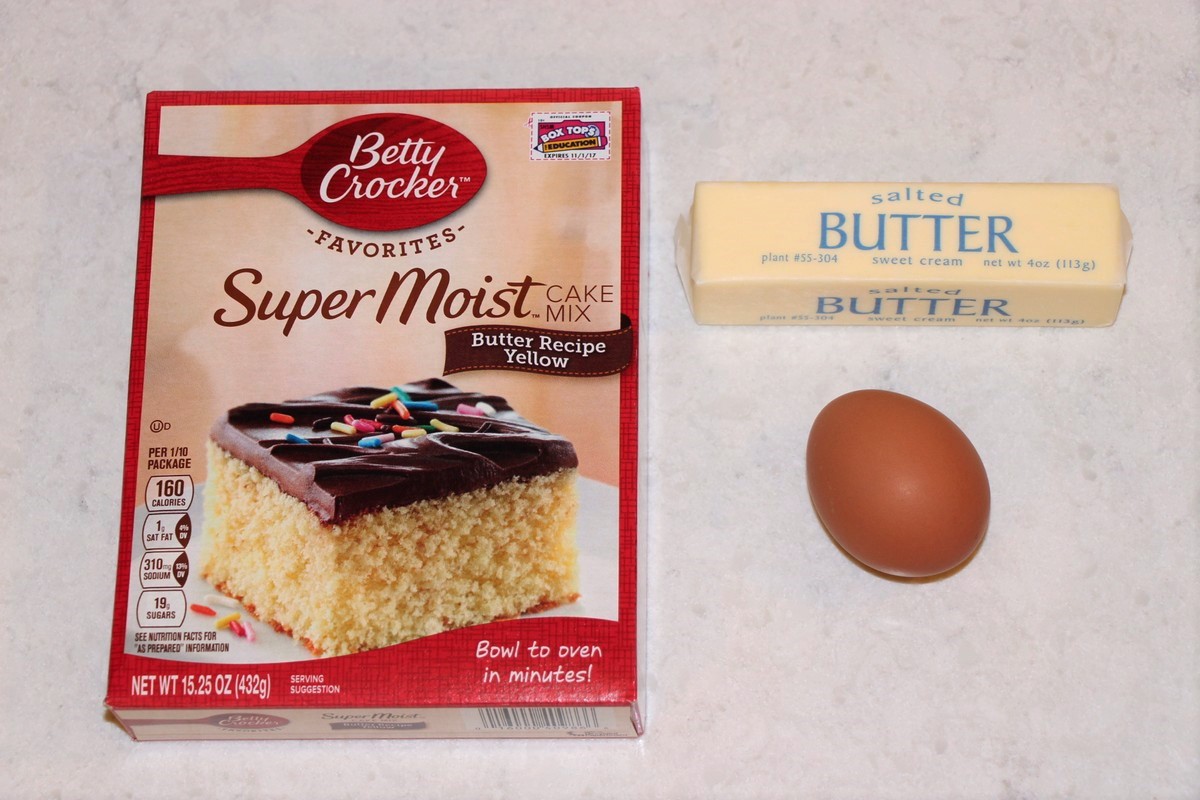
Then make the crust:
In a medium mixing bowl, use a spoon to combine one pouch of yellow cake mix, melted butter, and an egg until it forms a soft dough.
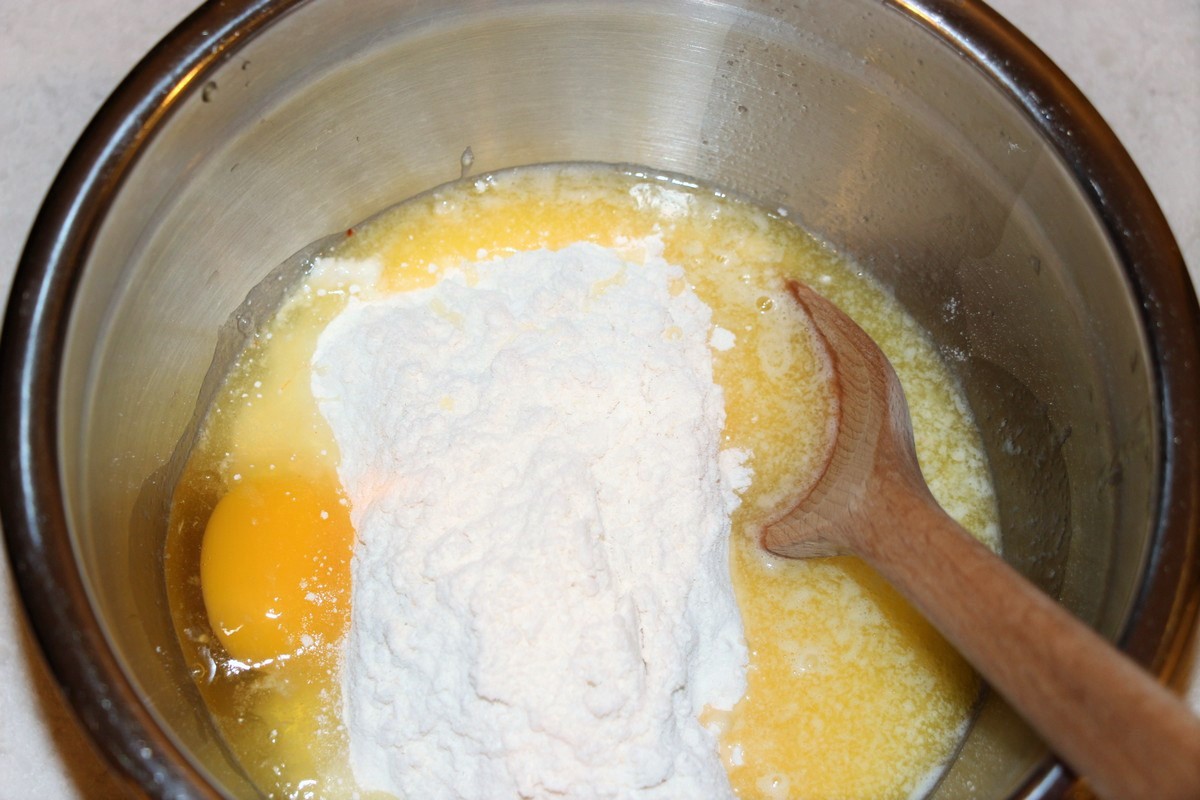
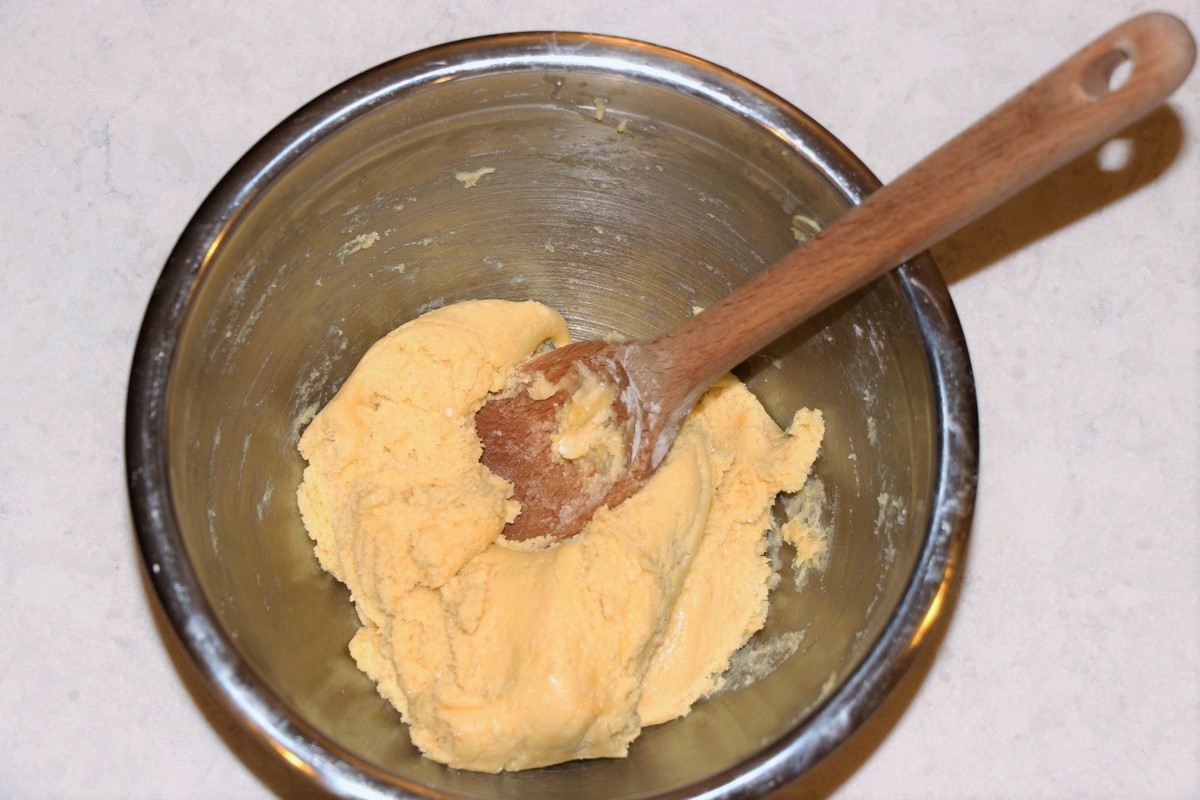
Press this dough evenly onto the bottom of the lined pan, all the way to the sides and corners. I usually use my clean hands to do this. Set aside.
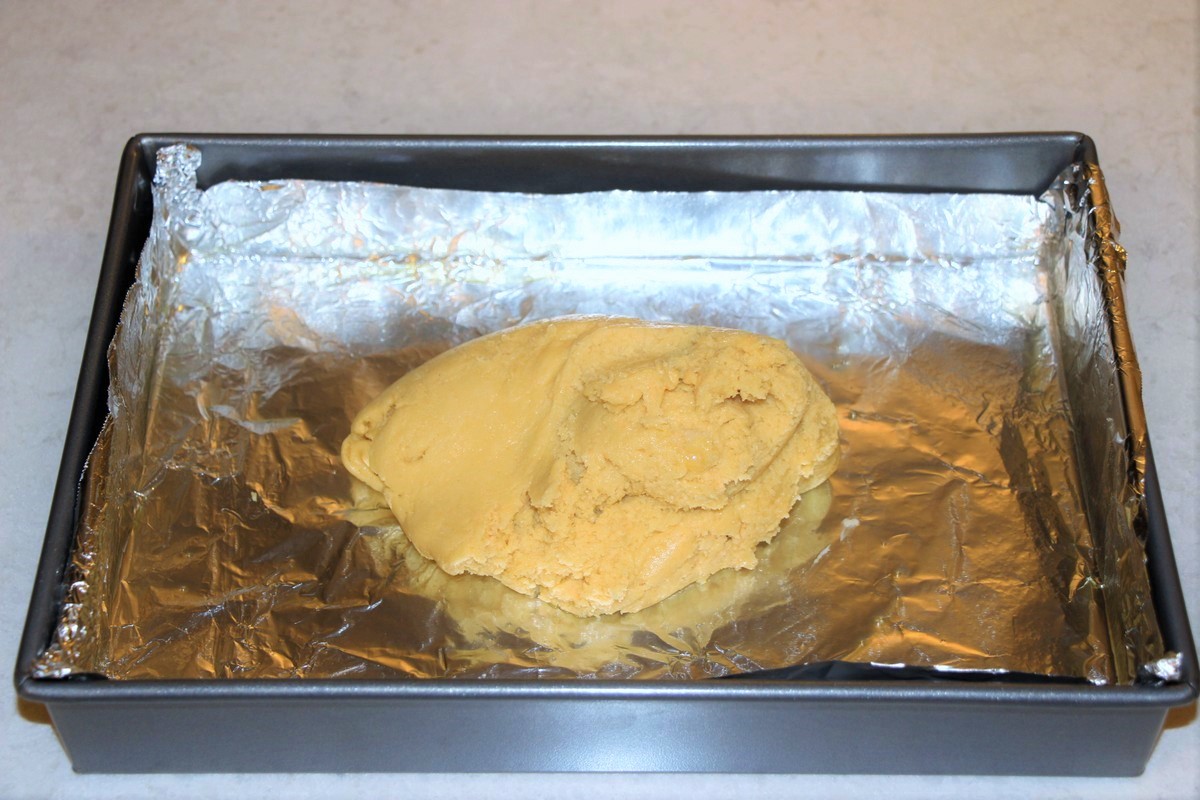
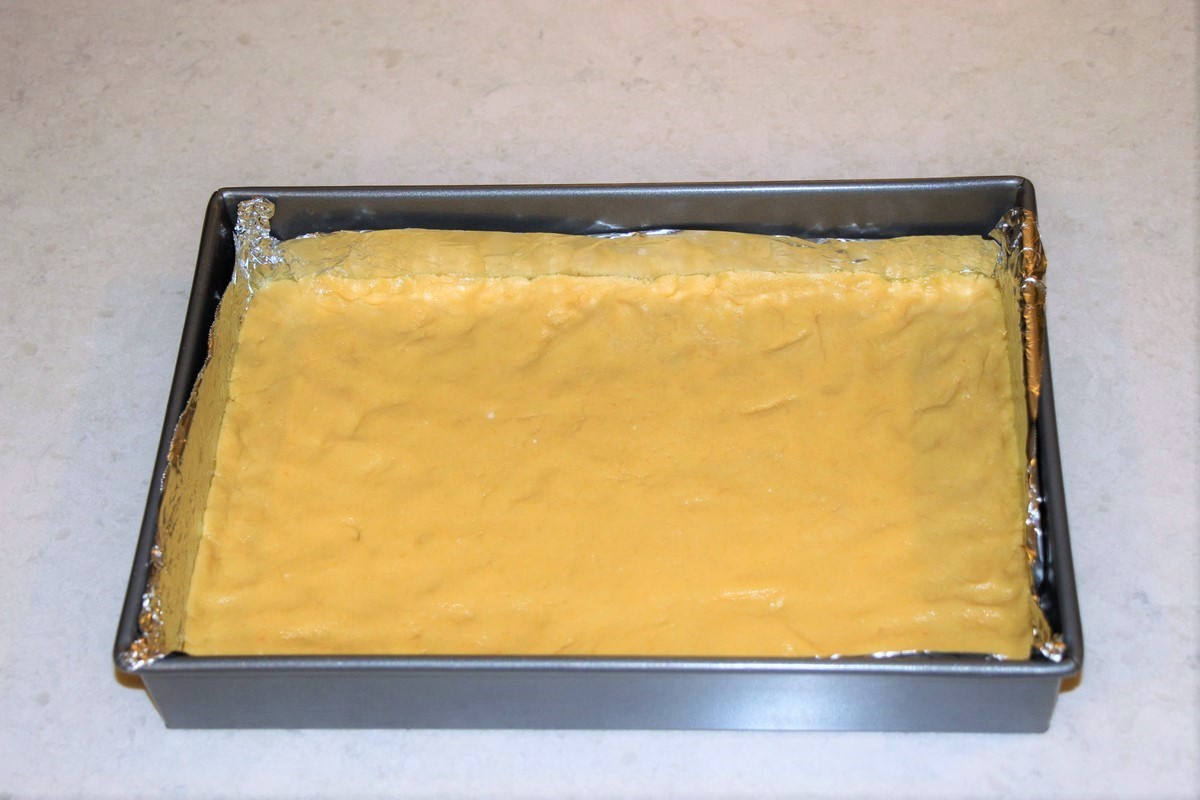
Now make the filling:
In a different medium or large mixing bowl, use an electric mixer on low speed to mix together powdered sugar, the softened cream cheese, eggs, and flavorings until smooth. Be very careful in the beginning so you don’t make a powdered-sugar-cloud in your kitchen! You don’t need to mix a lot; the goal is just to get it smooth, not to try to mix in air for fluffiness. Fluff won’t happen and it’s not needed.
If the cream cheese is a bit on the firm side the gooey filling might start to creep up the beaters and into the machine. Shake it down every few seconds if that starts to happen. Softer cream cheese cooperates better.
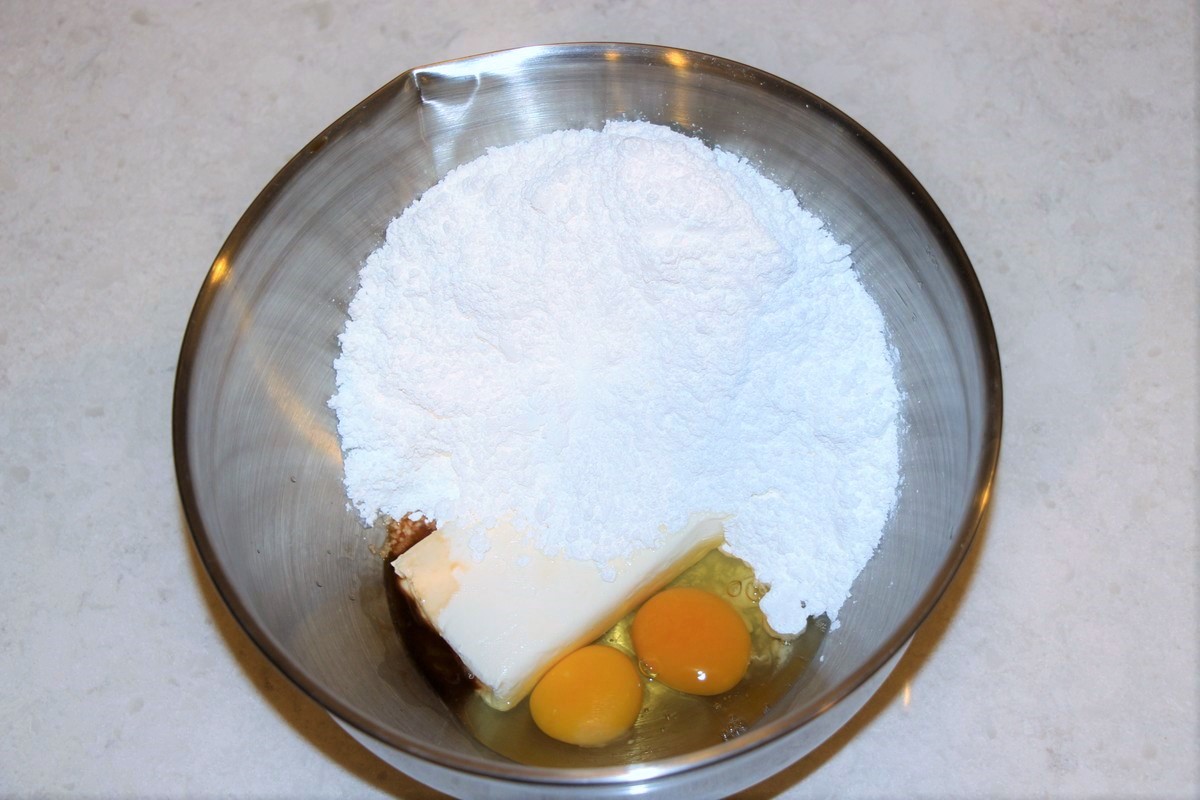
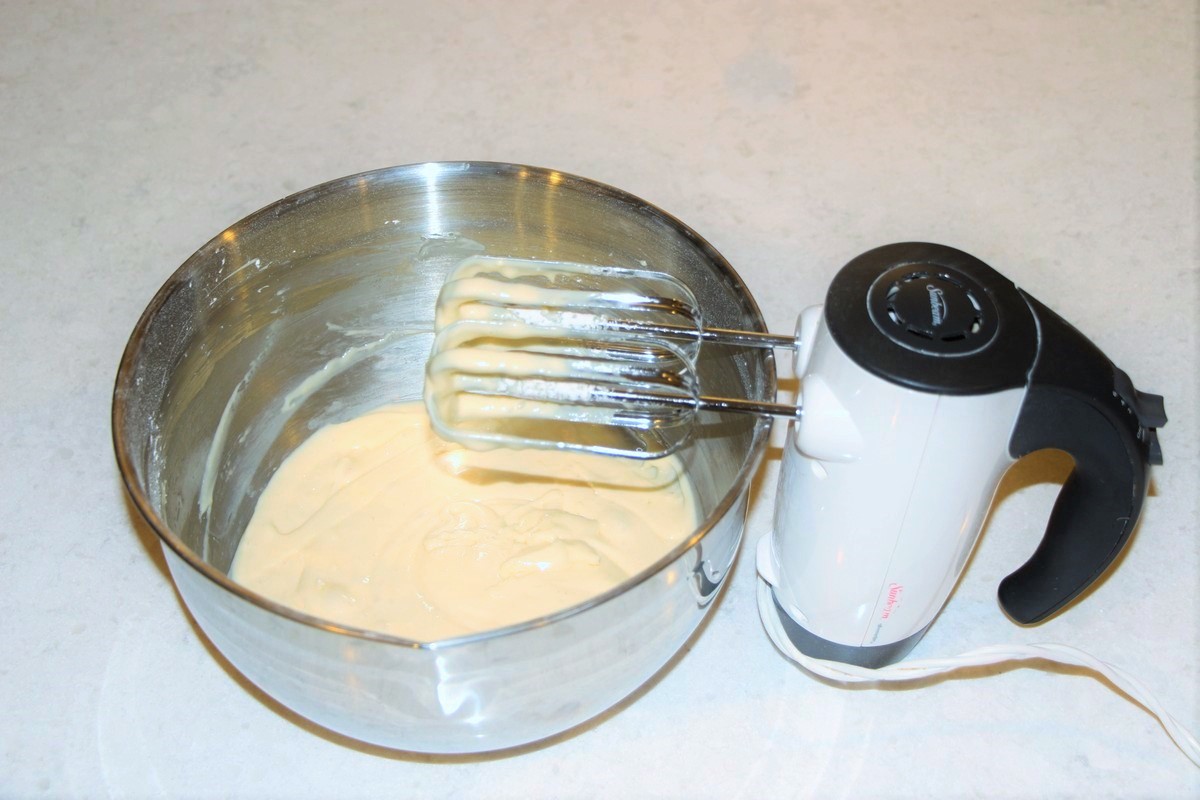
I like this simple Sunbeam hand mixer for small jobs; hand mixers can often be found very cheaply during black Friday sales, and since they all seem to only last a few years regardless of price tag, I don’t like to spend much money on them. This mixer conveniently lets you set it on it’s end.
For flavorings, always add vanilla, and I like to add 1/4 tsp coconut extract in addition. It won’t be very noticeable; it just adds a subtle hint of flavor. If you don’t have coconut extract you can omit it, or you can use a different flavor such as almond. Those who are fans of chocolate cheesecake might even enjoy using chocolate cake mix for the crust along with a little cocoa in the filling.
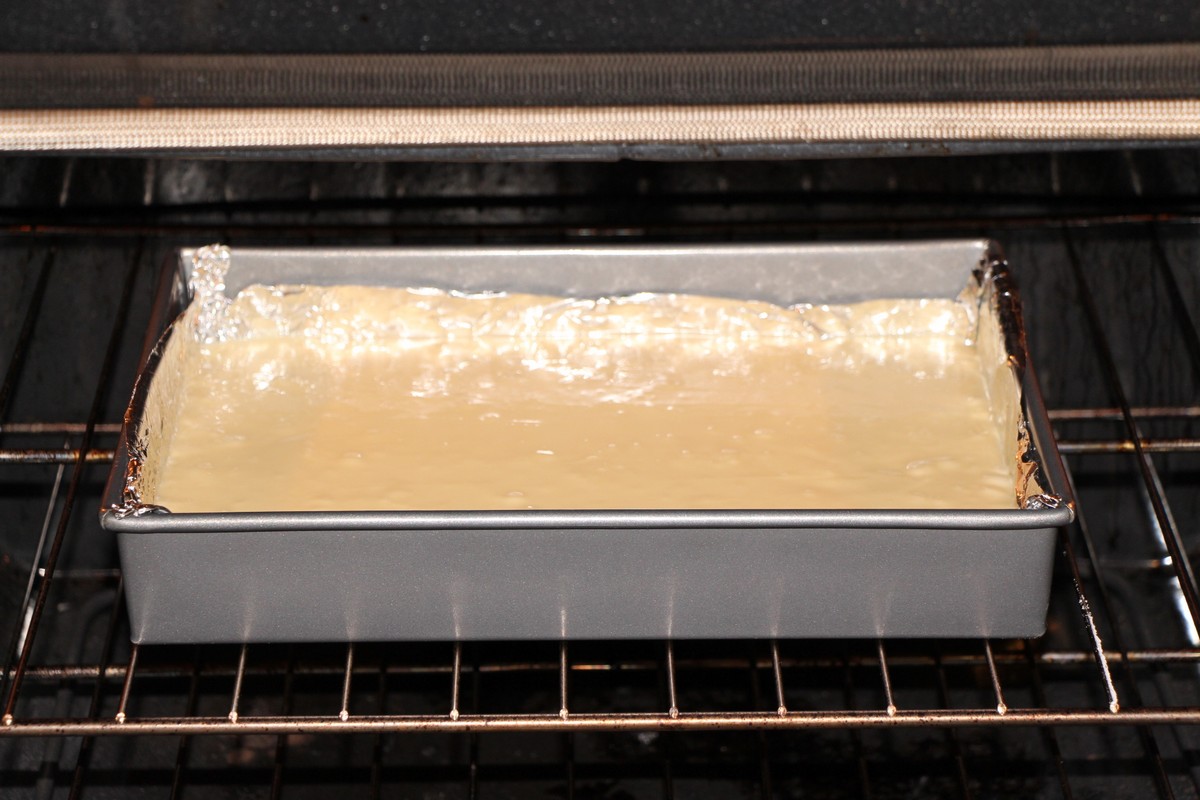
Pour the filling onto the crust, spread it into the corners and let it settle evenly in the pan, shaking it a little bit if needed.
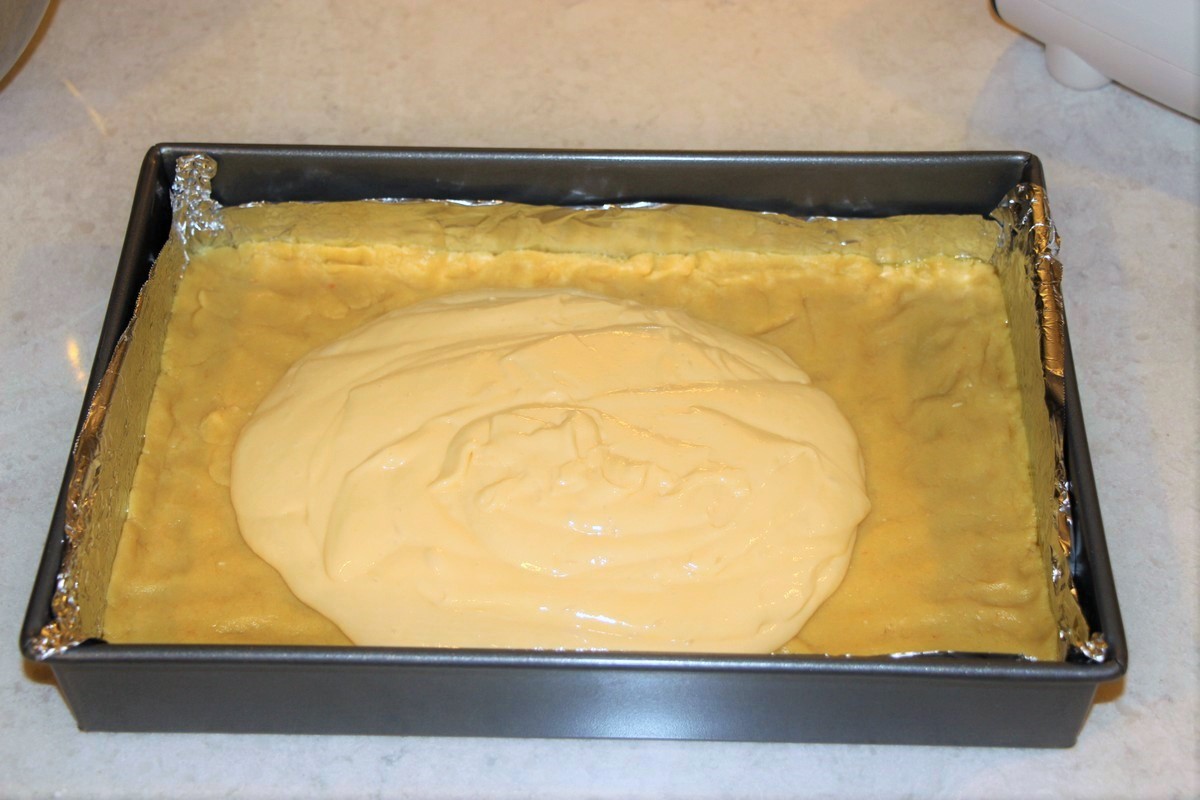
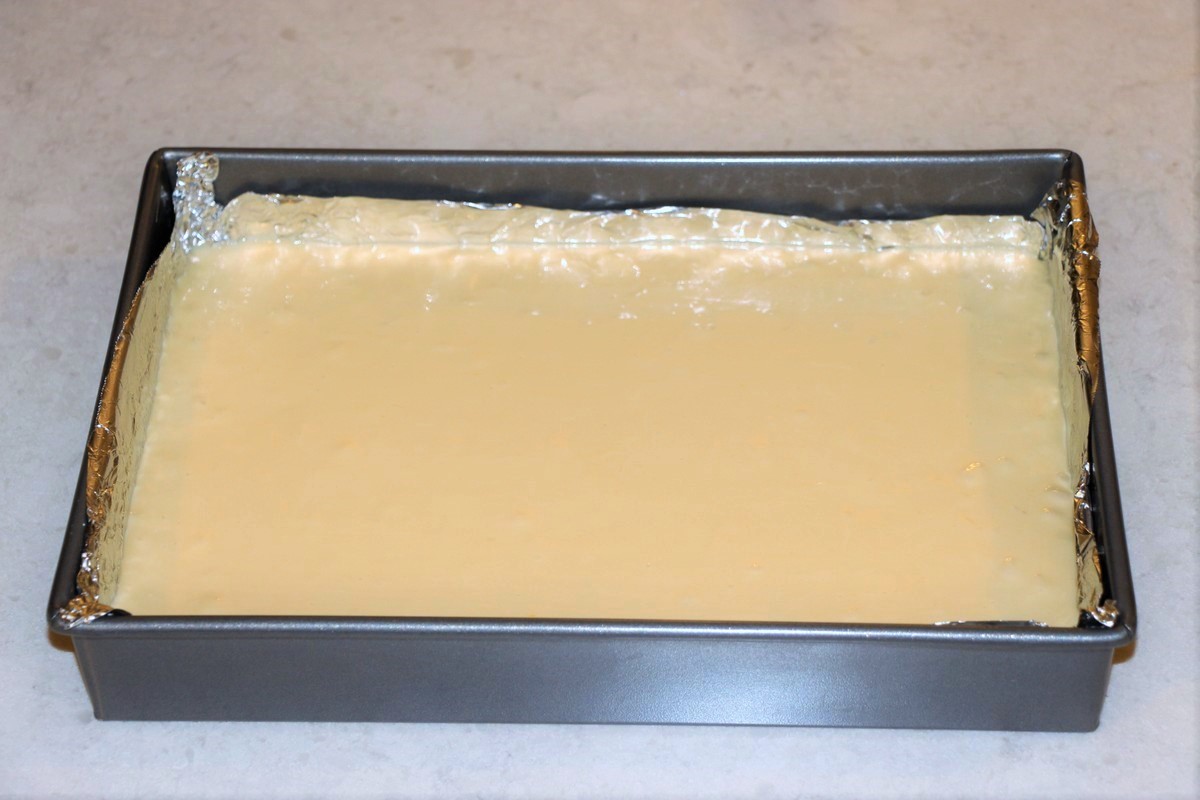
The soon-to-be Cream Cheese Sticky Squares are now ready to go into the oven.
Bake at 350 degrees until the middle is risen and evenly browned, 35-40 minutes. The top should look dry and may have some cracks in it. I like to bake them for a full 40 minutes as it leaves them just a little bit firmer, but each oven is different so you’ll have to use your judgement.
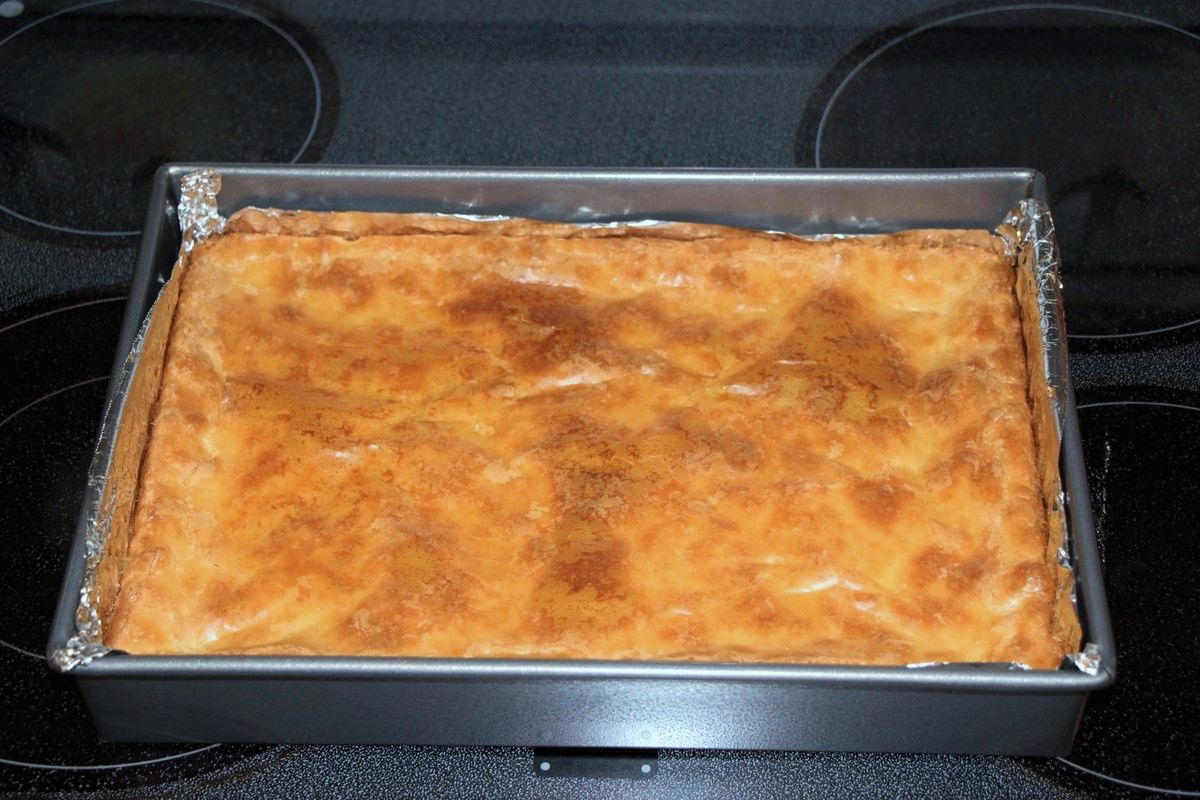
Cool on a rack. It will sink somewhat in the middle and the top might crack a bit here and there.
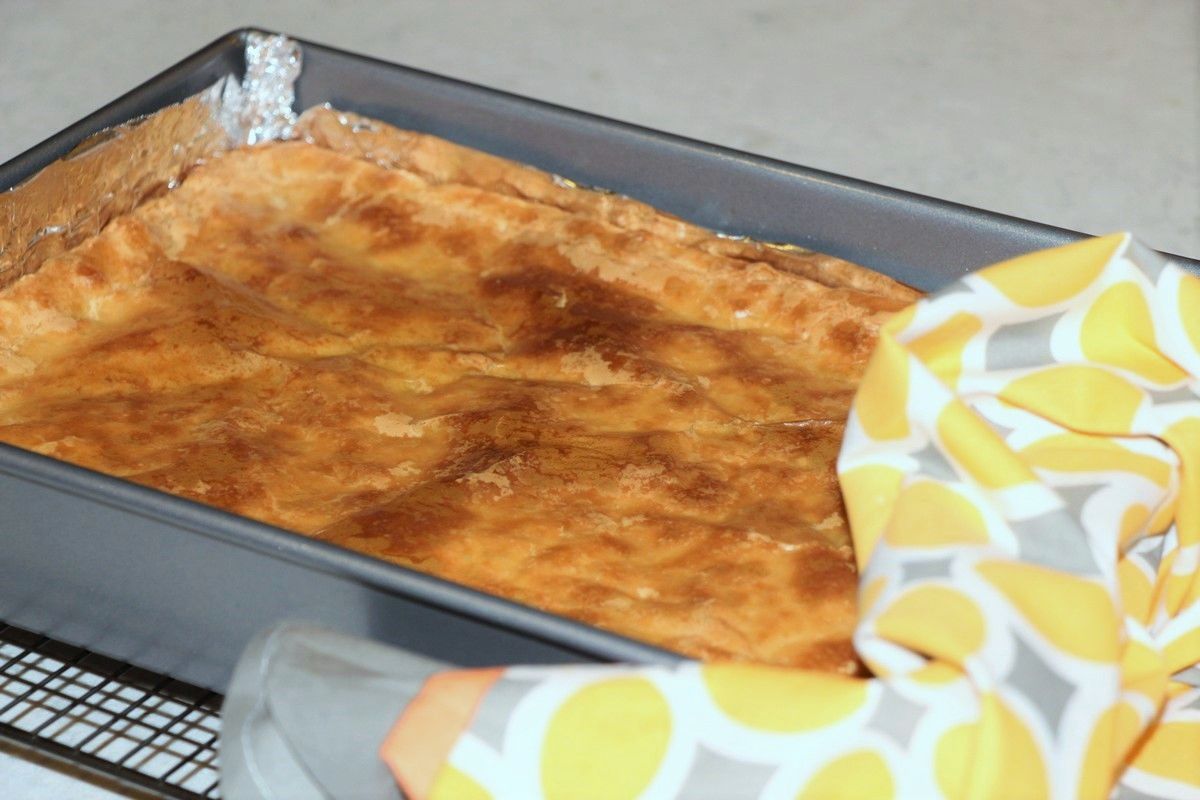
Mmmmm… The kitchen smells just heavenly!
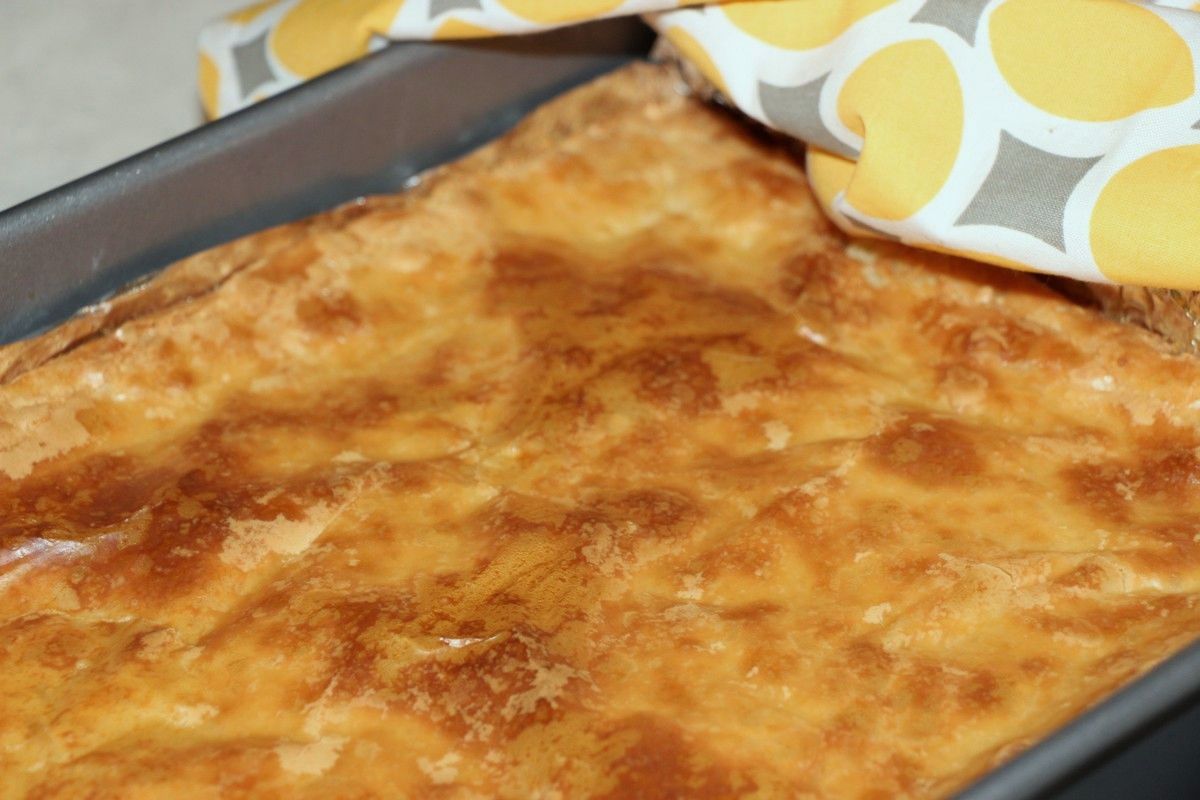
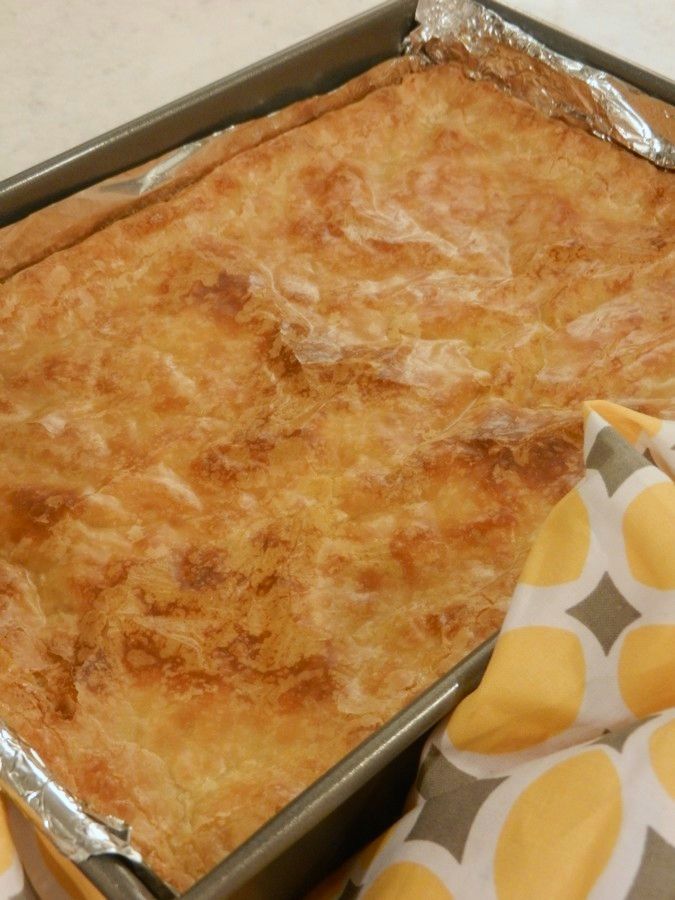
When the bars have cooled somewhat, refrigerate overnight or until completely cold and firm. This way they will be much easier to cut and also nicer to eat. If simply left on the counter top, they will be far too soft and quite impossible to cut nicely. It just makes a mess.
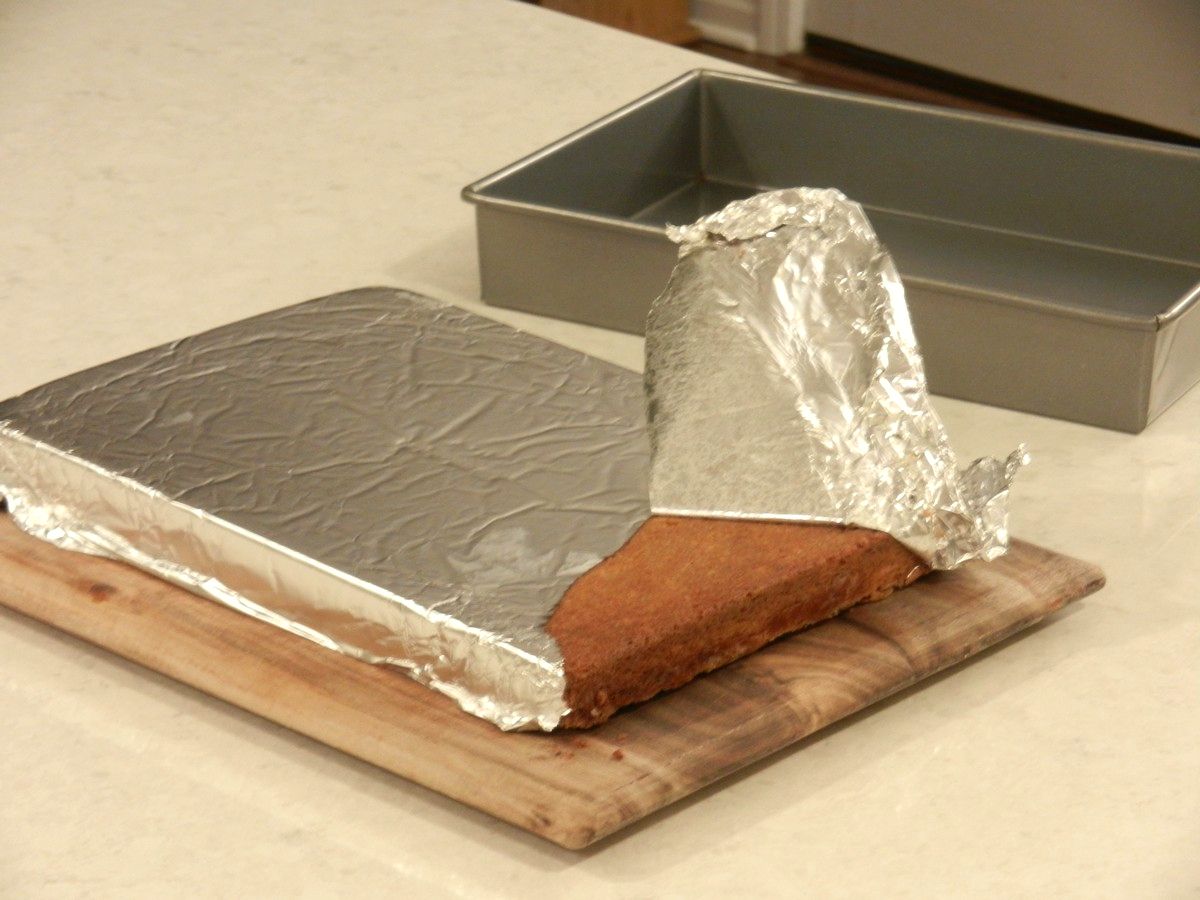
Once cold and firm, remove from the refrigerator and flip onto a cutting board. Now you can easily peel off the liner. It is better to do it this way rather than trying to cut while in the pan. It is also much easier to get them out of the pan in the first place! If you don’t use a liner, they are almost certain to stick and will be hard to get out even if you greased the pan.
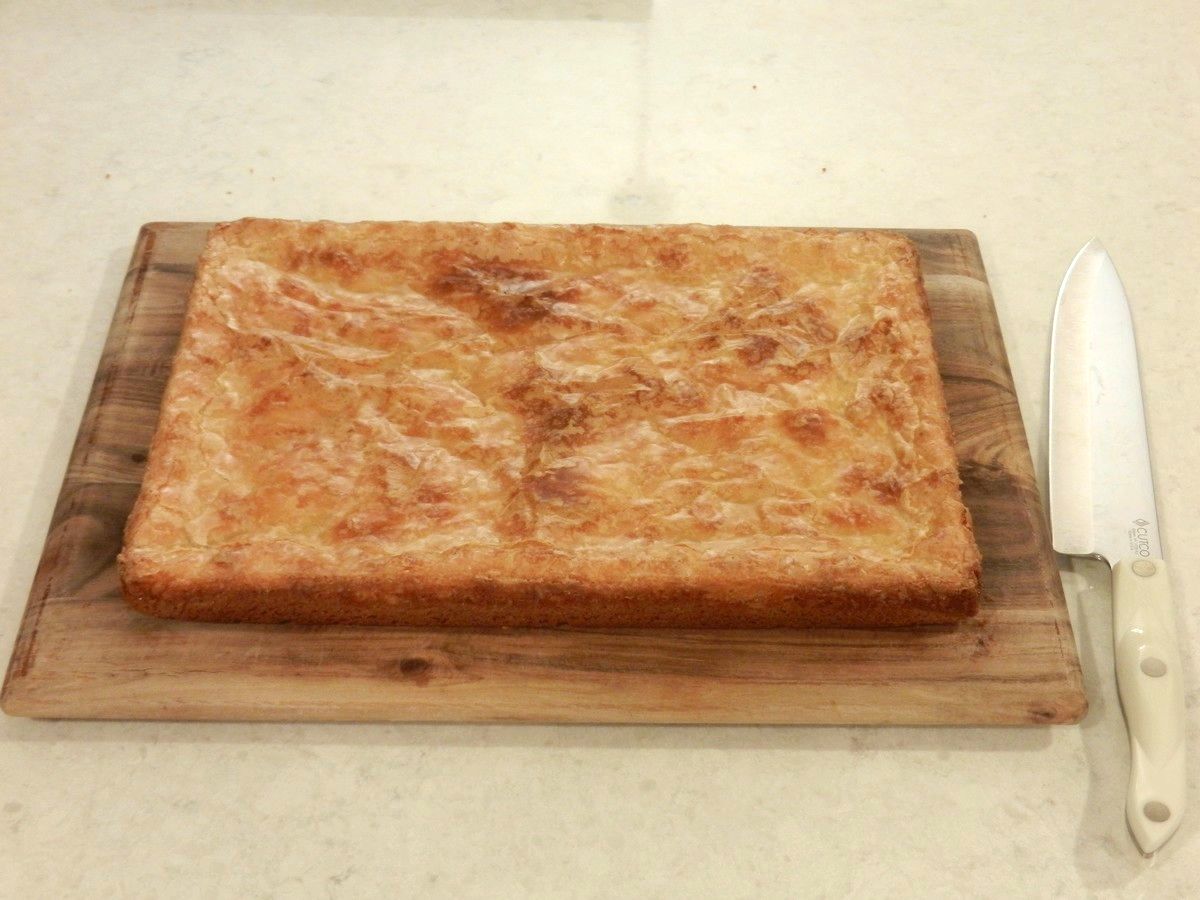
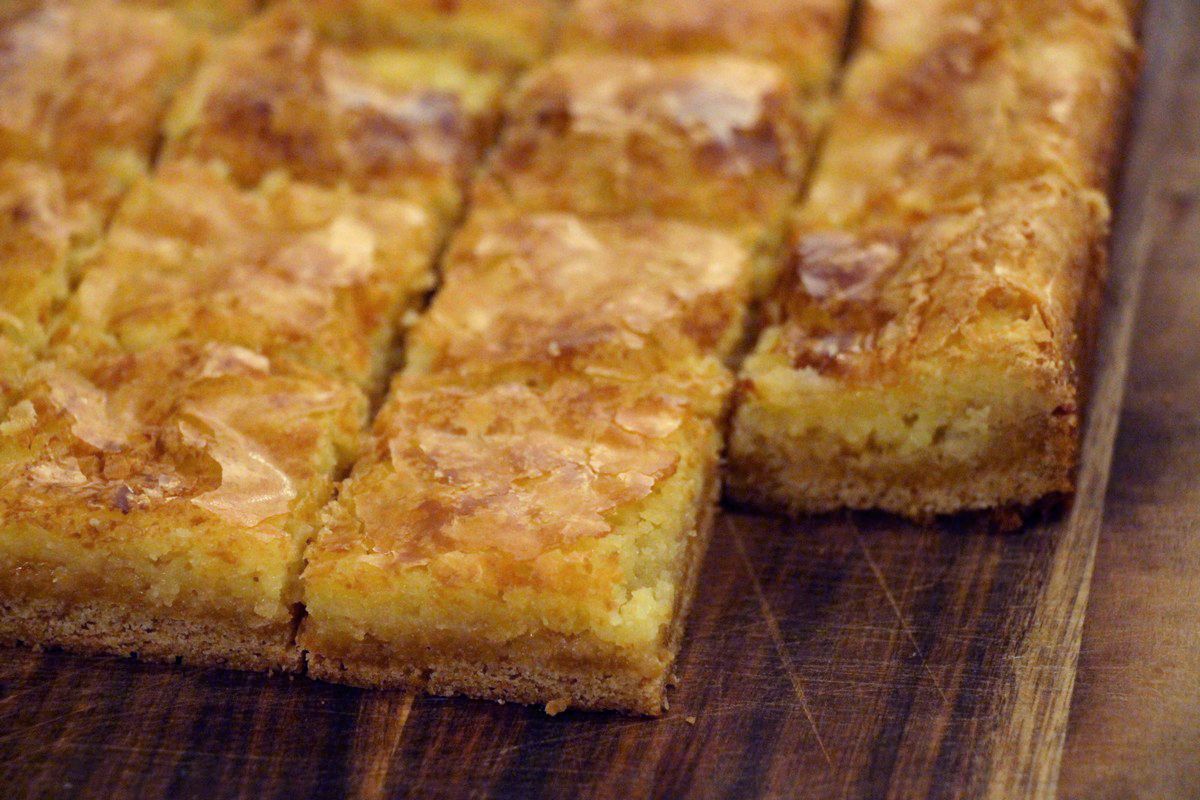
With the use of a sharp knife it should now be easy to cut. Since these dessert bars are so sweet and rich, I like to cut them into small squares rather than large ones.
If you decide to try this recipe, I would love a star rating and a comment below as it really helps me out! Thanks in advance!
Even though these cream cheese squares are very sweet and rich, you may very well find yourself grabbing a second bar, or even a third! They are so chewy and tasty with the hint of coconut! They also store well and will remain sticky and gooey for several days in the refrigerator. Just cover them well with plastic. The bars can also go in the freezer and is the perfect, easy make-ahead dessert recipe for busy holidays! I hope you found this picture tutorial helpful! Enjoy!

- Crust:
- 1 box yellow cake mix
- 1 stick butter, melted
- 1 egg
- Filling:
- 1 Lb powdered (confectioner's) sugar
- 1 8-oz package cream cheese, somewhat softened
- 2 eggs
- 1 tsp vanilla extract
- ¼ tsp coconut extract
- Preheat the oven to 350 degrees.
- Line a 13 x 9 baking pan with aluminum foil or parchment paper, spray well with cooking spray.
- Crust:
- In a medium mixing bowl stir the cake mix, butter, and egg together into a smooth, soft dough.
- Press evenly onto the bottom of the pan. Set aside.
- Filling:
- In a medium mixing bowl, using an electric mixer on lowest setting, mix together powdered sugar, cream cheese, eggs, vanilla, and coconut extract until smooth.
- Pour onto the crust and spread out evenly with a spoon.
- Bake for about 40 minutes until risen and evenly browned on top.
- Cool on a rack. It will sink together a bit and the top might crack in some places.
- Refrigerate until very cold and firm, preferably overnight.
- Flip upside down onto a cutting board and peel off the liner.
- Cut into small squares.



glad i found your site. i am not a baker or a cook, but i have friends who are and i have sent a link to your site to many of them. thanks for taking the time to post
Thank you very much, I appreciate that! I hope they find my site useful!
These are so good it is difficult to eat only one!
Thank you! And yes, I know what you mean! Thank you for your comment and star rating, it is very appreciated!
I’ve made these before, but the suggestion to line the pan was amazing, and it was ingenious, to cool in refrigerator before cutting. Then the extra tip about adding extra extract was a well received twist.
I’m happy to hear that, thank you for letting me know!
I loved these. I had some homemade srawberry jam I drizzled over the tpp when serving.
That’s nice to hear, and what a great idea! Thank you for sharing and for leaving a star review!
Wonderful treats
Thank you very much!
I’ve been making this for years and it’s always a hit. I feel like I’m cheating using a box mix! People will hunt me down to ask about it. I have never had any problems with it sticking. I use a 9X13 glass Pyrex that I butter and flour. It always comes out clean. I also have a cheat for clean cuts right out of the oven…a pizza cutter. Make one cut and rinse the goo off with hot water then repeat. It works perfect every time! I took pictures but I don’t see where I could upload them…
Thank you for your insights on that! I’ll have to try a pizza cutter next time. Thank you also for your star rating, I appreciate it! Pictures cannot be attached here, unfortunately.
I copied this recipe from my mother years ago on a piece of scratch paper. It has been in my recipe box for years. I lost the piece of scratch paper and was upset until I found it on your website. Thank you. It is always a big hit.
Awesome!! Glad to hear it! Yes, we love it every time as well, and the squares always go fast whenever we bring them places.
Thank you so much for the detailed description in the recipe. Turned out perfect and delicious!
That’s good to hear, thanks for letting me know!
I love that you posted about Caden! I just searched this recipe up because I want to bring these down for him to his military graduation! It made me smile when you mentioned how much he loved these bars…now hope I can do them justice!
Oh how fun Jessi!!! That just made my day! And congrats to Caden and all of you!
This recipe is awful. Way too much sugarr.
I quite literally make these all the time for myself and my family, they never get old and they’re so so good to pass around to friends too!! Love this recipe
Oh great!!! So fun to hear, and thank you for the review and five star rating! I just love the chewy texture of them!
2eggs or 1? The recipe lists 1 but the picture shows 2. Thanks!
The crust requires one egg, and the filling requires two eggs.
I have made this for over 30 years. It is delicious. I also put pecans in the crust for a little extra flavor and crunch. It is always a hit! I have never had the sticky problem. I just use a glass pyrex dish and I cut them with a serrated knife that I rinse frequently while slicing. I think my original recipe also had 3 eggs in the filling. I am going to try it your way… Thanks for jarring my memory on these little delights
Thank you for your idea of adding pecans, that sounds delicious! And thank you also for the tips on how you handle cutting them, it’s good to know you haven’t had a problem with sticking.
These are wonderful! My new holiday favorite!
Great to hear! Thank you for the 5 star rating, it is much appreciated!
1 was wondering if you could double the recipe and still make it in a 9×13 pan and how much longer to bake it….if that would work?
I’m sure that you could, you would have to increase baking a bit but I’m not sure by how long. Maybe 10 more minutes would do it? I’m sorry I can’t be more specific.
I’ve made these for years, and the recipe is so great because you can use any kind of cake and adjust the filling to go with like chocolate cake and cream cheese filling or peanut butter awesome
I agree, you can do so much with this recipe! For the holidays, maybe adding peppermint in combination with chocolate would be a fun changeup as well. Thank you for the idea of adding peanutbutter, and thank you very much for your comment and star rating!
When a friend gave me this reciipe the filling had 3 eggs. What would be the difference in the texture?
I have never tried three eggs, but I’m thinking the difference wouldn’t be significant. Maybe rise a bit more, a little bit fluffier, not quite as dense. That’s just a guess though. I would not be too concerned about the difference, if your friend’s recipe calls for three eggs then I’m sure it works well that way. A cake would be more delicate and one egg too many or too few could make a big difference. But a dessert like this is more robust and can probably handle more changes and still be okay.
Has anyone tried freezing these?
Very easy to make! I will say, that they are extremely sweet. I think I might add lemon next time, in both the crust and the topping, to tone down the sweetness.
You are definitely right about that, they are very sweet! So a little bit of lemon could be good. Let me know if you ever try it, I’d be intersted in knowing what you think! Otherwise we usually cut them into smaller squares, as a large one might be a bit too much. And, of course, we definitely do count them as a dessert, so enjoy in moderation!
I had these a long time ago and I have been missing them. Thank you so much for the recipe. It is perfect and you even included some cool tips.
You’re welcome! I just made them again the other day, this time for a baking contest at our church. And they took first price! So that was fun, and goes to show that this really is a delicious recipe. Thank you for your 5 star review, that’s very helpful!!
Excellent. Very easy to make.
Loved reading all the comments and your responses. My mother received the recipe from a fellow teacher who swore her to secrecy. That was over 50 years ago! She loved sweets and these were a favorite. Years later I made them for a dear friend who loved them just as much. I’m making them this year to share with new friends, and the tradition lives on! Thanks for sharing and reviving treasured memories.
I don’t think you need an entire 1 lb box of sugar. It’s very sweet.
But have you actually tried them with less sugar? I doubt you would be happy with the results. If you don’t like the idea of lots of sugar you may want to look up a different type of dessert entirely. Let me explain: First off, people do love these bars just the way they are; this recipe actually won first place in a baking competition recently (out of maybe 30 entries). The problem with cutting back on sugar in a recipe that doesn’t have a lot of other ingredients is that the texture will suffer. If cutting back in any meaningful way, you are completely changing the recipe and you’ll end up with something else; cheesecake filling maybe? Which will also be good, but it will definitely not be cream cheese bars anymore. The sugar gives body to these bars and the chewiness that makes them so yummy. If you want a cream cheese bar rather than cheesecake, then this recipe will be great just the way it is. Maybe just have a smaller piece rather than making a change that will not give good results? I hope you find what you’re looking for!
I made them for my family absolutely ❤️ them I put halves pecans in mines.
Great idea, it is fun to put your own spin on things! I love to hear about people’s creativity. Thank you for sharing with me!
My family has been making cheesy squares for decades. Your recipe is exactly the same, except the coconut extract and we add pecan pieces to half of them. Your recipe helped me with the finer details though, such as lining the pan and cooling before cutting. Thank you!!
You are so welcome! Pecan pieces sound like a great addition!