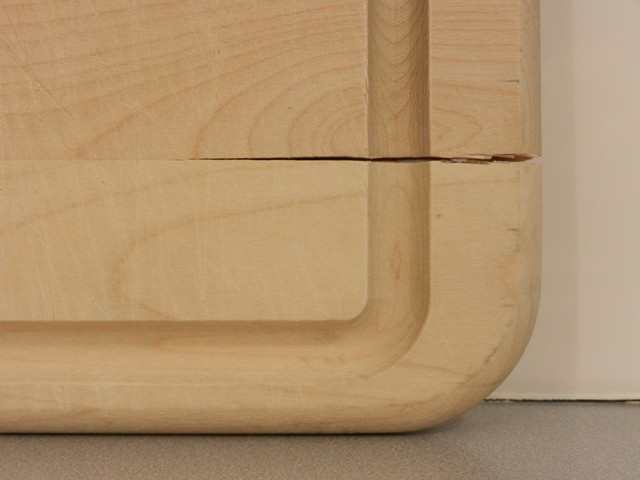
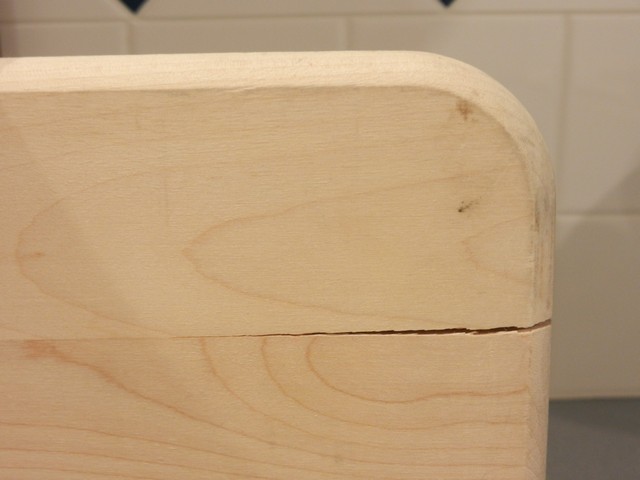
I had an old, wooden cutting board. Just a cheap one. It had a deep crack running through it. I figured it was because it was a cheap board.
Front:
Back:
I decided I wanted to get a new one, a nice, large, beautiful cutting board. Still wooden, though. Went on-line to check what was available; prices, sizes etc. That’s when I read about oiling, which I had never heard of before. Apparently, if you oil your wooden carving board, you can help prevent the growth of bacteria or other microbes, such as mold. In addition, oiling helps prevent stains and odors, plus it protects it from drying out from the use of detergents, which in return can cause cracks.
When looking more into it, I also found out that vegetable oils, such as olive oil, is not recommended since most of these oils will turn rancid eventually. Food grade mineral oil, I read, is very cheap and works well, and it won’t go rancid. Another oil that is very resistant to rancidity is food grade coconut oil, which is what I happened to have on hand. The only thing about coconut oil is that it is much more expensive than simple mineral oil, and now that I found out just how much a board can absorb (close to a full cup!), I will definitely purchase some mineral oil to use for my next applications.
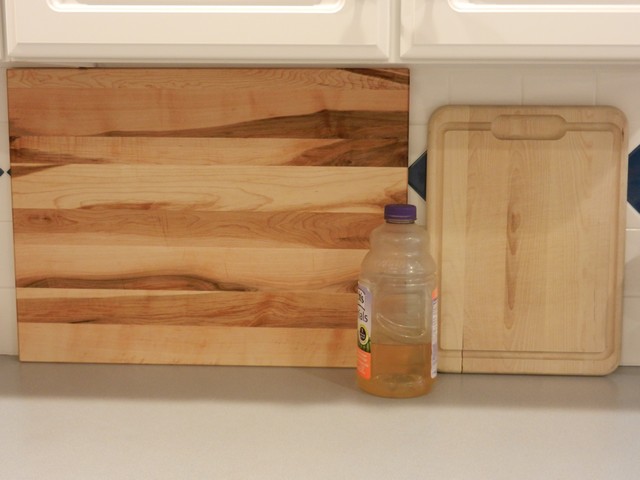
Below are pictures of my two boards, side by side. To the left, my beautiful, new, just-oiled board. It now has a light, pleasant coconut scent to it. To the right, my old one; still bone-dry and never oiled. The color of the lighter areas of the new board was close to that of the old one before oiling. After oiling, it took on a bit of a “wet look”, a somewhat richer color. A half-gallon juice bottle is placed between them for size comparison:
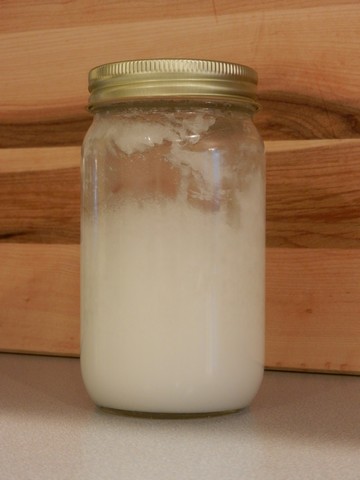
Below is my small jar of coconut oil, which is white when the oil is solid. It liquefies and looks clear when it warms up in summertime temperatures.
When seasoning, it is recommended to add oil to the board until no more will absorb, then wait a few hours and redo several times until you see the wood no longer absorbs it. At that point you can wipe off the excess and start using your board, and reapply each month or whenever needed. It all depends on how much you use it. If the board starts to look dull and dry, it is time to re-season.
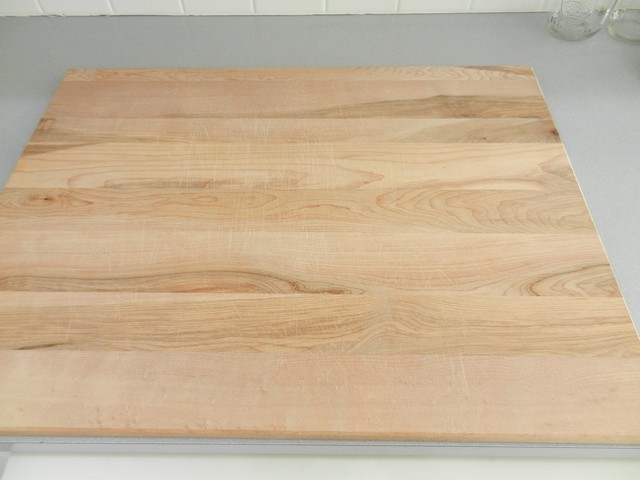
Following are pictures from when I oiled my board again at a later date, this time using mineral oil. I have found that it doesn’t take nearly as much oil anymore as it did when the board was new. And as you can see, the cutting board is quite dried out again by now, which indicates the need for oiling.
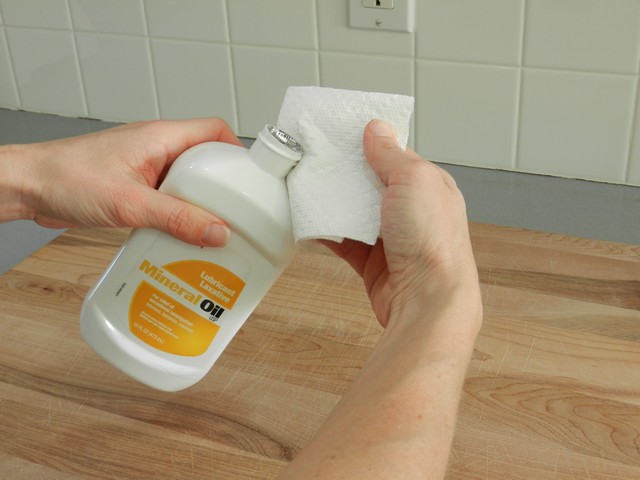
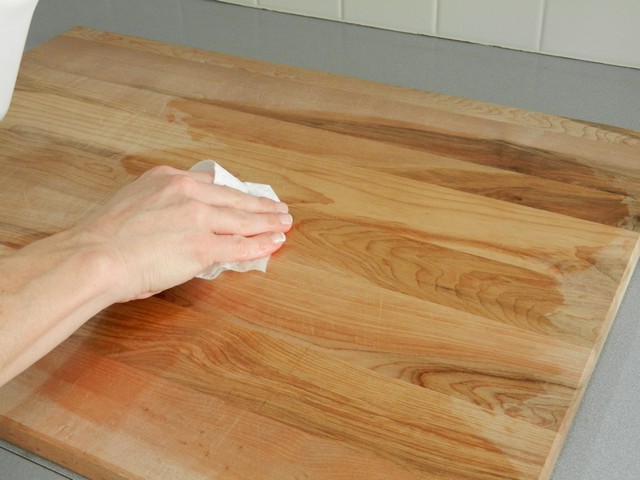
Using paper towel, I rubbed mineral oil generously over the entire surface on both sides, including edges.
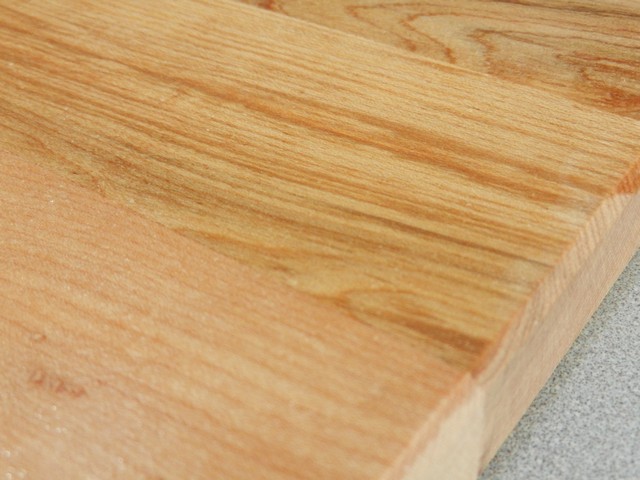
Sides need oiling as well:
Additionally, some tips on how to prevent warping and possibly cracking of your board, which is a common complaint regarding wooden cutting boards:
If at all possible, use both sides of the board. This will ensure that it gets washed on both sides instead of one side only. Some moisture will absorb into the board, which over time may cause warping and splitting due to the uneven water absorption. Splitting can also be the result of poor manufacturing, which might have been the case of the crack in my old cutting board. Mine was also used only on one side, and in return generally washed on that side only. After washing, leave upright to dry, leaning up against something. This helps the board to dry properly, which can help prevent warping and splitting.
Following are a couple of links to websites I found helpful in learning about caring for wooden carving boards, including sanitizing and cleaning: Wood Cutting Board Care Instructions and Cutting Boards.